EN
EN


Step-by-Step DTF Printing Process: From Digital File to Finished Transfer
After months of running a print shop through plenty of calibration runs and troubleshooting, I can tell you that printing dtf is not as plug-and-play as some tutorials make it sound. Whether you're building an in-house workflow or trying to produce dtf transfers ready to press for customers, The process has a clear logic. Once you understand it, printing dtf consistently becomes much more reliable. This guide walks through the full workflow in sequence, with key parameters at each stage.
What You Need Before You Start
Printing dtf involves five components working together as a system:
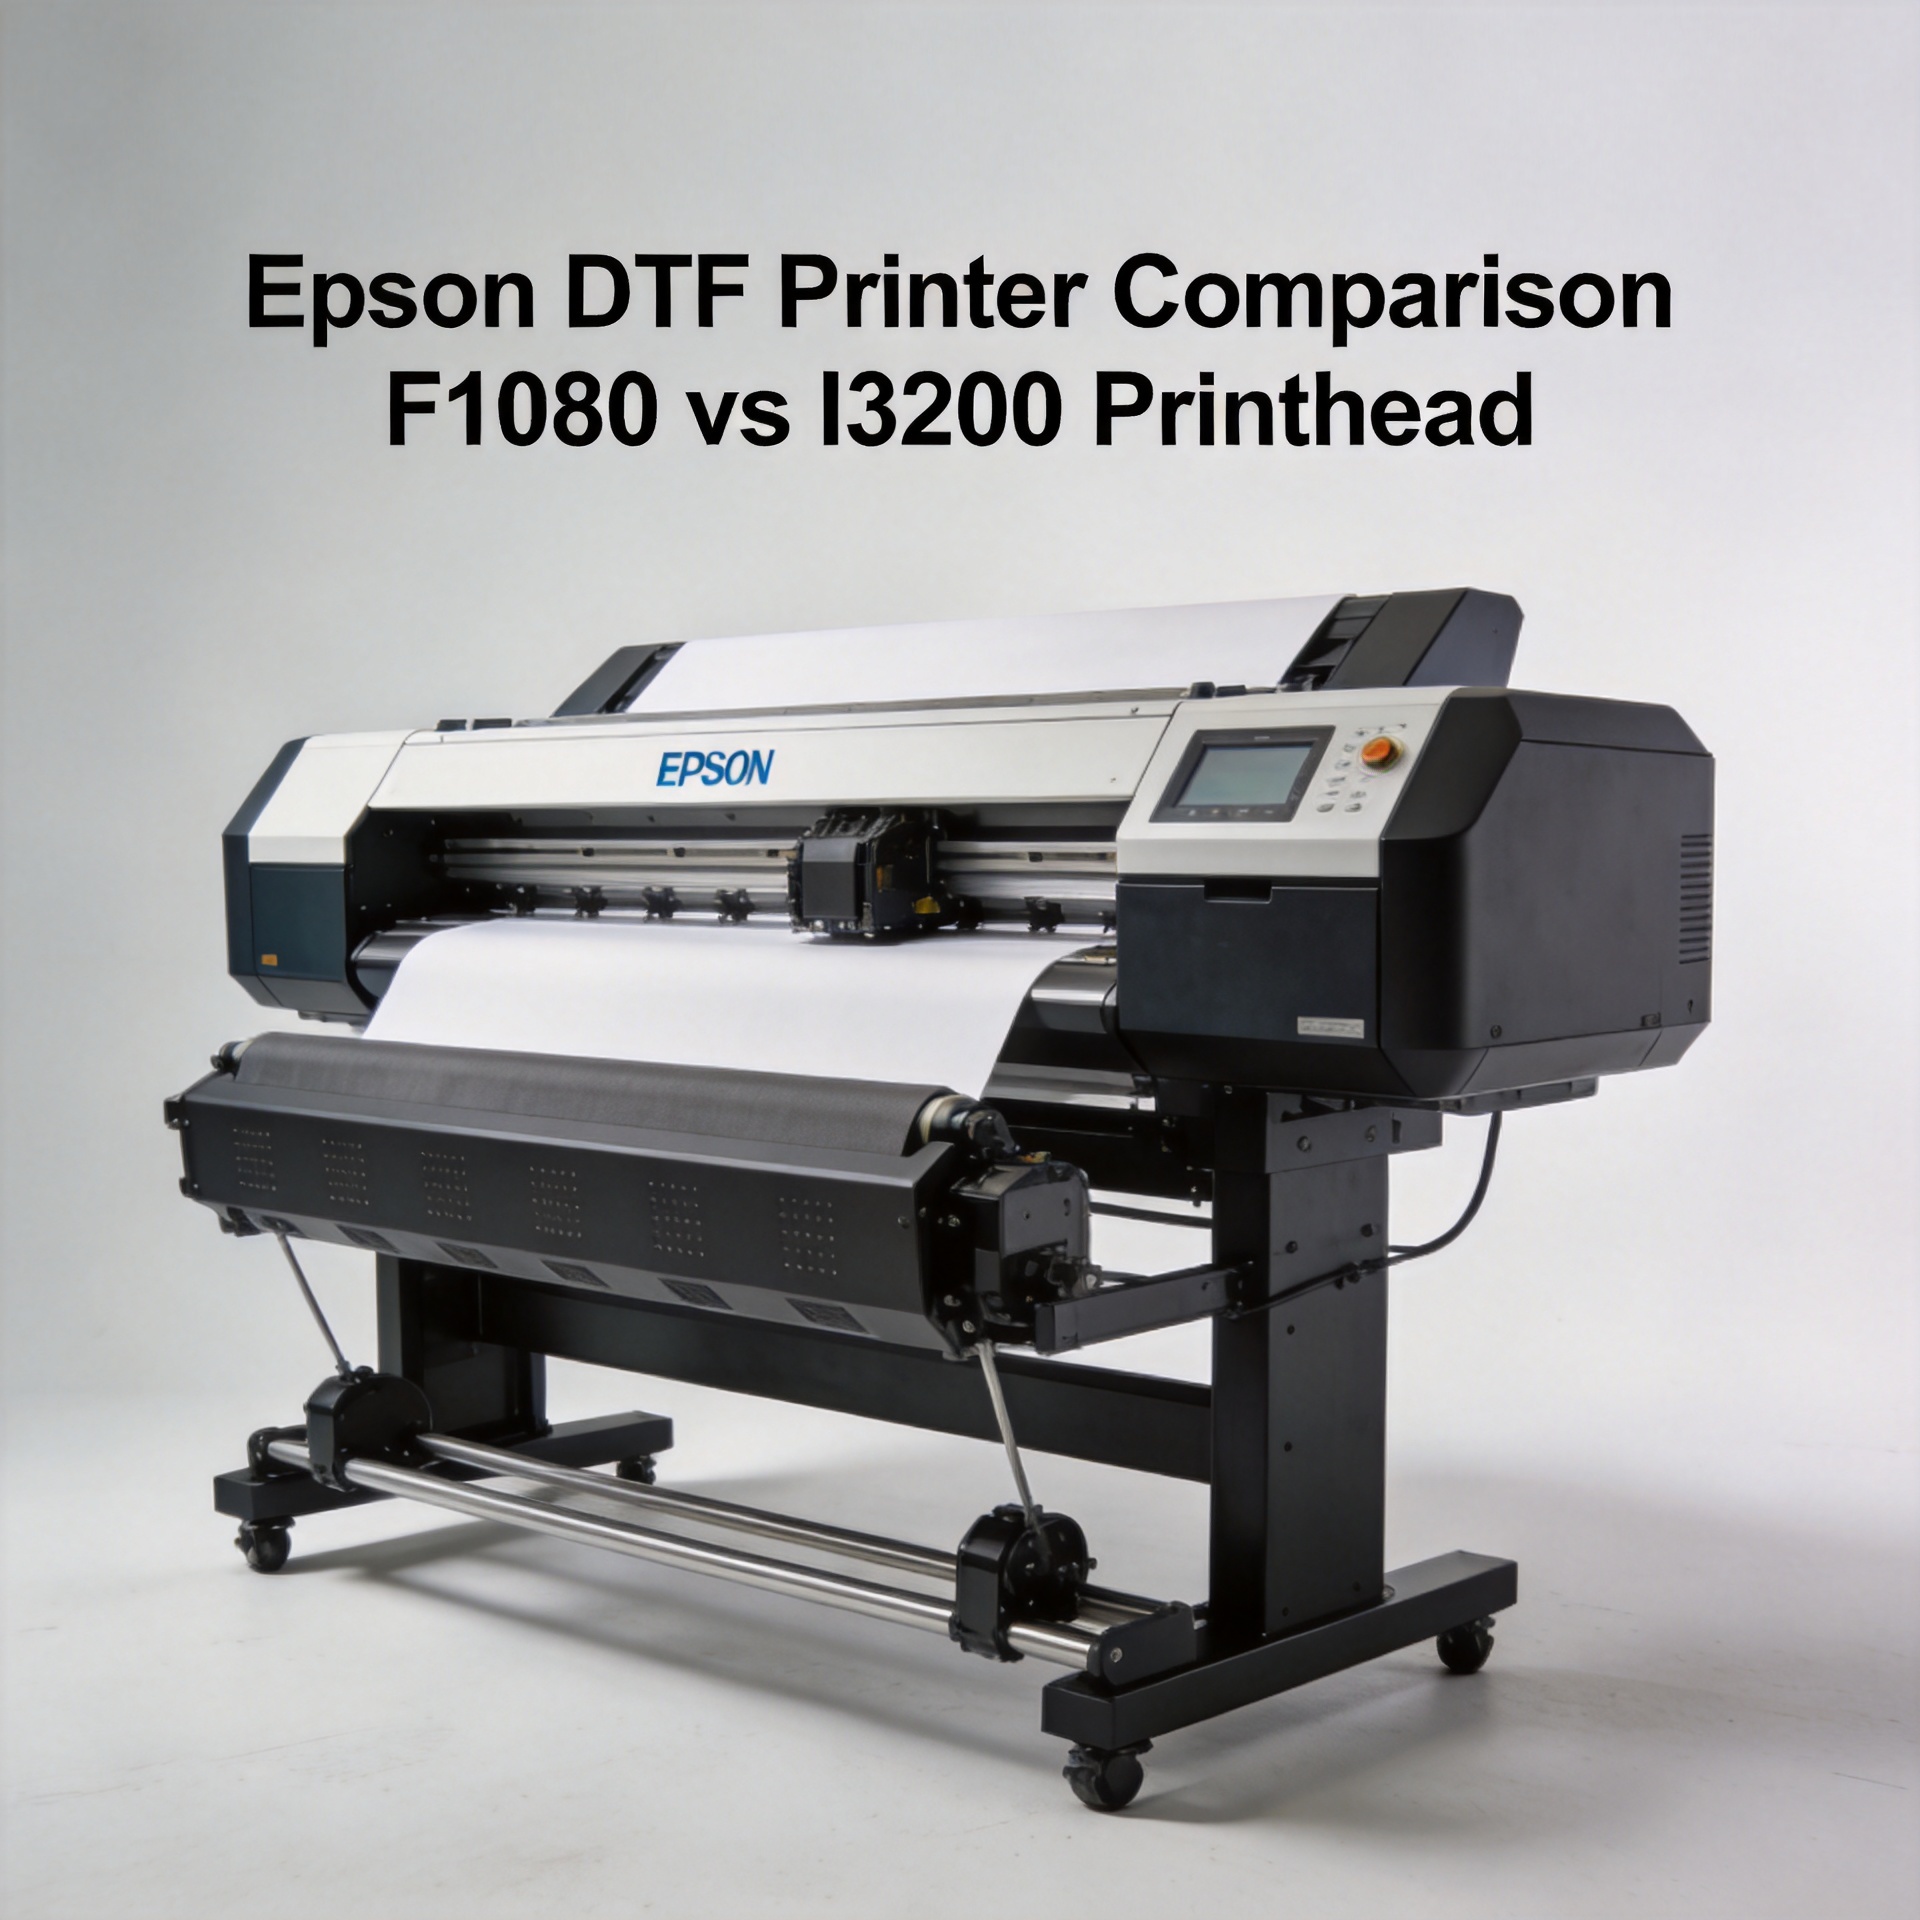
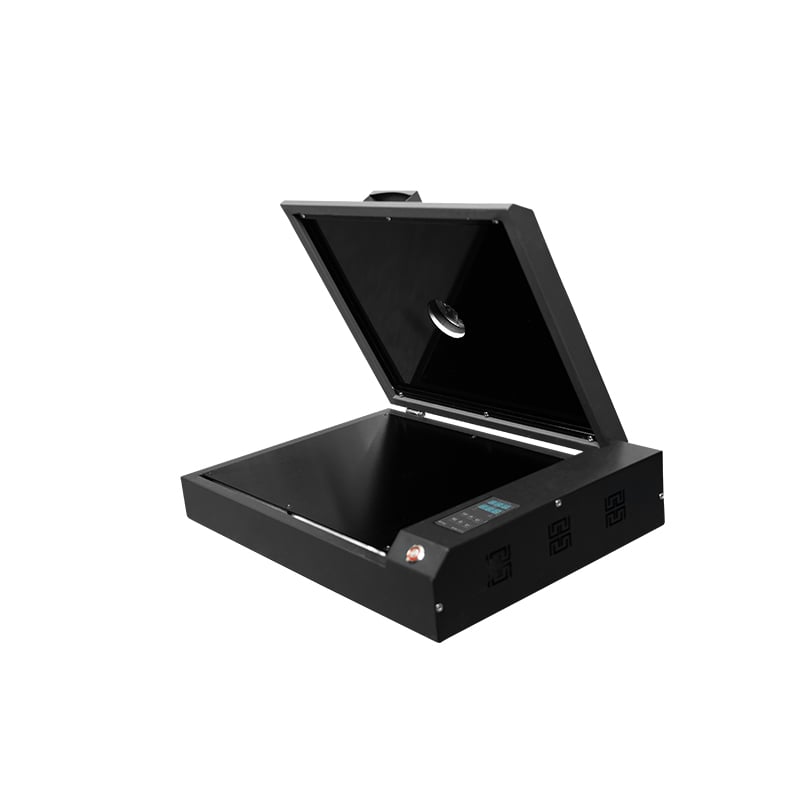
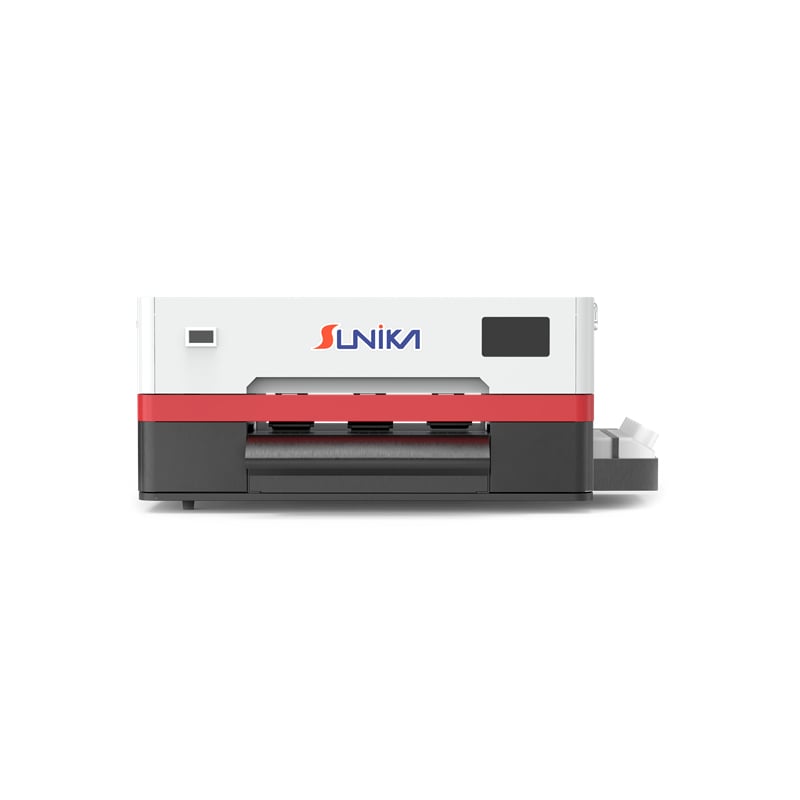
- DTF printer – Configured for CMYK + white ink output. The Sunika SK-A3 DTF Printer F1080 330mm A3 Direct to Film Printer handles A3-format printing dtf at moderate production volume.
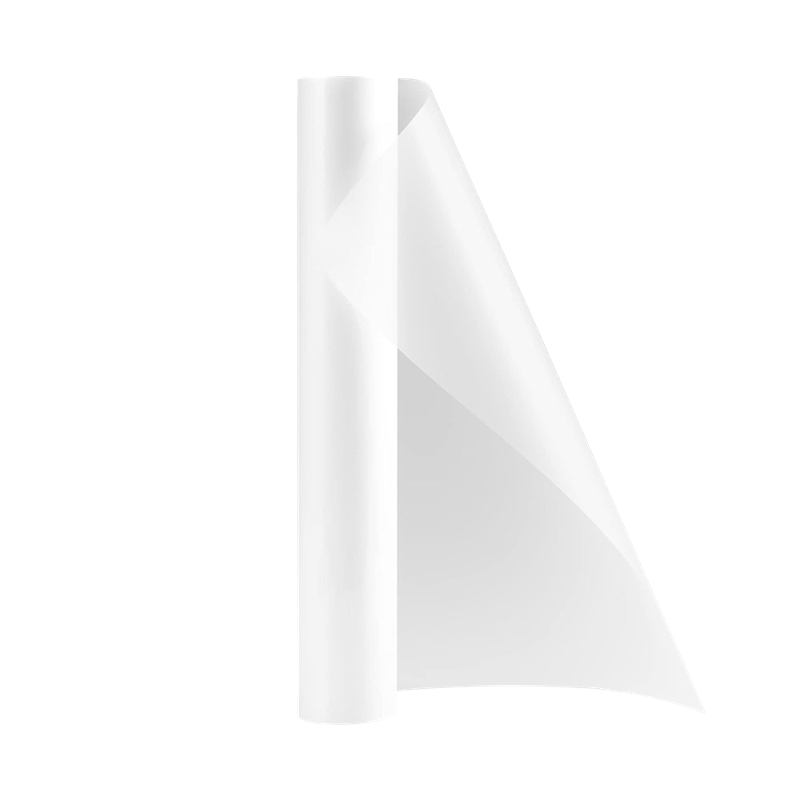
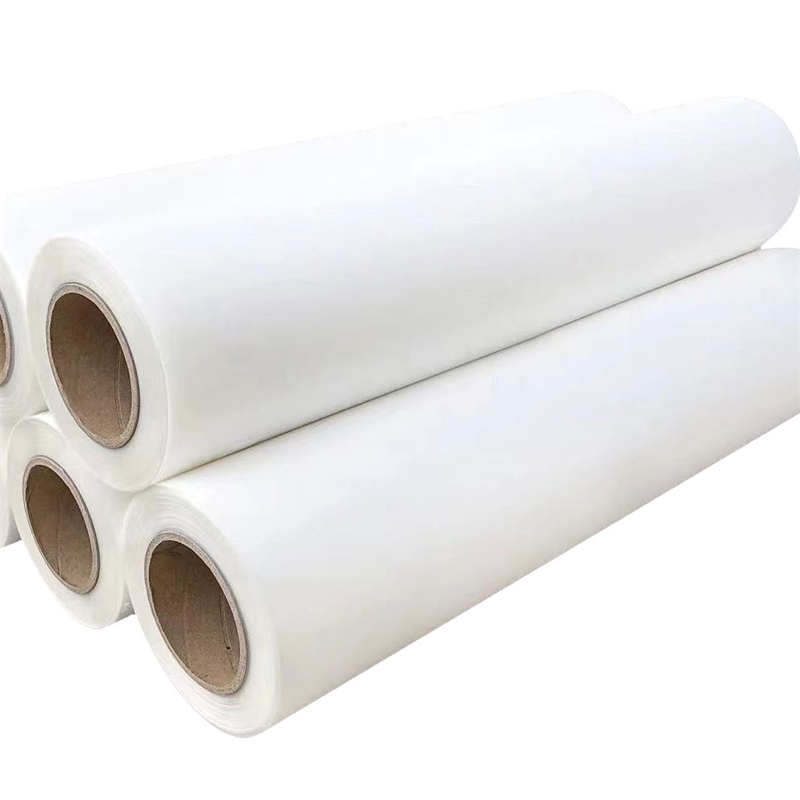
- PET transfer film – Purpose-made dtf transfer films with a coated surface that accepts ink layers. Using quality DTF White Ink Transfer Film Heat Transfer PET Film makes a direct difference in adhesion after pressing.
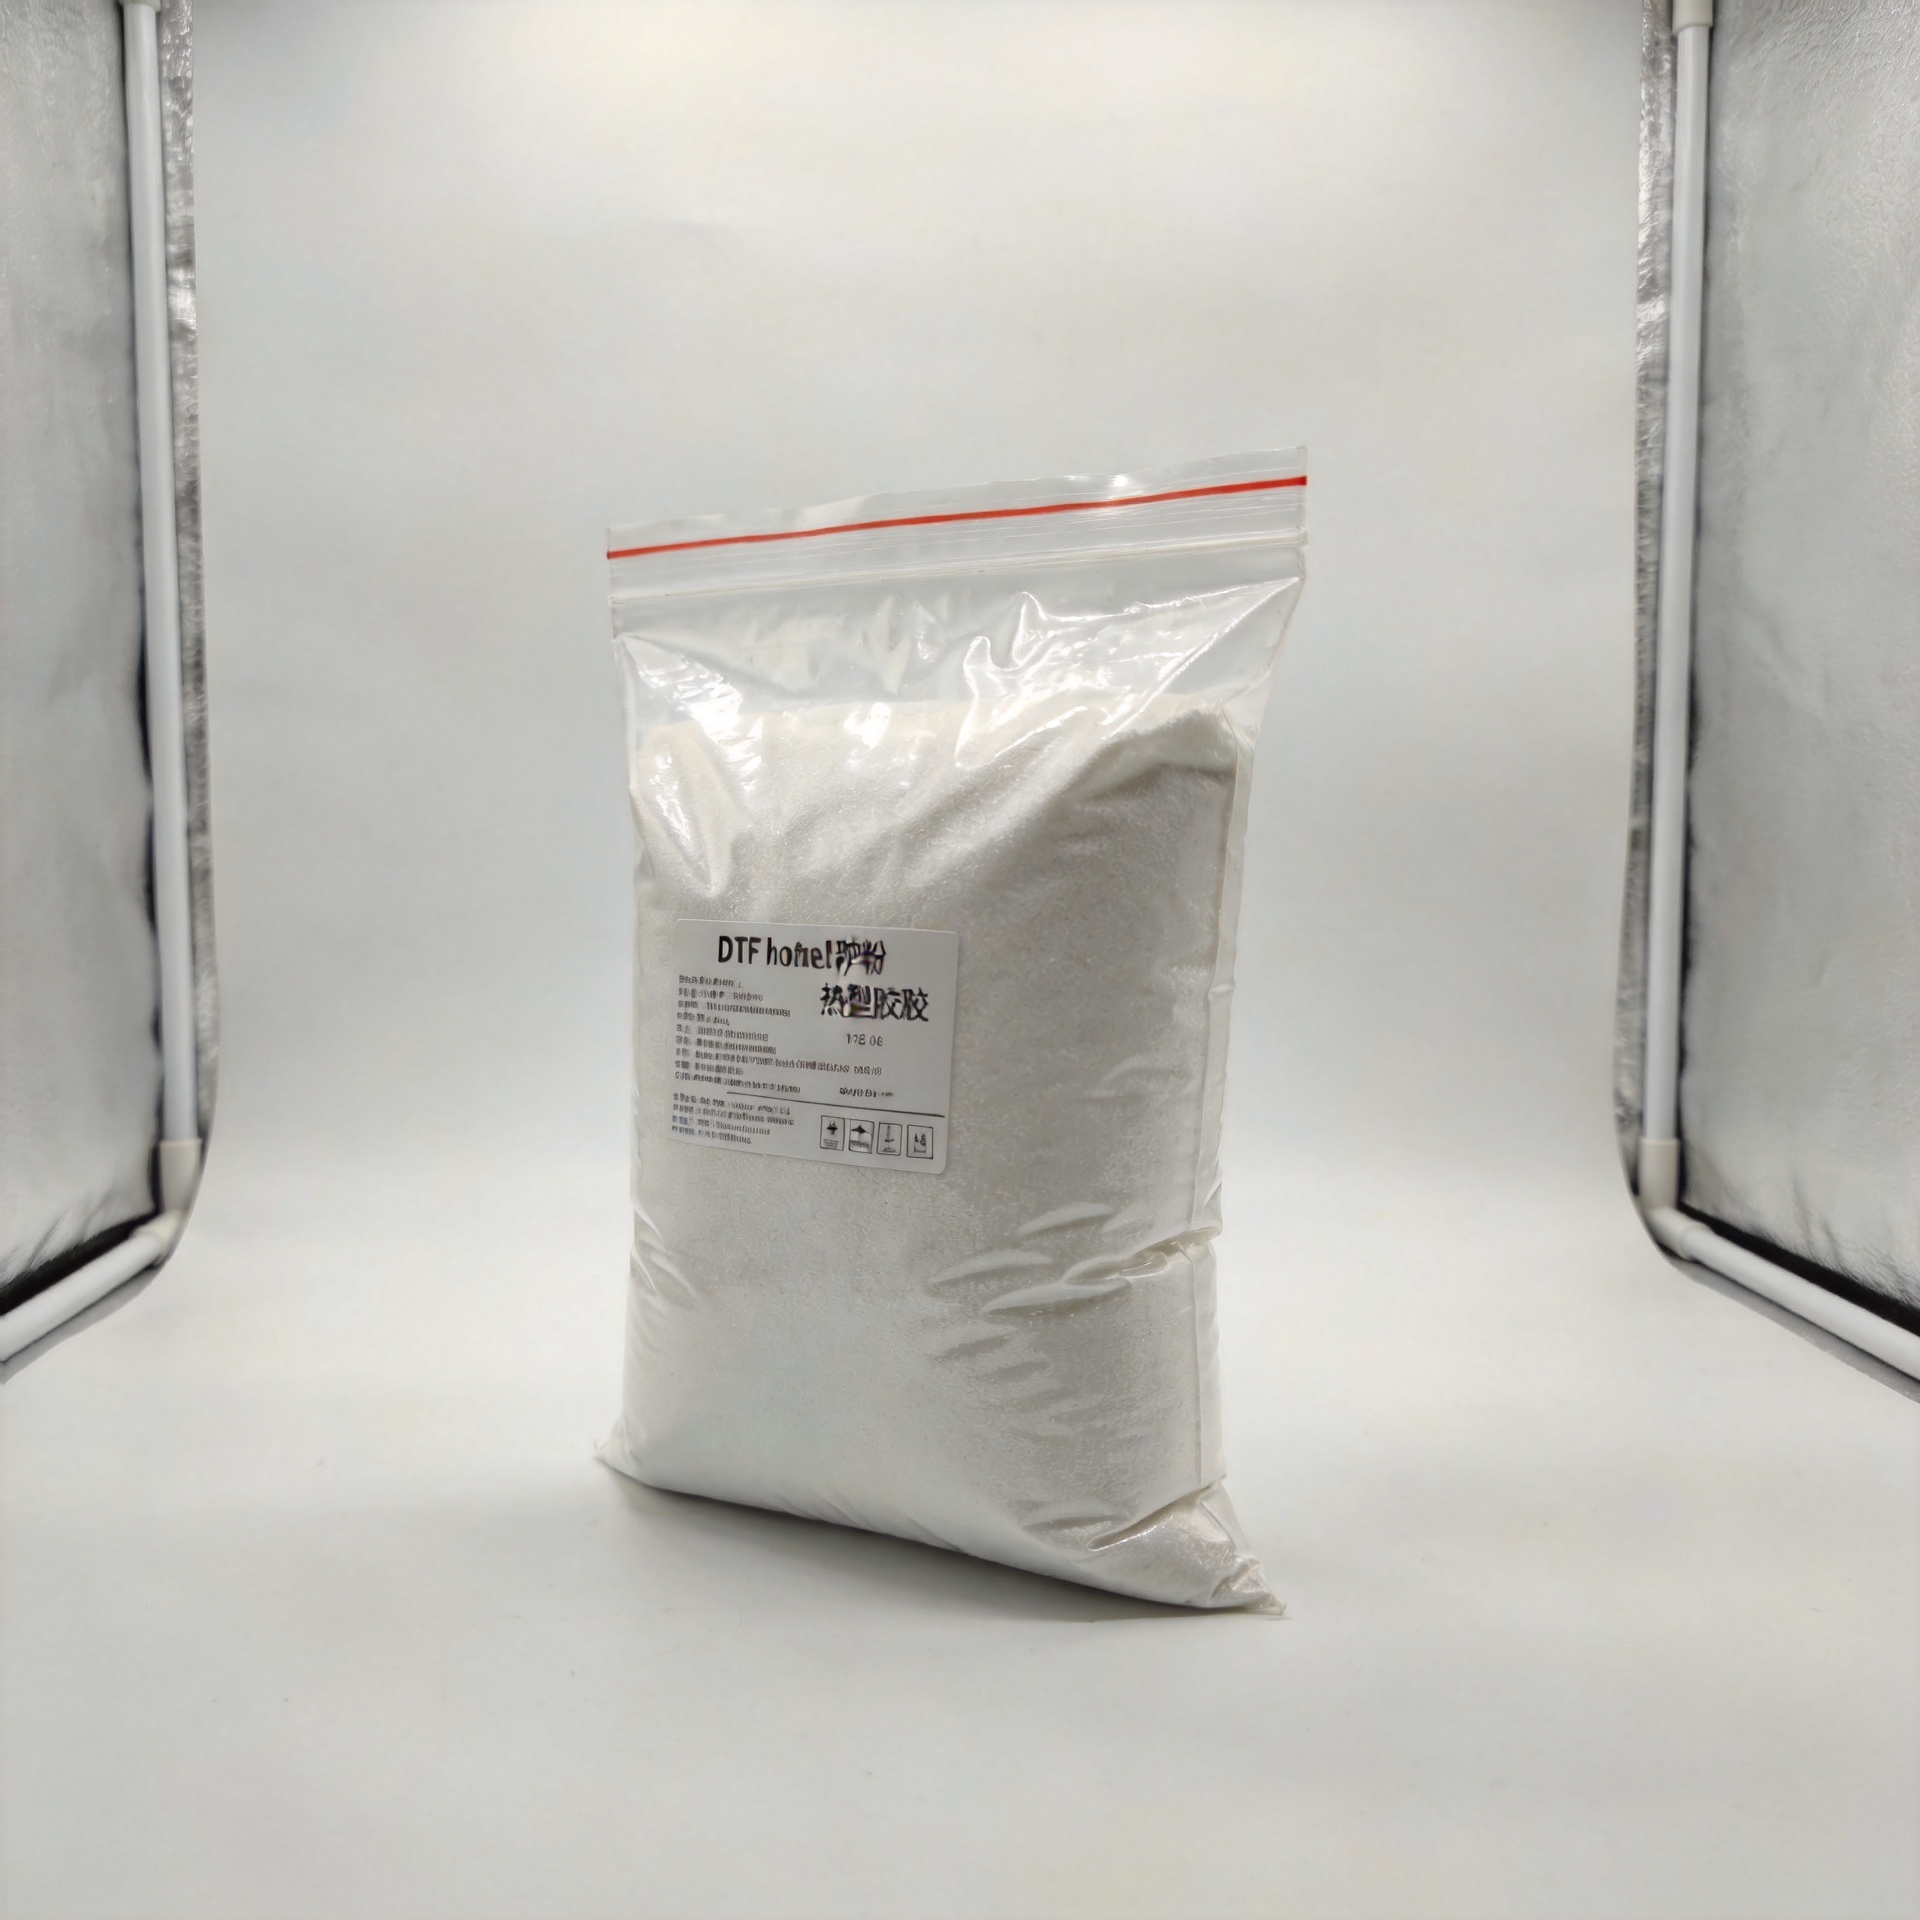
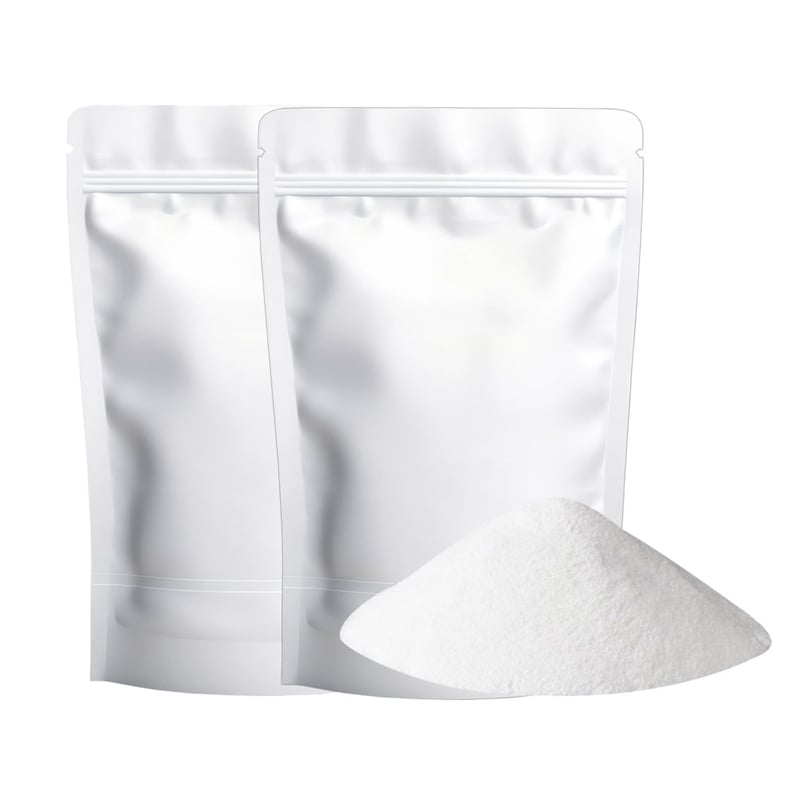
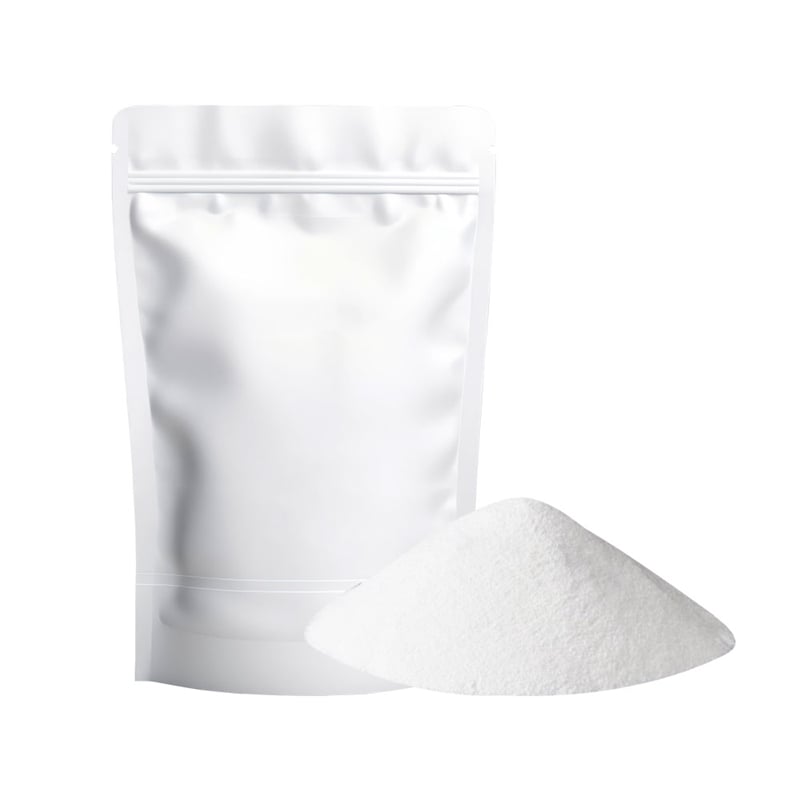
- Hot melt adhesive powder – Bonds the transfer to fabric after printing. Hot Melt Adhesive Glue White Powder For DTF Heat Transfer Film is formulated specifically for printing dtf applications.
- RIP software – Controls white ink placement, color profiles, and layer order for printing dtf accurately
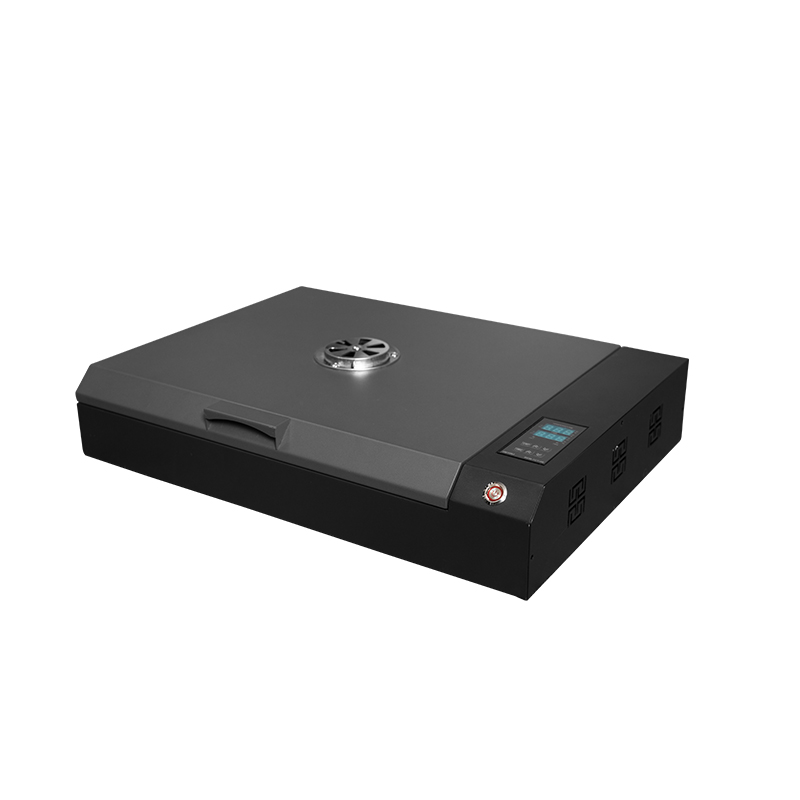
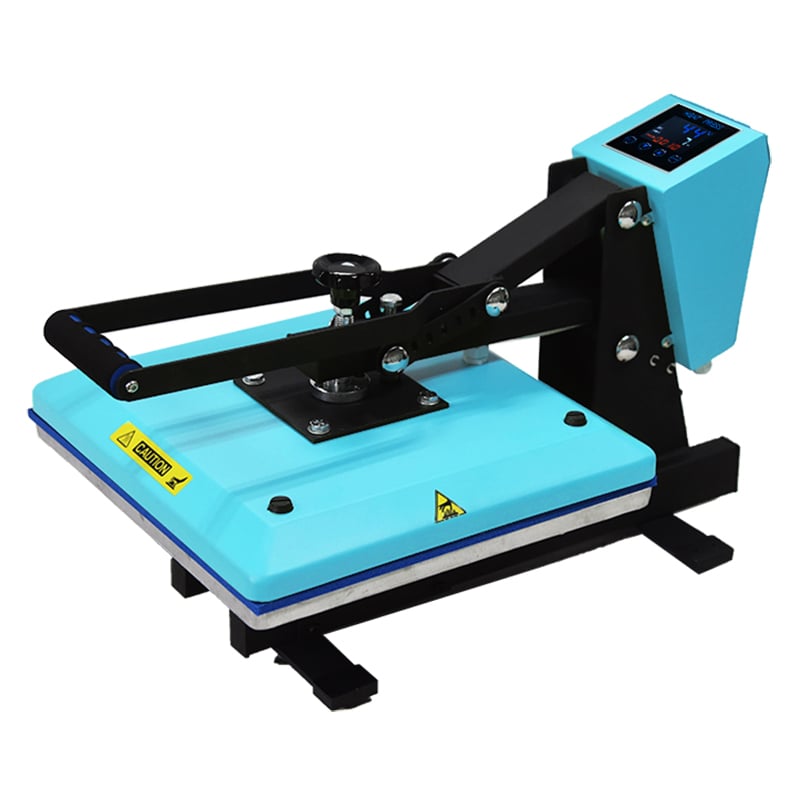
- Heat press – Used for both curing and final transfer when producing dtf transfers ready to press
Treating printing dtf as a printer-only operation is the most common beginner mistake. The film, powder, ink, and press settings all interact. Any weak link in the chain affects the final output.
Step 1: Prepare Your Design File
Start with your artwork in RGB color mode at 300 DPI minimum. Vector files produce cleaner edges; raster images should be sharp at print size—upscaling compressed images is a common source of soft, muddy output when printing dtf. Remove the background for dark-fabric prints, since the white ink layer is generated from transparent areas by the RIP software.
Keep designs within the printable area of your dtf transfer films. For A3 format, that's typically 320 × 420 mm. Gang sheets (multiple designs on a single film) reduce material waste and are standard practice for small-order printing dtf jobs.
Step 2: Configure Your RIP Software
RIP software is where most of the quality control happens when printing dtf. It manages white ink placement, layer order, color profiles, and ink density. Key settings to verify:
- White ink coverage: 100% under full-color areas for printing dtf on dark fabrics; reduce for lighter substrates to avoid visible white edges
- Color profile: Use the ICC profile matched to your specific ink and dtf transfer films combination—a generic profile often produces unexpected color output
- Print resolution: 720 × 1440 dpi for standard production; 1440 × 1440 for detail-critical work
- Layer order: White ink first as an underlayer, then CMYK color on top—confirm this sequence when printing dtf on dark substrates
Step 3: Print Onto DTF Transfer Films
Load your dtf transfer films coated-side up. Feed direction and curl management matter—film that buckles mid-run produces banding or misregistration that can't be corrected afterward. After printing, the surface is wet. Handle dtf transfer films carefully before powder application; smearing wet ink ruins the batch. Let the printed film rest flat before moving on.
Step 4: Apply Hot Melt Adhesive Powder
While the ink is still wet, apply adhesive powder evenly across the printed area. Powder only adheres where ink is present, creating clean transfer boundaries, which is what gives dtf transfers ready to press sharp, clean edges. Shake off all excess powder; clumps cause texture irregularities on the finished transfer.
Step 5: Cure the Powder
Curing melts the powder and bonds it to the ink layer, creating stable dtf transfers ready to press. Temperature accuracy matters significantly here. Recommended parameters:
- Heat press method: 300–325°F (149–163°C), hover position; this produces dtf transfers ready to press with a uniform matte finish
- Curing oven method: 110–120°C (230–248°F) for 2–3 minutes; more even across larger sheets of dtf transfer films
Under-cured transfers peel after washing. Over-cured transfers become brittle. Properly cured dtf transfer films look uniformly matte. Shiny patches indicate under-curing.
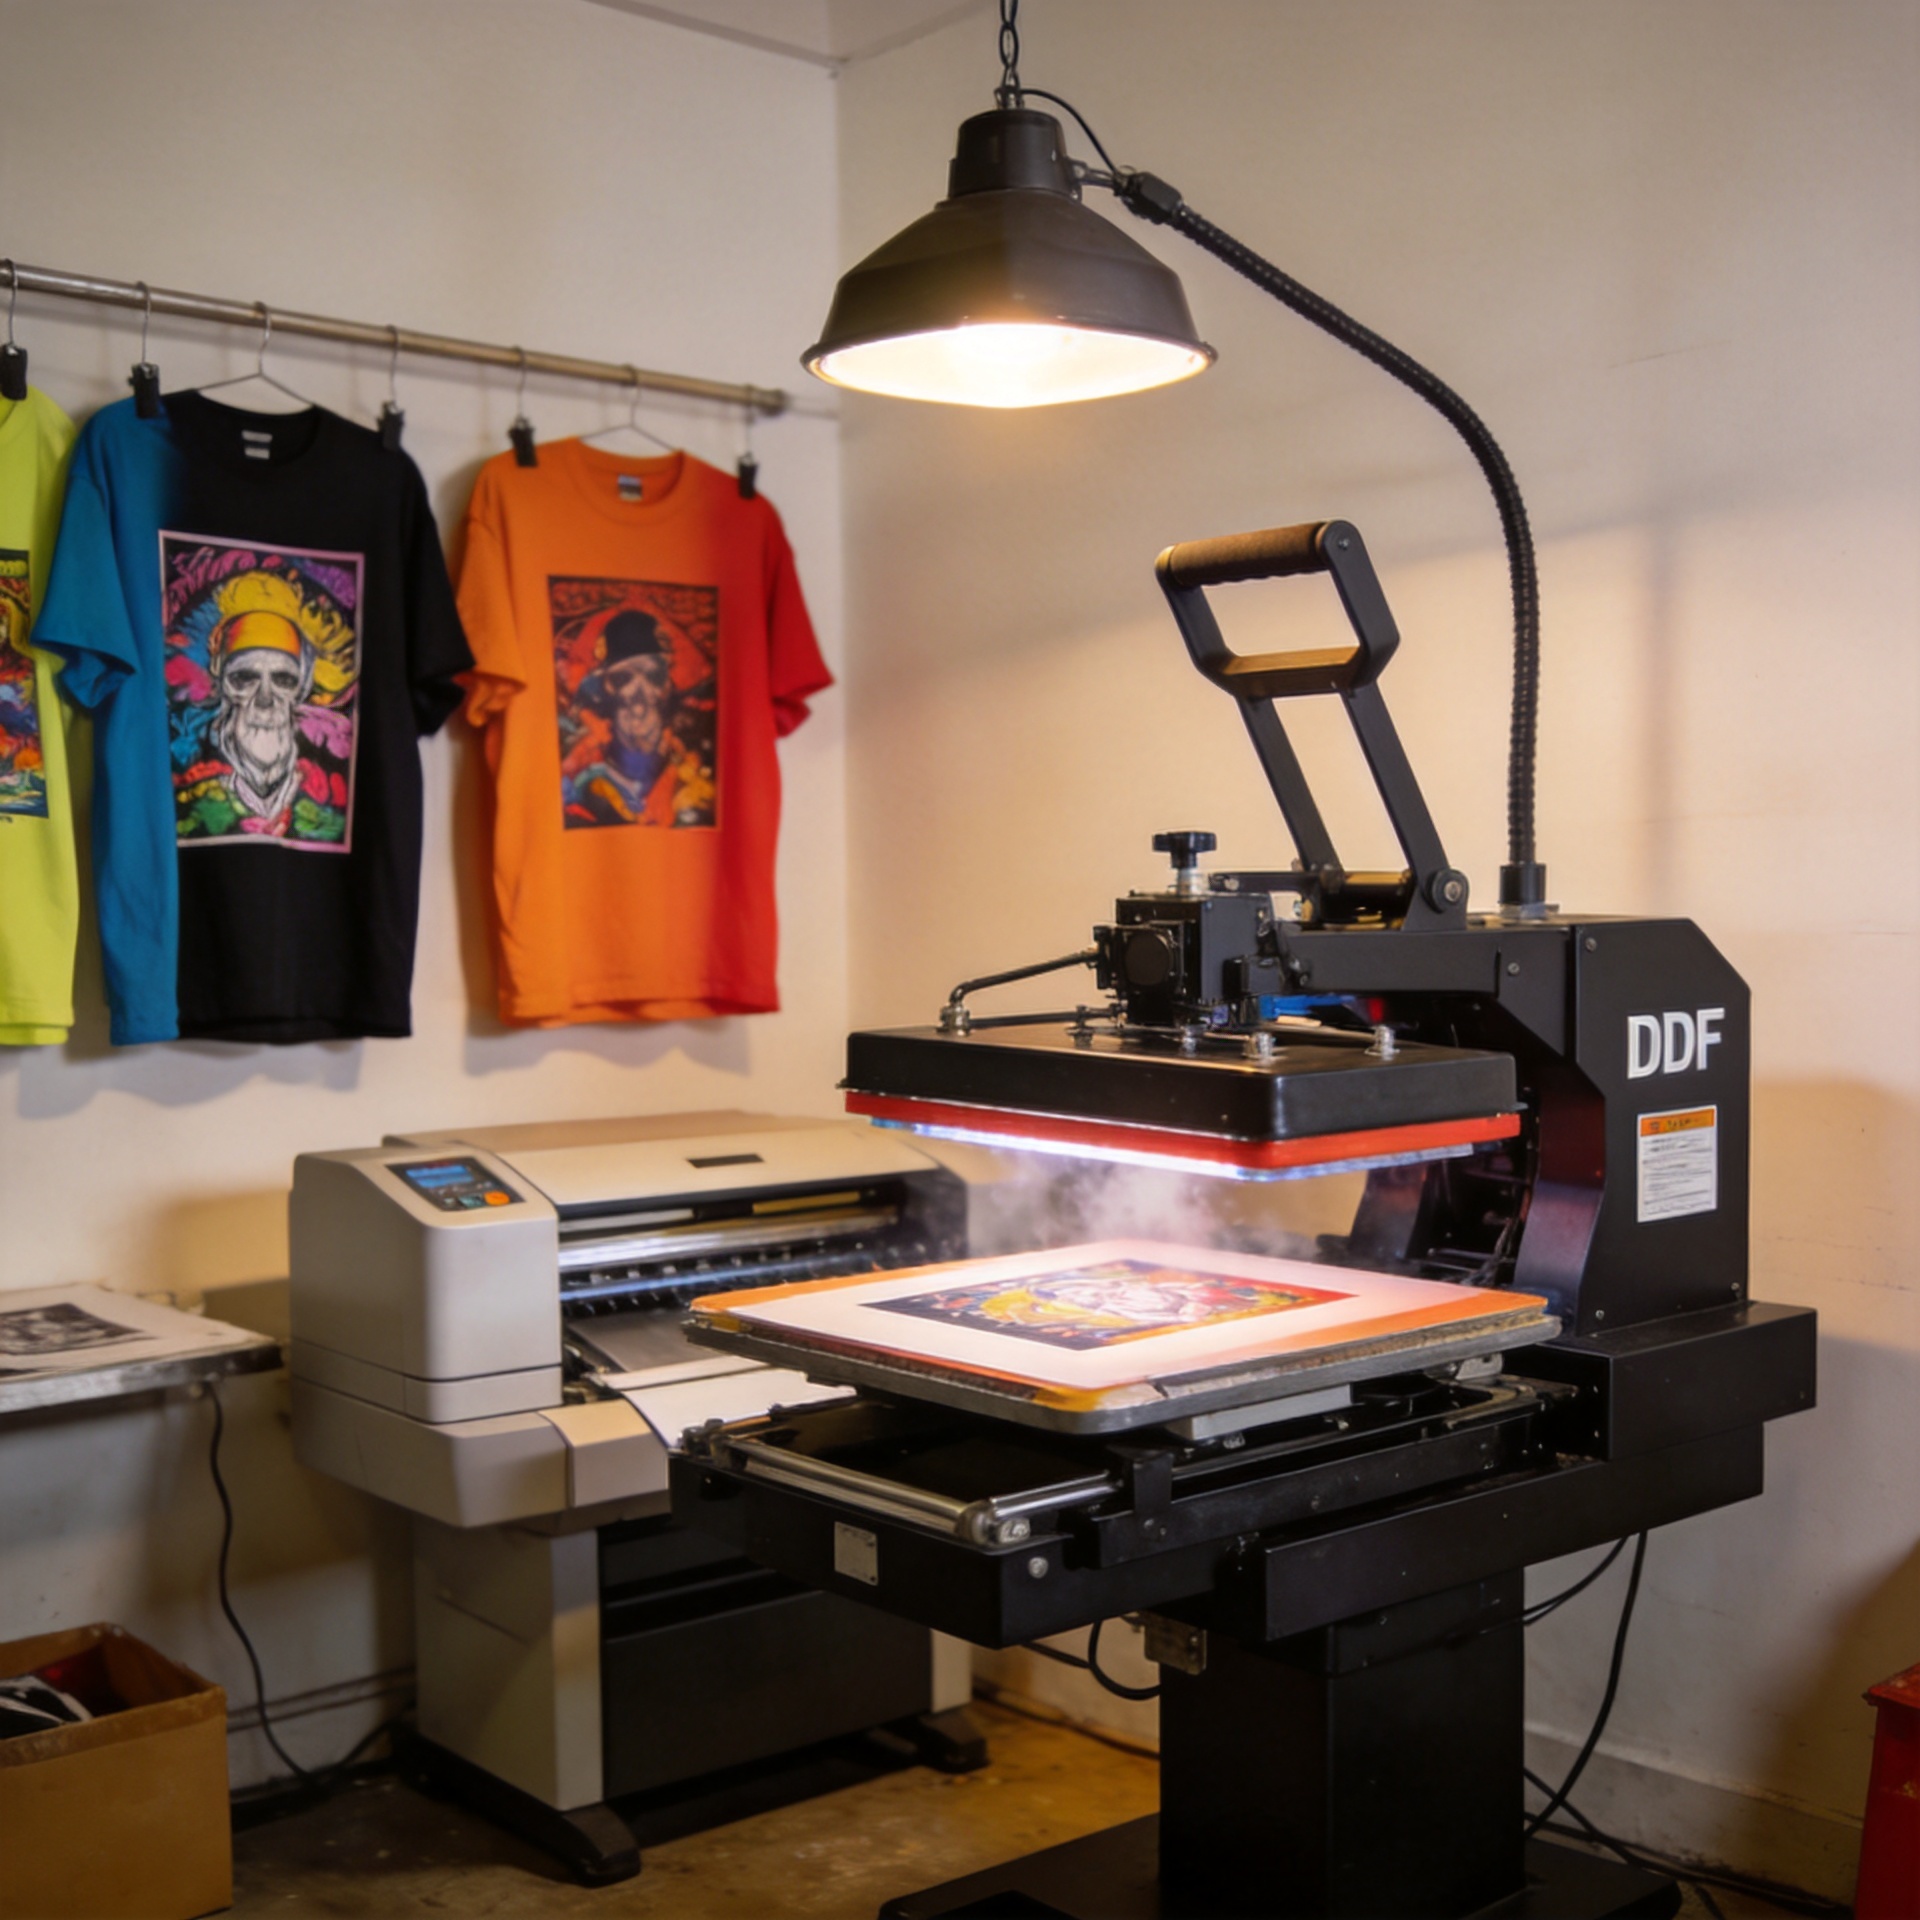
Step 6: Transfer to Fabric with a Heat Press
Position the cured dtf transfer films printed-side down on the garment. Alignment is final once heat is applied. Pre-press the fabric 3–5 seconds to remove moisture first. Standard heat press parameters when printing dtf transfers to fabric:
- Temperature: 290–320°F (144–160°C)
- Press time: 10–20 seconds, medium-to-firm pressure
Test on a scrap piece before committing to a full run on a new fabric type, since different substrates respond differently when printing dtf at these temperature ranges.
Step 7: Peel and Post-Press
After pressing, cool for 5–10 seconds, then peel the film at around 45 degrees. Most dtf transfer films support both cold and warm peel. Check your film's specification. Do a final post-press: 5 seconds at the same temperature with a cover sheet. This seals edges, improves washability, and gives prints a finished surface feel.
Key Parameter Reference
| Process Stage | Parameter | Typical Range |
|---|---|---|
| File prep | Resolution | 300 DPI minimum |
| RIP output | Print resolution | 720×1440 dpi standard; 1440×1440 for detail |
| Powder curing (press) | Temperature | 300–325°F (149–163°C) |
| Powder curing (oven) | Temp / Time | 110–120°C / 2–3 min |
| Heat press transfer | Temperature | 290–320°F (144–160°C) |
| Heat press transfer | Press time | 10–20 seconds |
| Post-press | Duration | 5 seconds with cover sheet |
Common Issues When Printing DTF
Failure points that come up consistently when printing dtf at volume:
- Ink clogging: White ink settles faster than CMYK—run a nozzle check if the printing dtf setup has been idle more than a day
- Film feed issues: Humidity affects stiffness; store dtf transfer films sealed and flat, and condition them to your environment before loading
- Powder adhesion inconsistency: Usually means ink was too dry before powder application, or curing temperature was off. Recheck both before reprinting
- Color shift: Typically a profile mismatch in RIP. Re-profile against your actual ink and film combination
Printing dtf rewards attention to the full system. When dtf transfer films, powder, ink settings, and press parameters are aligned, the output is consistent and produces dtf transfers ready to press that hold up through washing and repeated use. For operations building an in-house workflow, the combination of a reliable printer, quality dtf transfer films, and purpose-formulated adhesive powder gives you a repeatable process from digital file to finished transfer.