EN


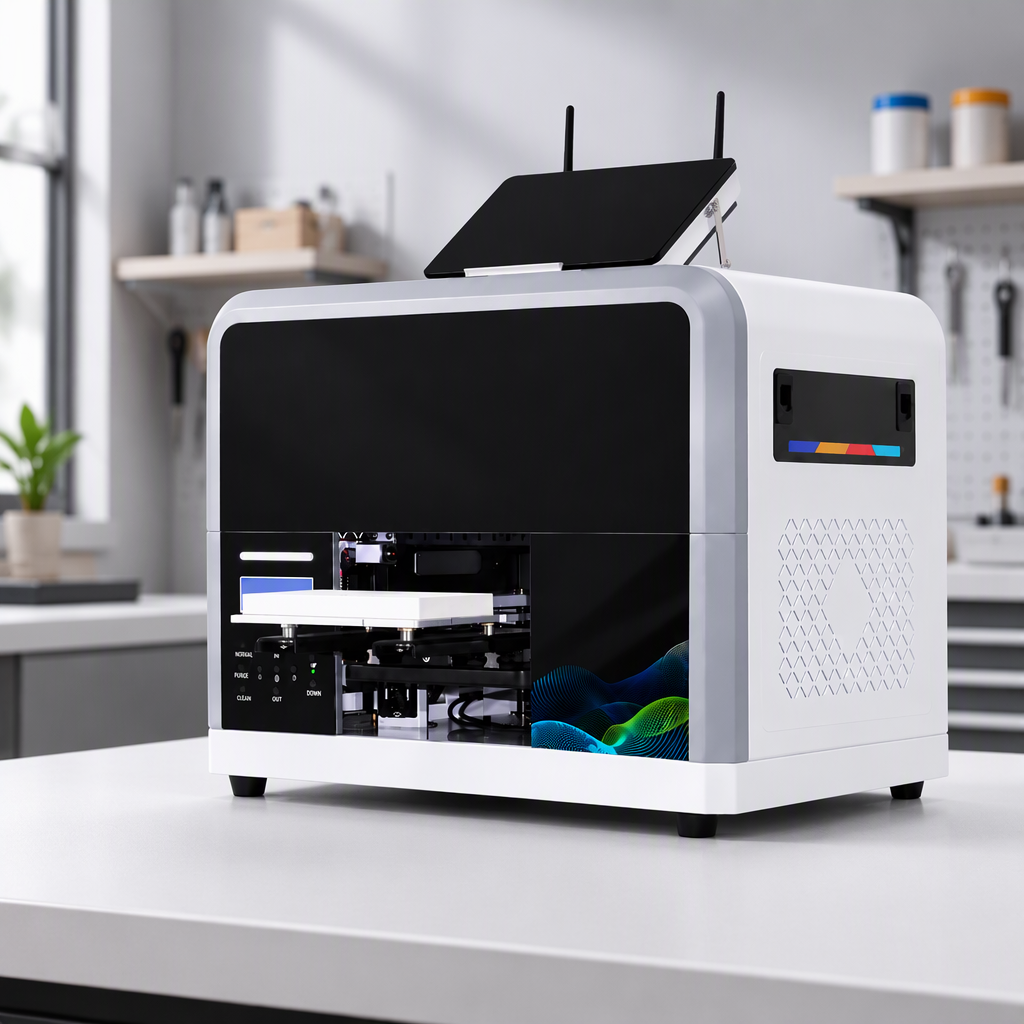
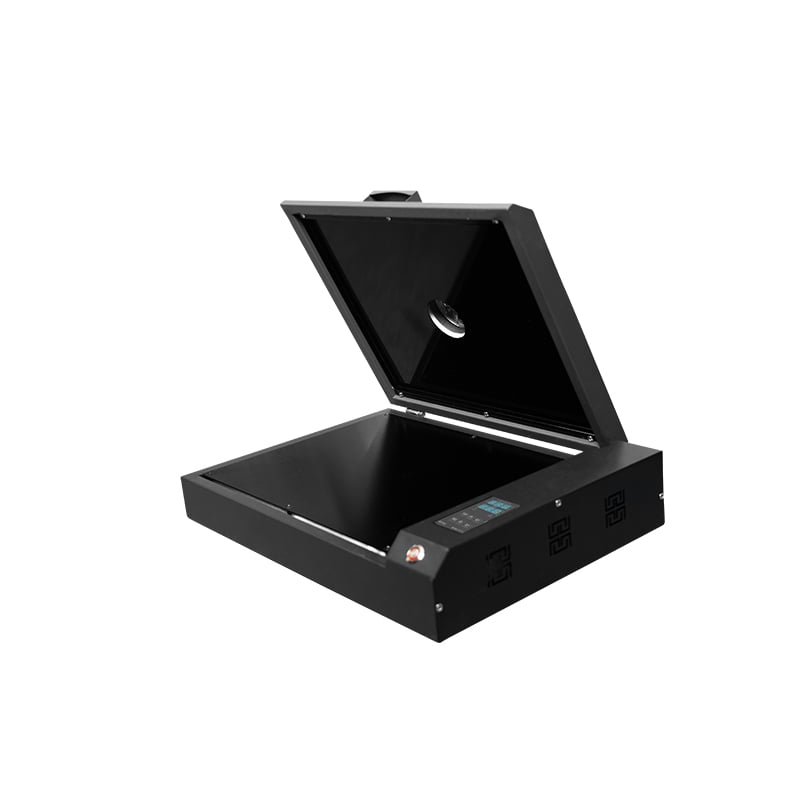
Meet the SUNIKA A5 UV Flatbed Printer: Compact Printing for Personalized Products
2026/11/19
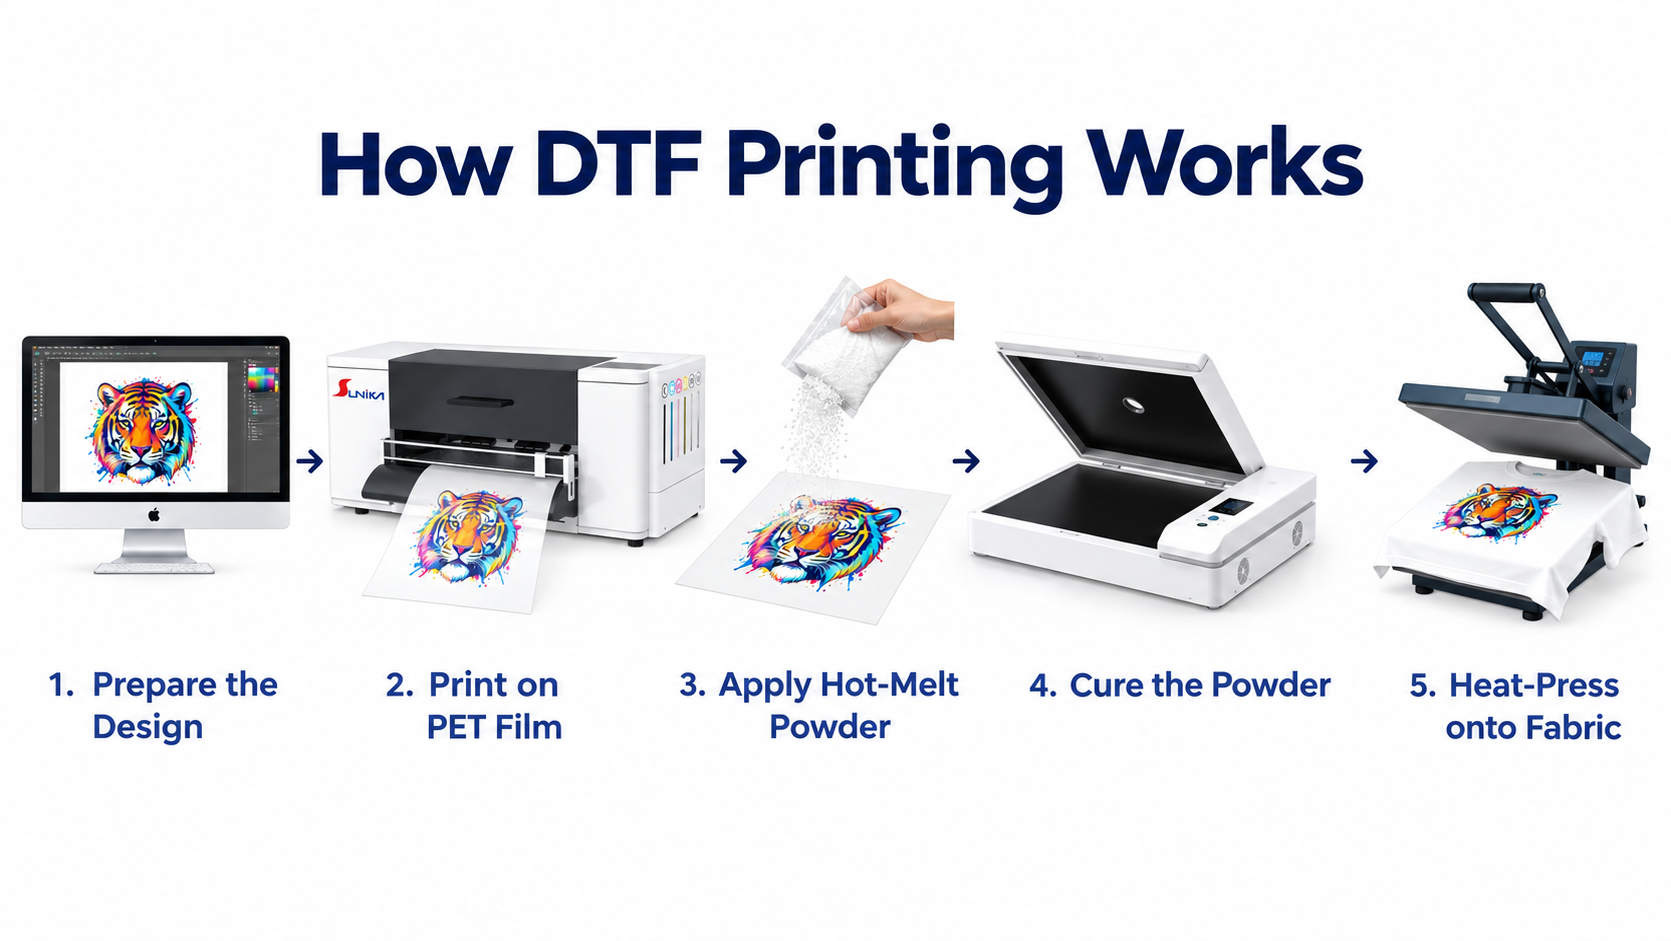
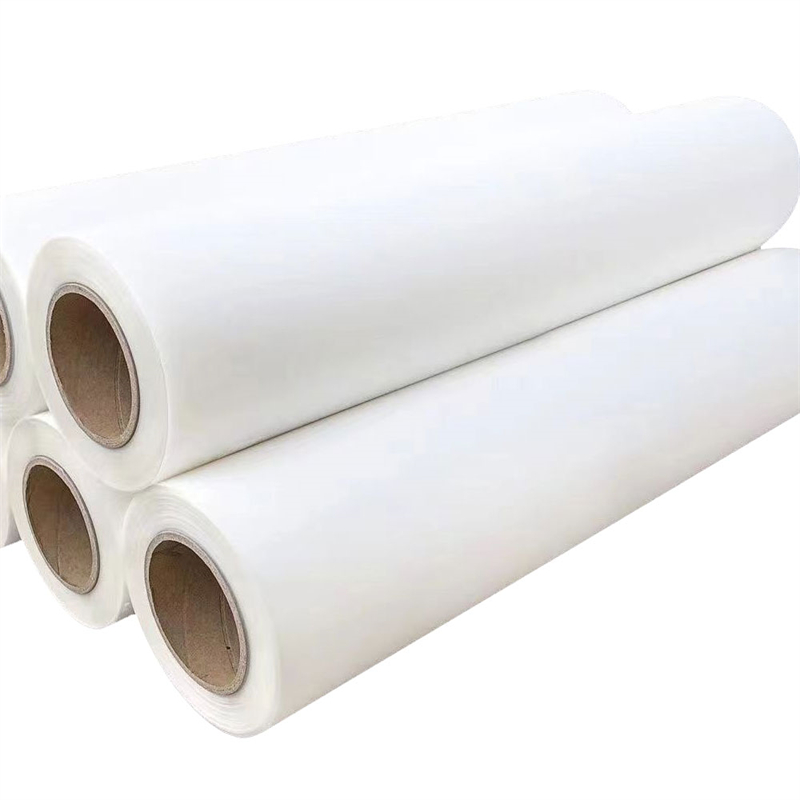
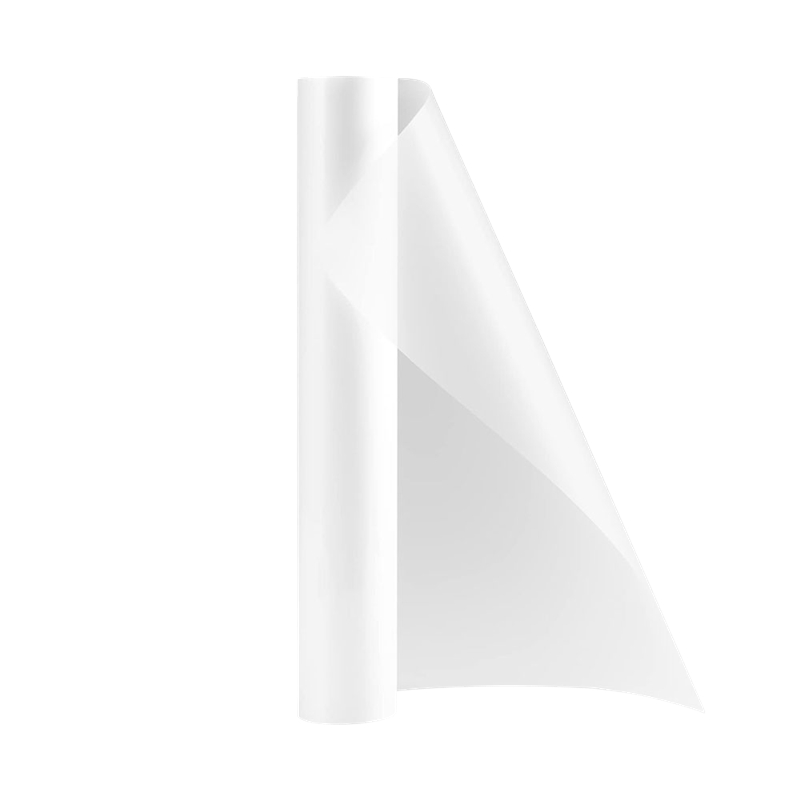
In DTF printing, the transfer film plays an important role in the final result. It holds the printed design during production and helps transfer it onto fabric during heat pressing.
However, not all DTF films are peeled in the same way. Some need to cool completely before peeling, while others can be removed immediately after pressing. These are known as cold peel and hot peel films.
So, what's the difference, and which one should you use? Let's take a closer look.
Cold peel DTF film is designed to be removed only after the transfer has cooled down to room temperature.
After heat pressing, the film remains on the garment until it has cooled. Once cool, you can slowly peel it away to reveal the transferred design.
Key features of cold peel film:
Requires cooling before peeling.
Provides a clear and controlled peeling process.
Often preferred when the transfer process allows enough cooling time.
Requires additional waiting time between pressing and peeling.
Cold peel film is a common choice for businesses that prioritize a consistent transfer process and can accommodate the extra cooling step.
Hot peel DTF film can be removed immediately after heat pressing, while the transfer is still hot.
Once the pressing cycle is complete, you can peel away the film according to the manufacturer's instructions without waiting for it to cool completely.
Key features of hot peel film:
Can be peeled immediately after pressing.
Reduces waiting time between pressing and peeling.
Helps speed up the transfer workflow.
Requires careful handling because the film and garment are hot.
For businesses handling frequent orders, hot peel film can make production more efficient by reducing the time spent waiting for transfers to cool.
The main difference is when the transfer film should be removed. However, this also affects the production workflow.
| Comparison | Cold Peel | Hot Peel |
|---|---|---|
| Peeling time | After cooling | Immediately after pressing |
| Waiting time | Longer | Shorter |
| Workflow | Requires a cooling step | Faster peeling process |
| Handling | Peel after cooling | Handle while hot |
| Best suited for | Workflows that allow cooling time | Workflows that prioritize speed |
Neither type is automatically better. The right choice depends on your production needs, transfer materials, and the results you want.
Choosing between cold peel and hot peel film depends on how you organize your production.
Choose cold peel film if:
You don't mind waiting for the transfer to cool.
Your production schedule allows time between pressing and peeling.
The film is recommended for your specific ink, powder, and fabric combination.
Choose hot peel film if:
You want to reduce waiting time during production.
You handle frequent or larger batches of orders.
You want to move garments through the heat-pressing process more quickly.
Before choosing either type, check the film supplier's specifications. Compatibility with your ink, adhesive powder, fabric, and heat-press settings matters more than the peeling method alone.
Even with the right film, incorrect peeling can affect the finished transfer. Keep these points in mind:
Follow the recommended peeling time. Don't peel cold peel film while it is still hot, and don't assume every hot peel film can be removed instantly. Follow the manufacturer's instructions.
Peel smoothly. Remove the film at a steady pace instead of pulling it sharply. This helps reduce the risk of lifting parts of the design.
Check the transfer before peeling. Make sure the design has been pressed using the recommended temperature, time, and pressure.
Test before production. Different films, powders, inks, and fabrics may require different settings. Run a sample transfer before processing a full batch.
Use a finishing press when needed. Some transfer processes recommend a second press after peeling to improve the finish. Follow the film supplier's instructions.
If the design doesn't transfer properly, the peeling process may be one factor to check.
This may happen if the transfer has not bonded properly to the fabric. Check the pressing temperature, pressure, and time. Also confirm that the film, adhesive powder, and fabric are compatible.
Incomplete curing, uneven pressure, or incorrect peeling timing can contribute to this problem. Check the entire transfer process rather than changing only the peeling method.
Uneven heat or pressure can affect adhesion across the design. Make sure the garment is positioned correctly and the heat press applies consistent pressure.
It is best to follow the film manufacturer's instructions. Although some films may tolerate different peeling temperatures, changing the recommended process can affect the transfer result.
Not necessarily. Hot peel film can save time because it does not require a full cooling period. Cold peel film may be a better fit for workflows where waiting is not a problem. The best option depends on your materials and production requirements.
Not always. Different films may require different temperatures, pressing times, and pressure. Always check the manufacturer's recommended settings before printing.
Some DTF films recommend a second press to improve the surface finish or adhesion. Others may not require it. Check the film instructions and test the result on a sample garment.
Cold peel and hot peel DTF films serve the same basic purpose, but they differ in when the film should be removed.
Cold peel requires the transfer to cool before peeling, while hot peel allows removal immediately after pressing. Hot peel can shorten the production cycle, whereas cold peel adds a cooling step.
The best choice is not simply the one that saves more time. Consider your production workflow, material compatibility, and transfer quality. Most importantly, follow the film manufacturer's instructions and test before starting a full production run.