EN
EN


How DTF Transfers Work: Complete Step-by-Step Process Guide
DTF heat transfer moves a printed design from coated PET film to fabric with ink, adhesive powder, controlled heat, and pressure. The workflow is straightforward once each handoff is understood, but it is not a “print and press” shortcut. Film handling, white-ink coverage, powder distribution, curing, and press consistency all affect the final result.
This guide follows the full process from artwork to cold peel. It is designed for shops comparing a DTF workflow or setting up a repeatable production routine. The exact settings depend on the ink, film, powder, garment, and equipment instructions in use, so treat the ranges below as starting points for testing rather than universal specifications.
What happens during DTF heat transfer?
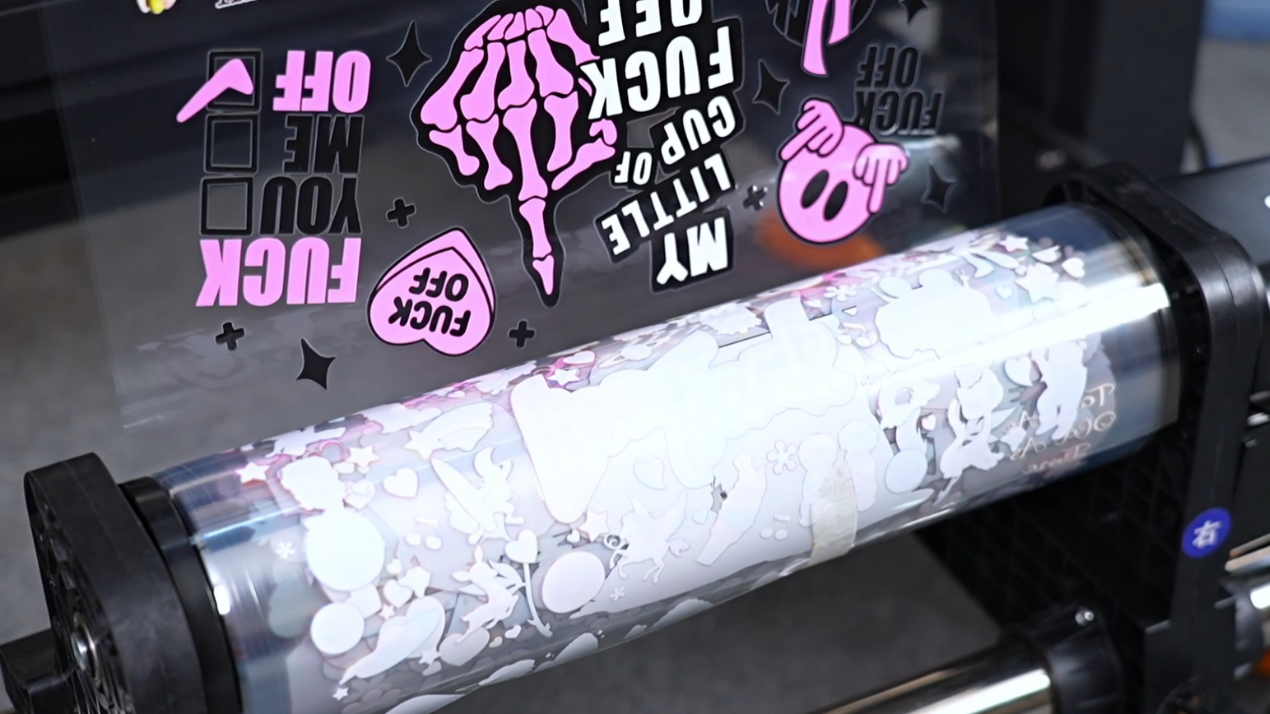
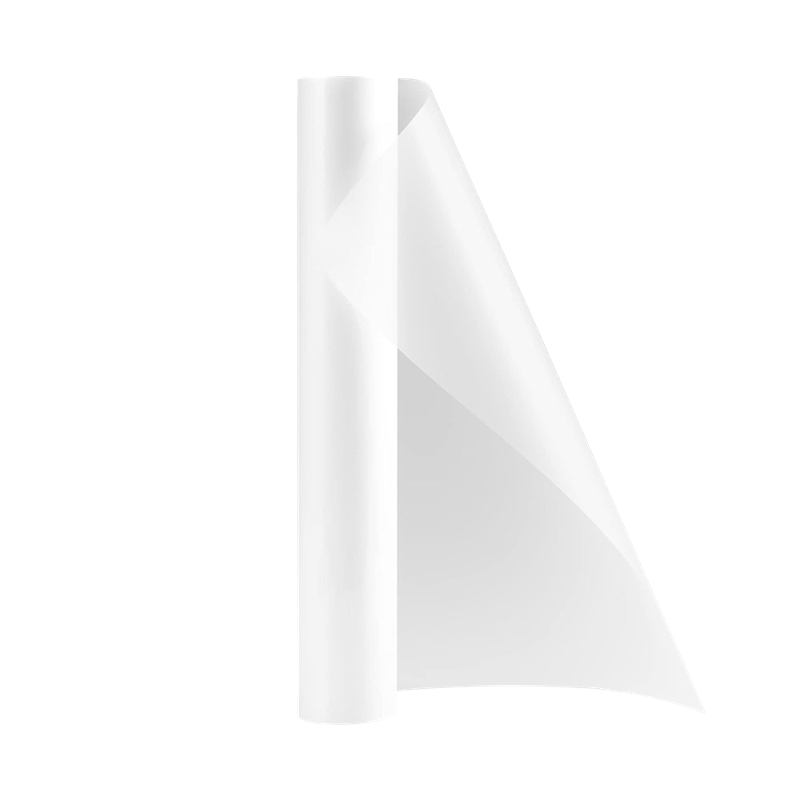
In a typical DTF heat transfer workflow, a design is printed onto dtf transfer sheets, a white-ink layer is printed behind the color image, and hot-melt adhesive powder is applied while that ink is still wet. The coated film is cured until the powder melts into a continuous adhesive layer. After cooling, the transfer is placed on the garment, pressed, allowed to cool when the film calls for a cold peel, and then peeled away.
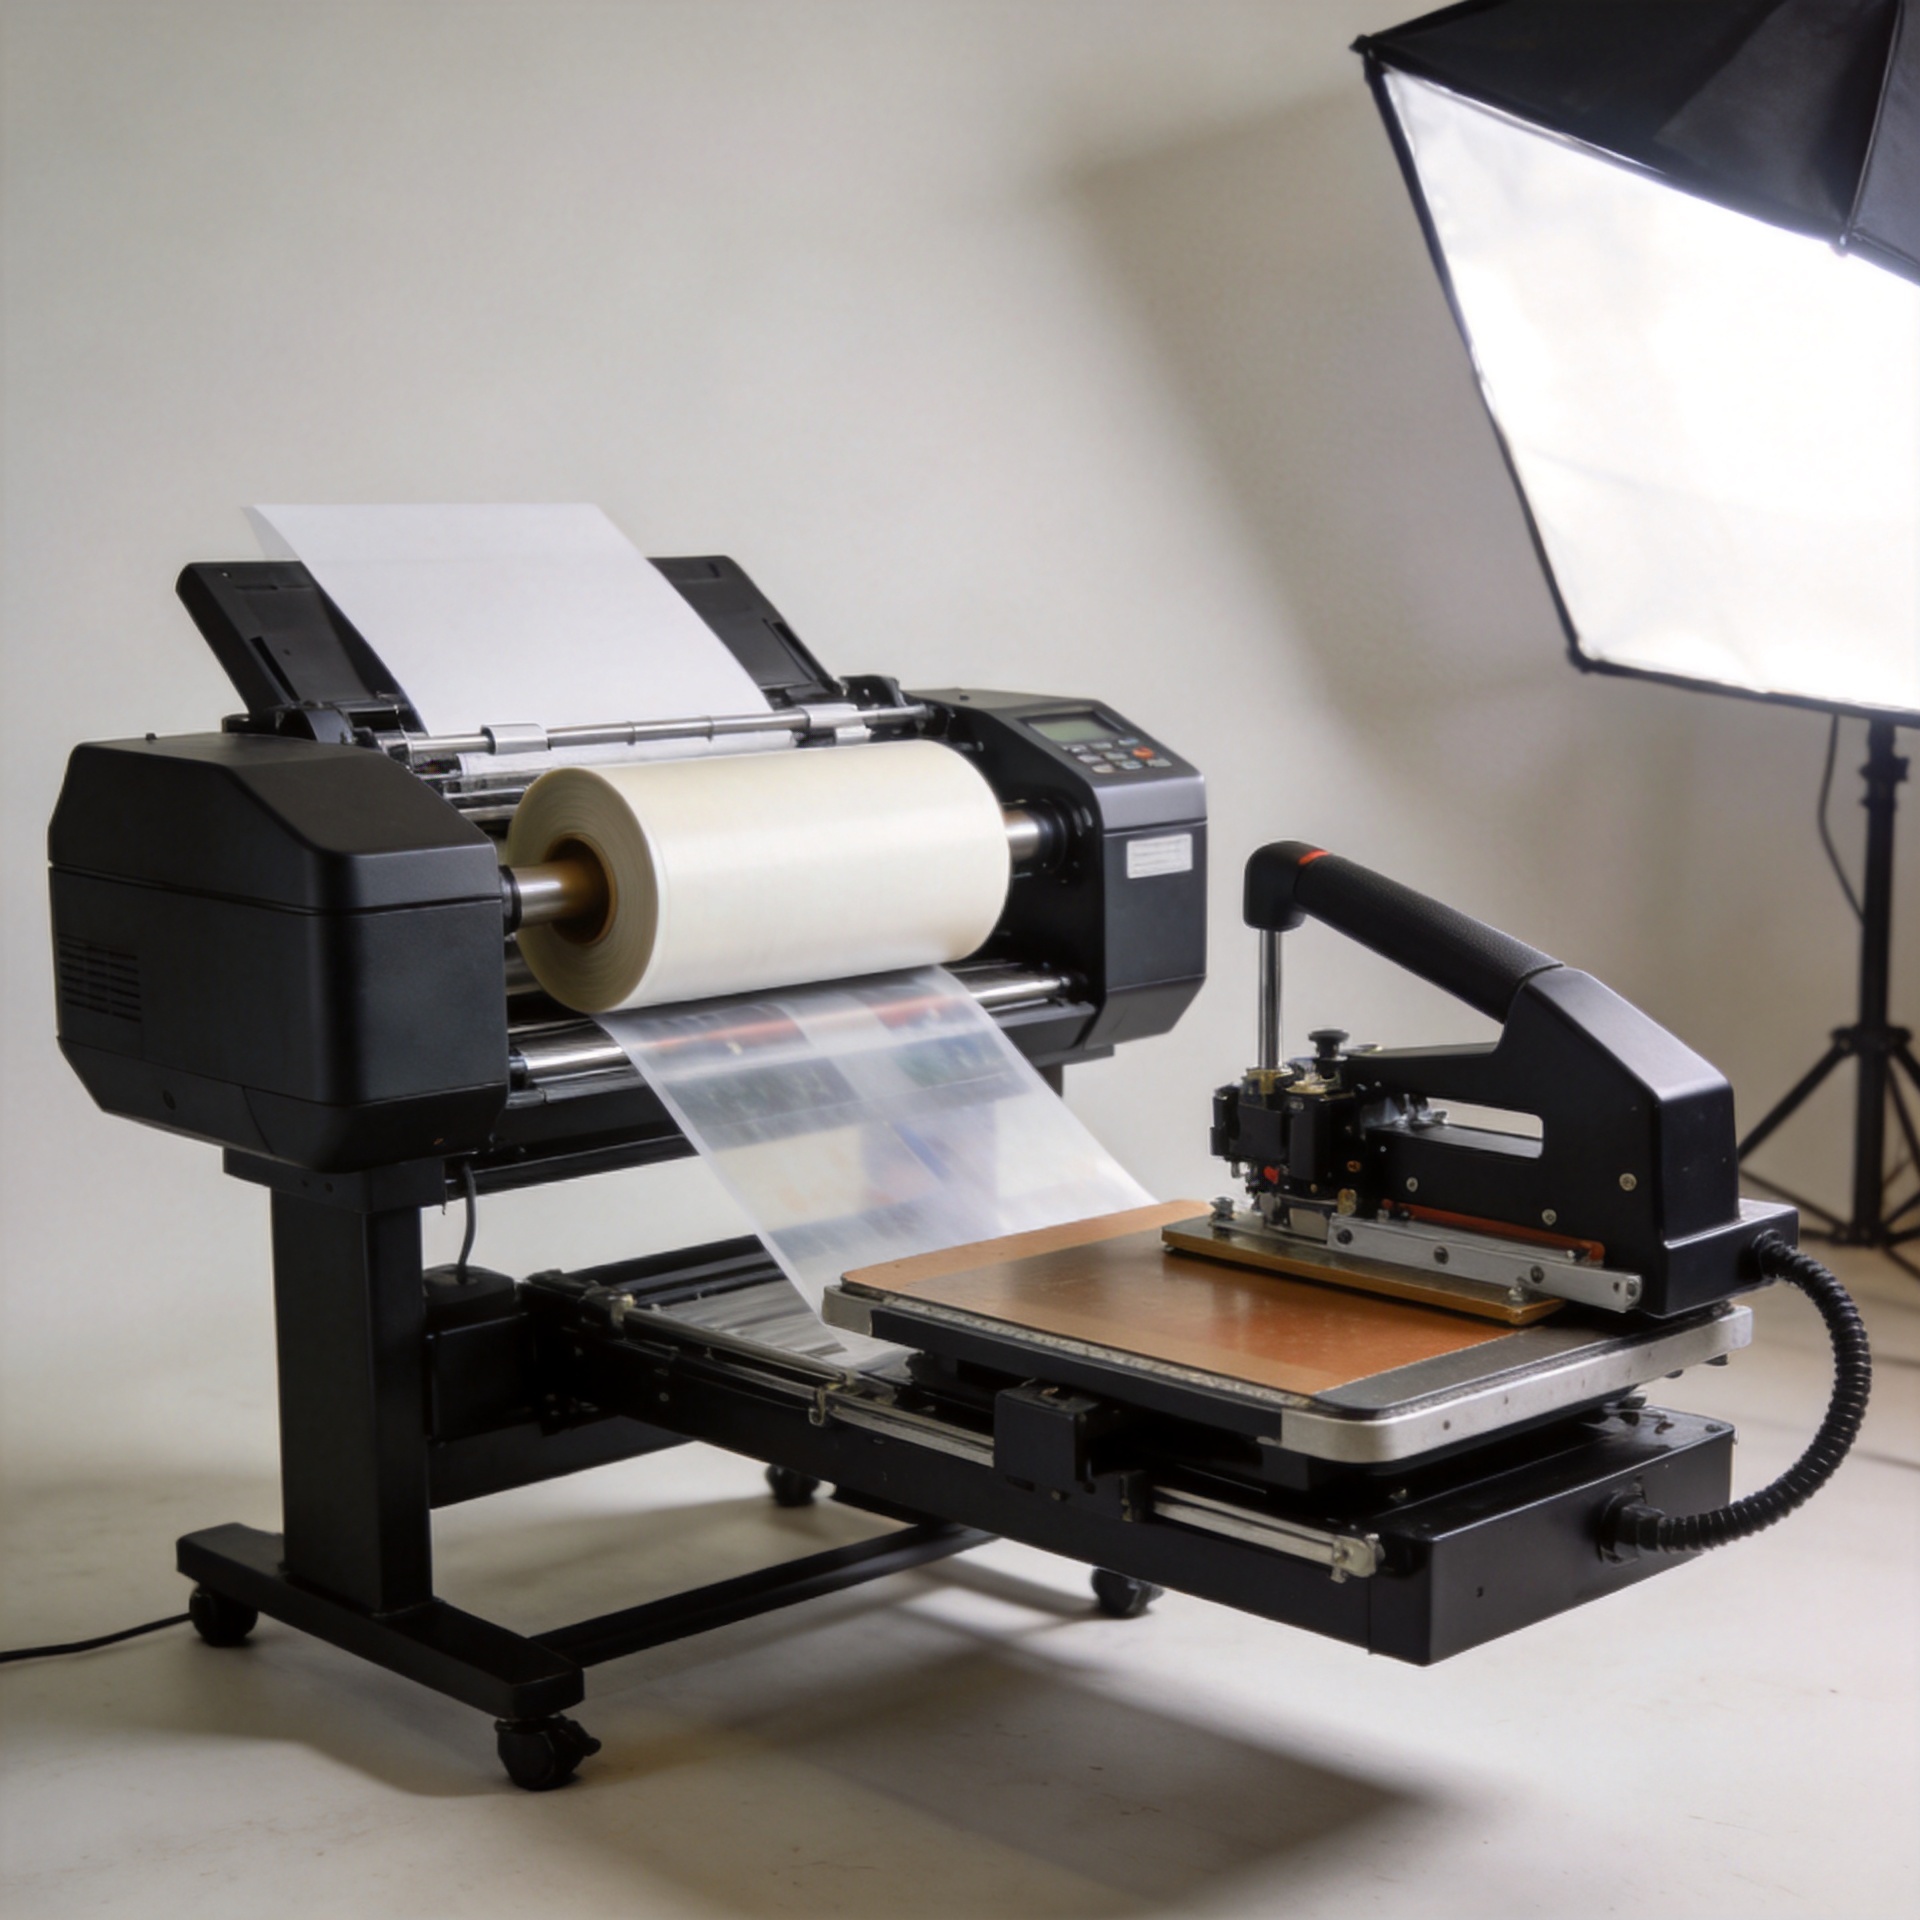
The important point is that the printer, dtf film, ink, powder, oven, and heat press act as one system. A clean print alone cannot compensate for uneven powder or a press platen with inconsistent pressure.
Step 1: Prepare the artwork and RIP settings
Start with a high-quality graphic and inspect fine lines, transparent edges, and small isolated details before printing. In the RIP workflow, the colored layers are typically prepared together with a white underbase. The white layer supports opacity on dark garments; weak coverage can leave a design looking dull after transfer.
Use the profile supplied or validated for the active ink-and-film combination. If a design contains tiny text or hairline detail, run a small test first. It is much faster to adjust choke, white-ink density, or resolution before production than to discard a completed transfer later.
Step 2: Print onto PET film in the correct layer order
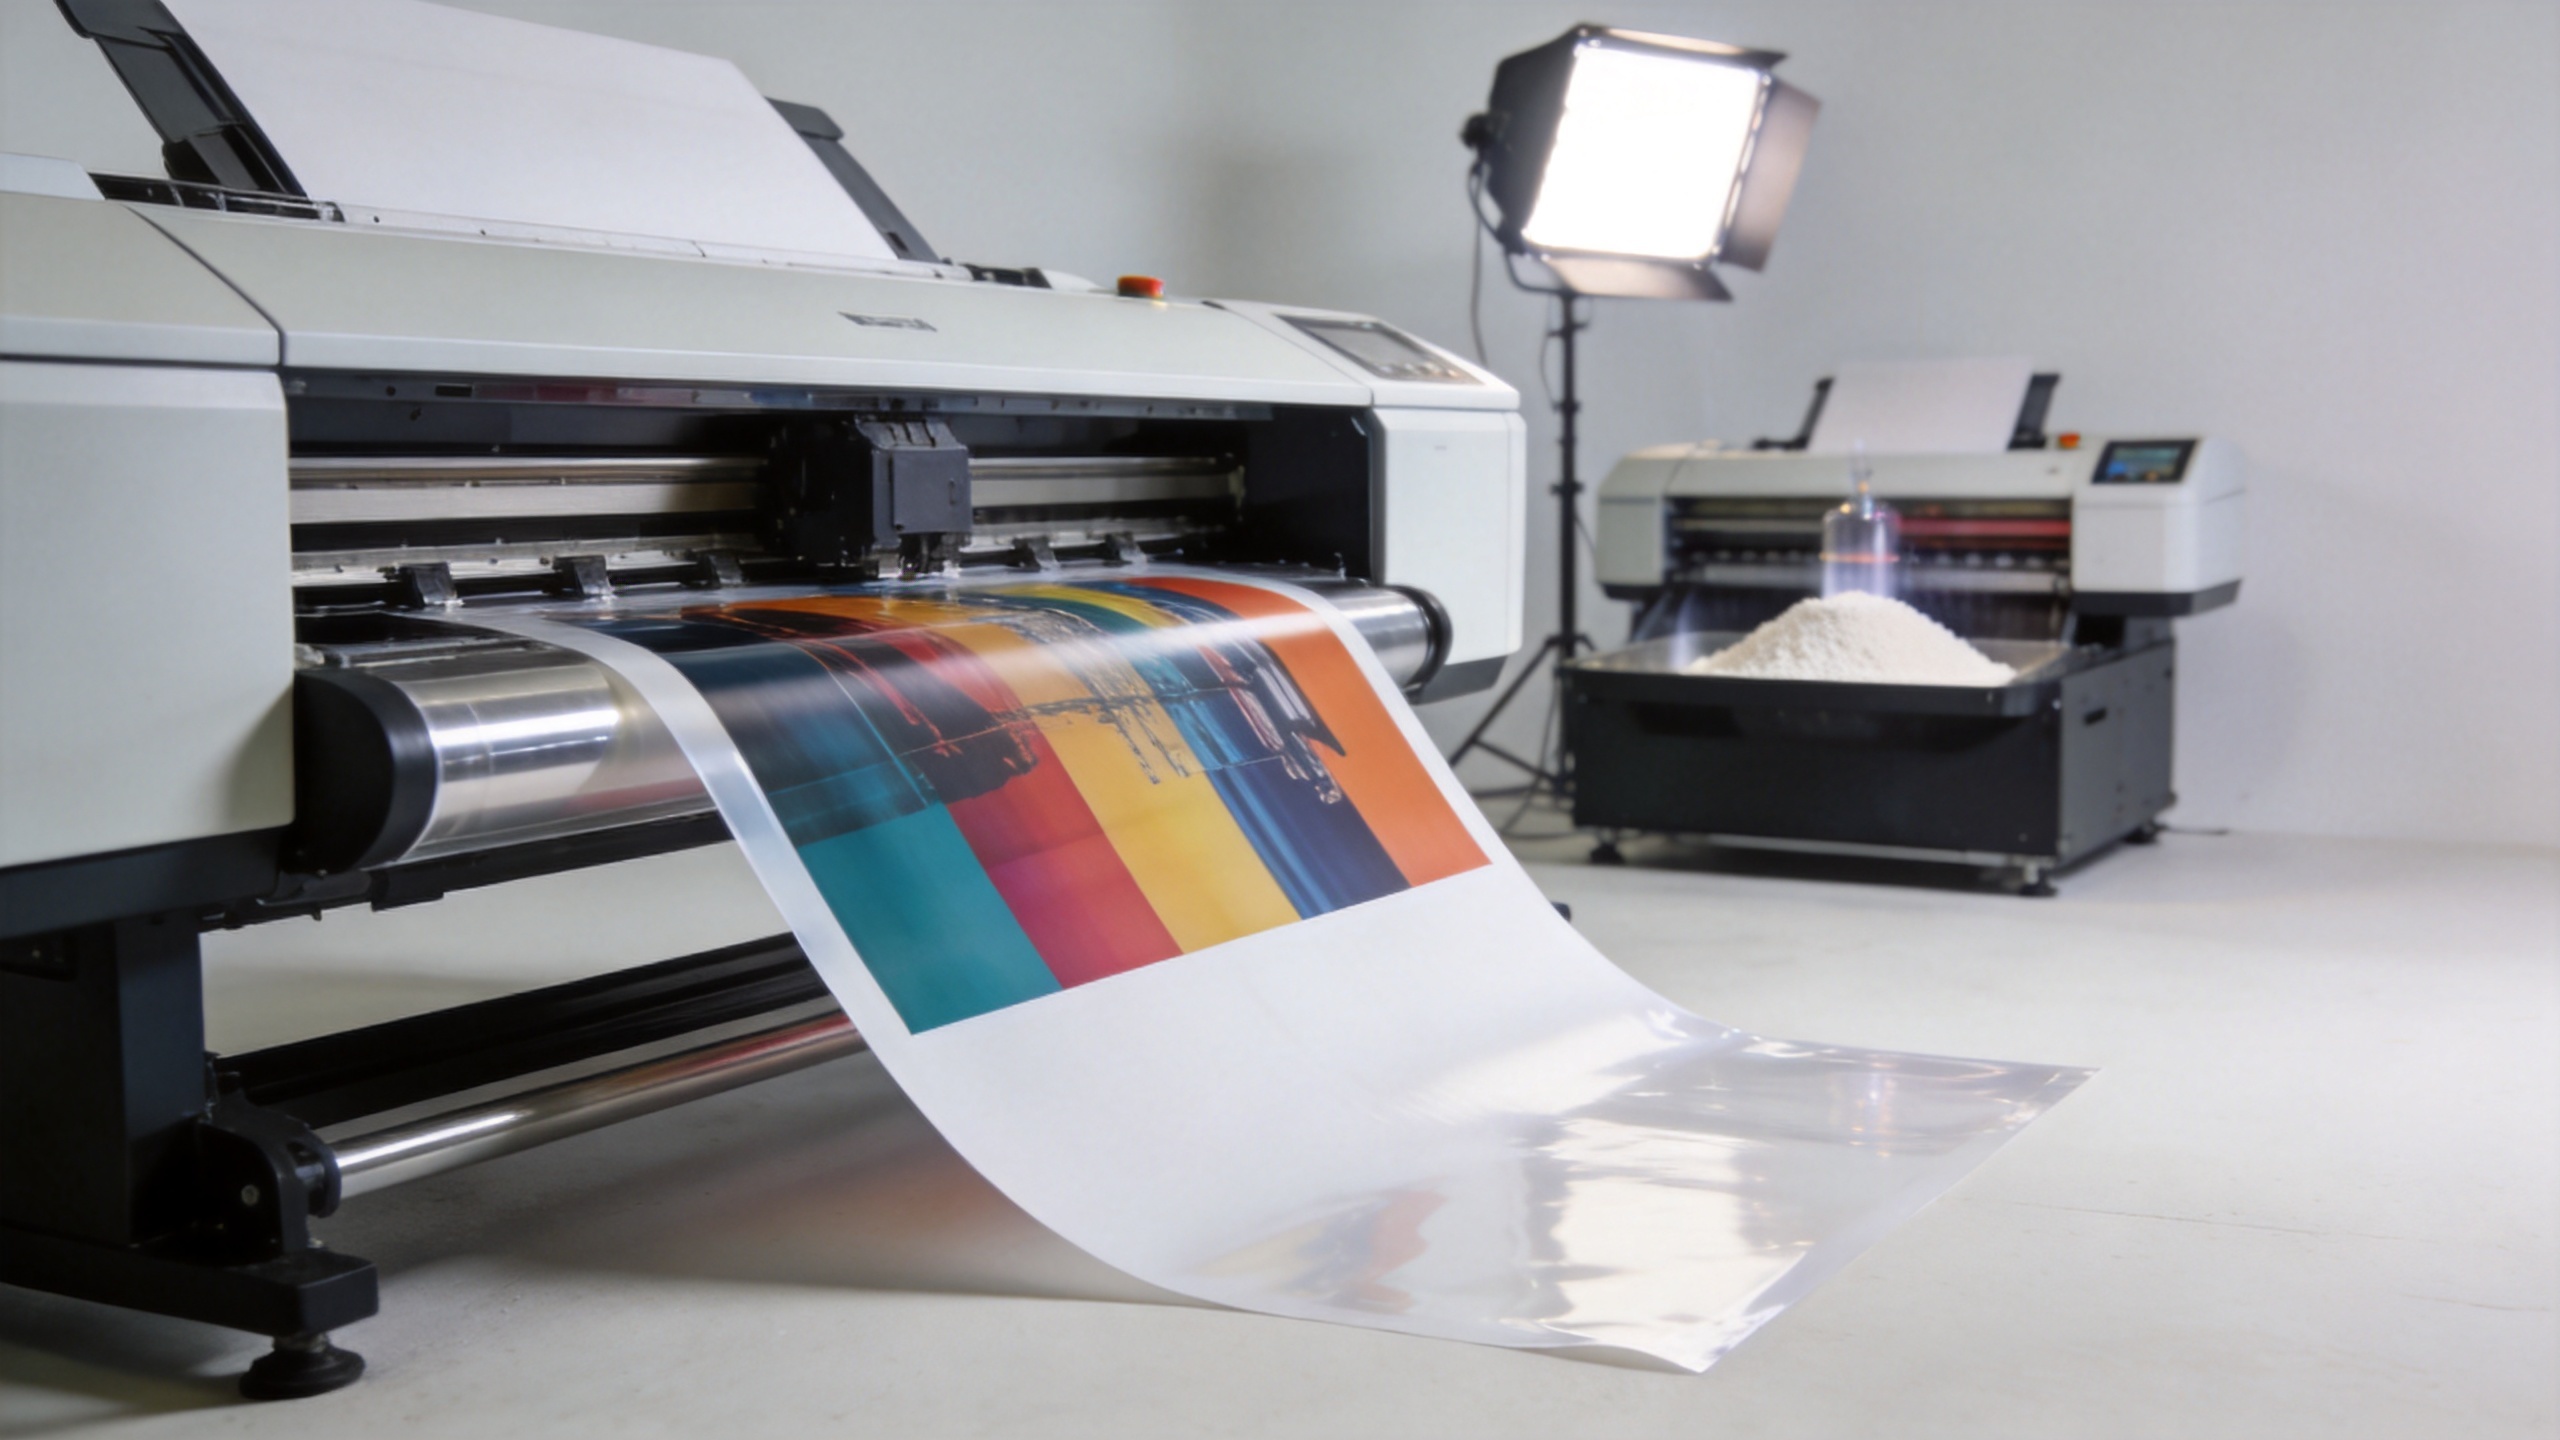
Load clean, dry dtf transfer sheets with the printable coating facing the print head. The artwork is normally printed as a mirrored image so it reads correctly after transfer. The color image is printed first, followed by white ink behind it. That reversed construction is one reason DTF heat transfer differs from printing directly onto fabric.
Keep the film flat and avoid touching the coated surface. Film curl, dust, or fingerprints can show up as edge defects or inconsistent ink adhesion. If your output suddenly varies across the width of a roll, check film storage and feed tension before assuming the printer is at fault.
Step 3: Apply hot-melt powder evenly
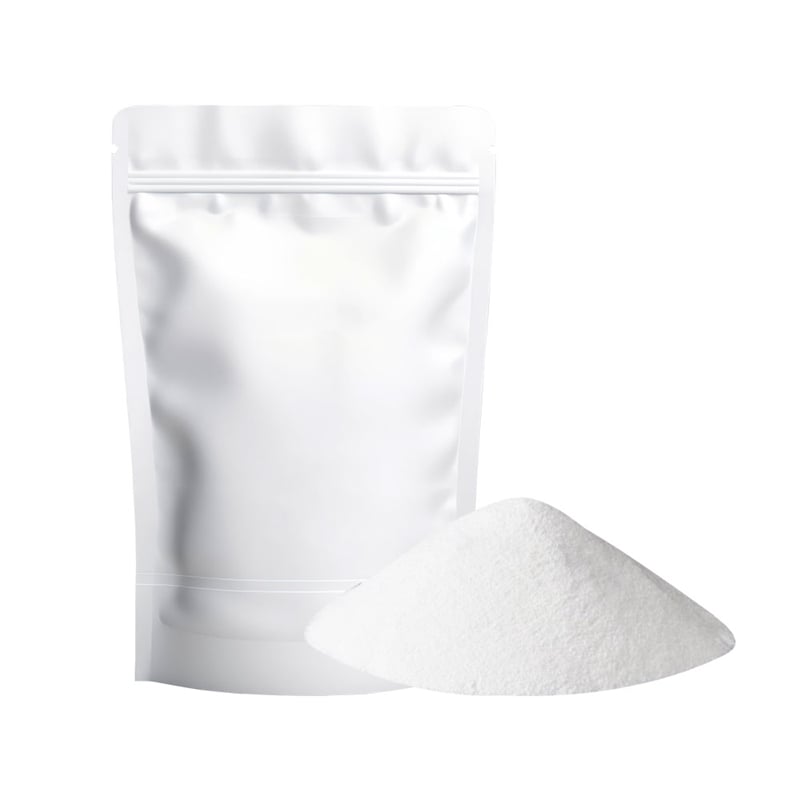
While the white ink remains wet, cover the printed area with DTF adhesive powder and remove all loose powder from unprinted areas. The goal is a complete, even layer over the ink—not a thick pile. Extra powder around small details can create a rough edge after pressing, while bare spots can reduce adhesion.
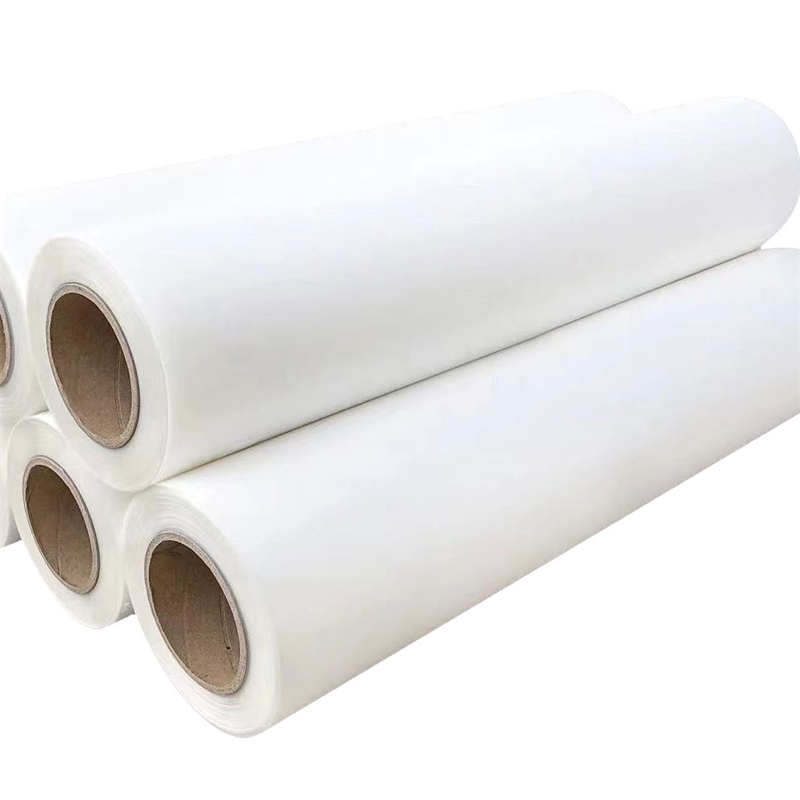
This is where a system mindset matters. dtf film and adhesive powder must be compatible with the ink and curing method. For a material option, see Hot Melt Adhesive Glue White Powder For DTF Heat Transfer Film. Do not treat any product page as a replacement for the operating instructions for your active consumables.
Step 4: Cure the transfer without scorching the film
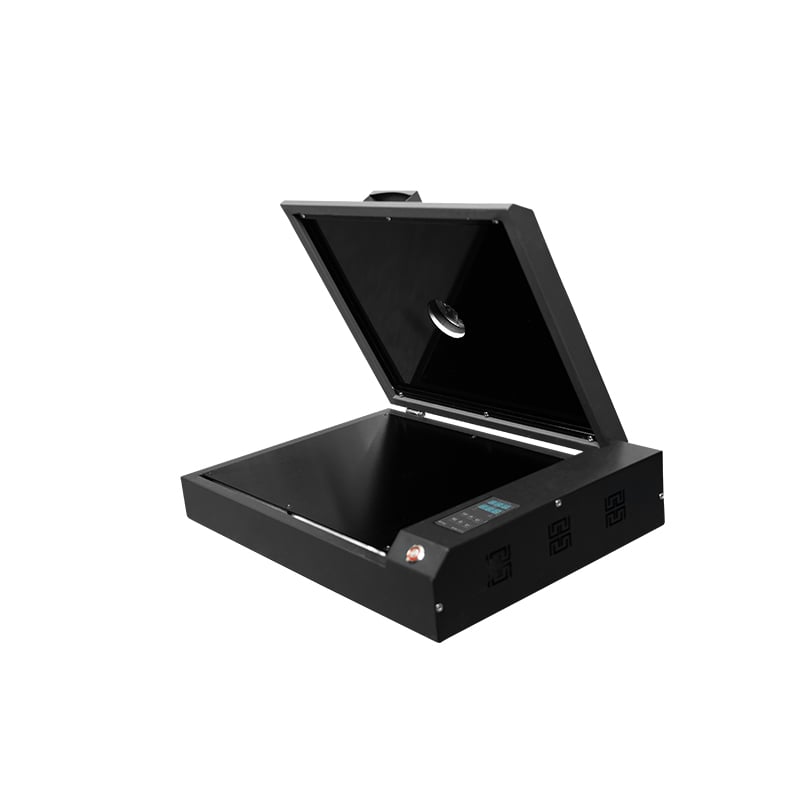
Curing melts the powder into a smooth adhesive layer while preserving the print. Published process guides often place this stage around 300–325°F (149–163°C), but the correct temperature and dwell time are specific to your powder, dtf film, and oven. Follow the consumable supplier’s guidance first and confirm the result with a controlled test.
Watch the film rather than relying only on a displayed temperature. The adhesive should melt into a uniform, slightly glossy layer. Powder that remains grainy may indicate insufficient heat; excessive heat can distort film, shift color, or make the adhesive behave unpredictably. Allow the transfer to cool flat before handling it.
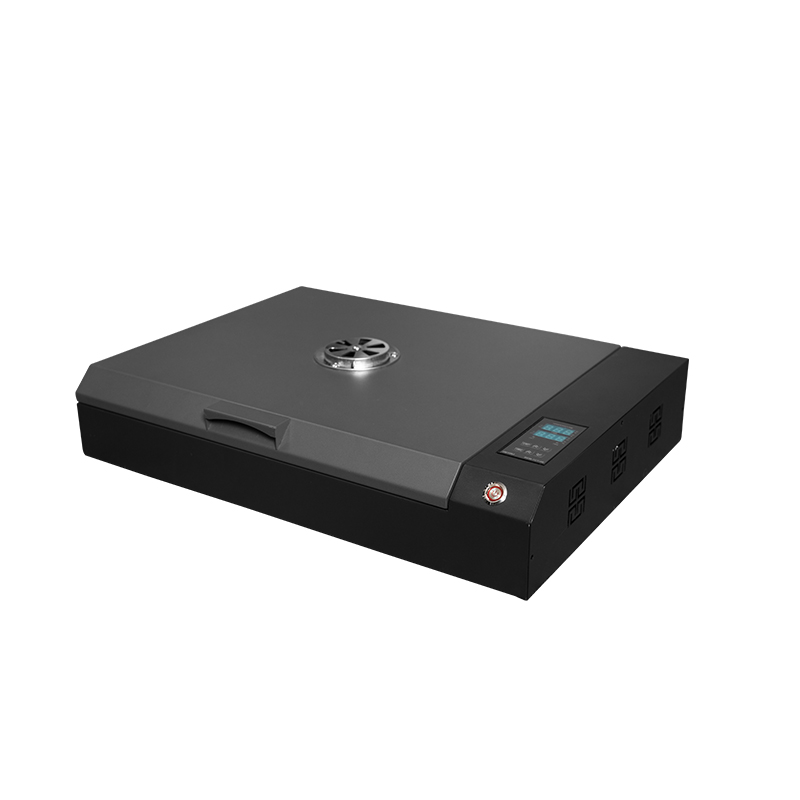
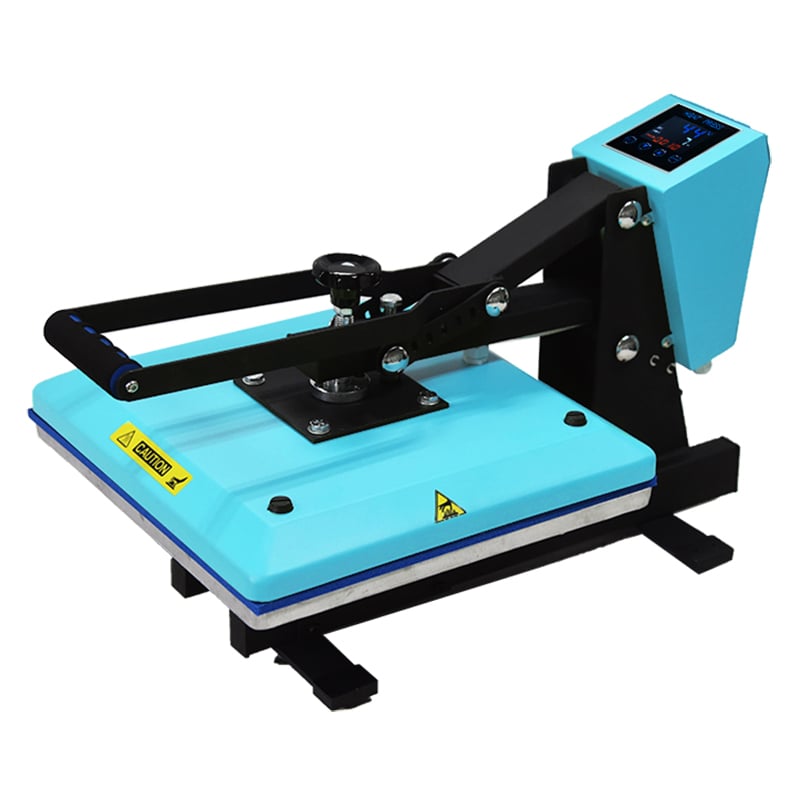
Step 5: Heat press the transfer onto the garment
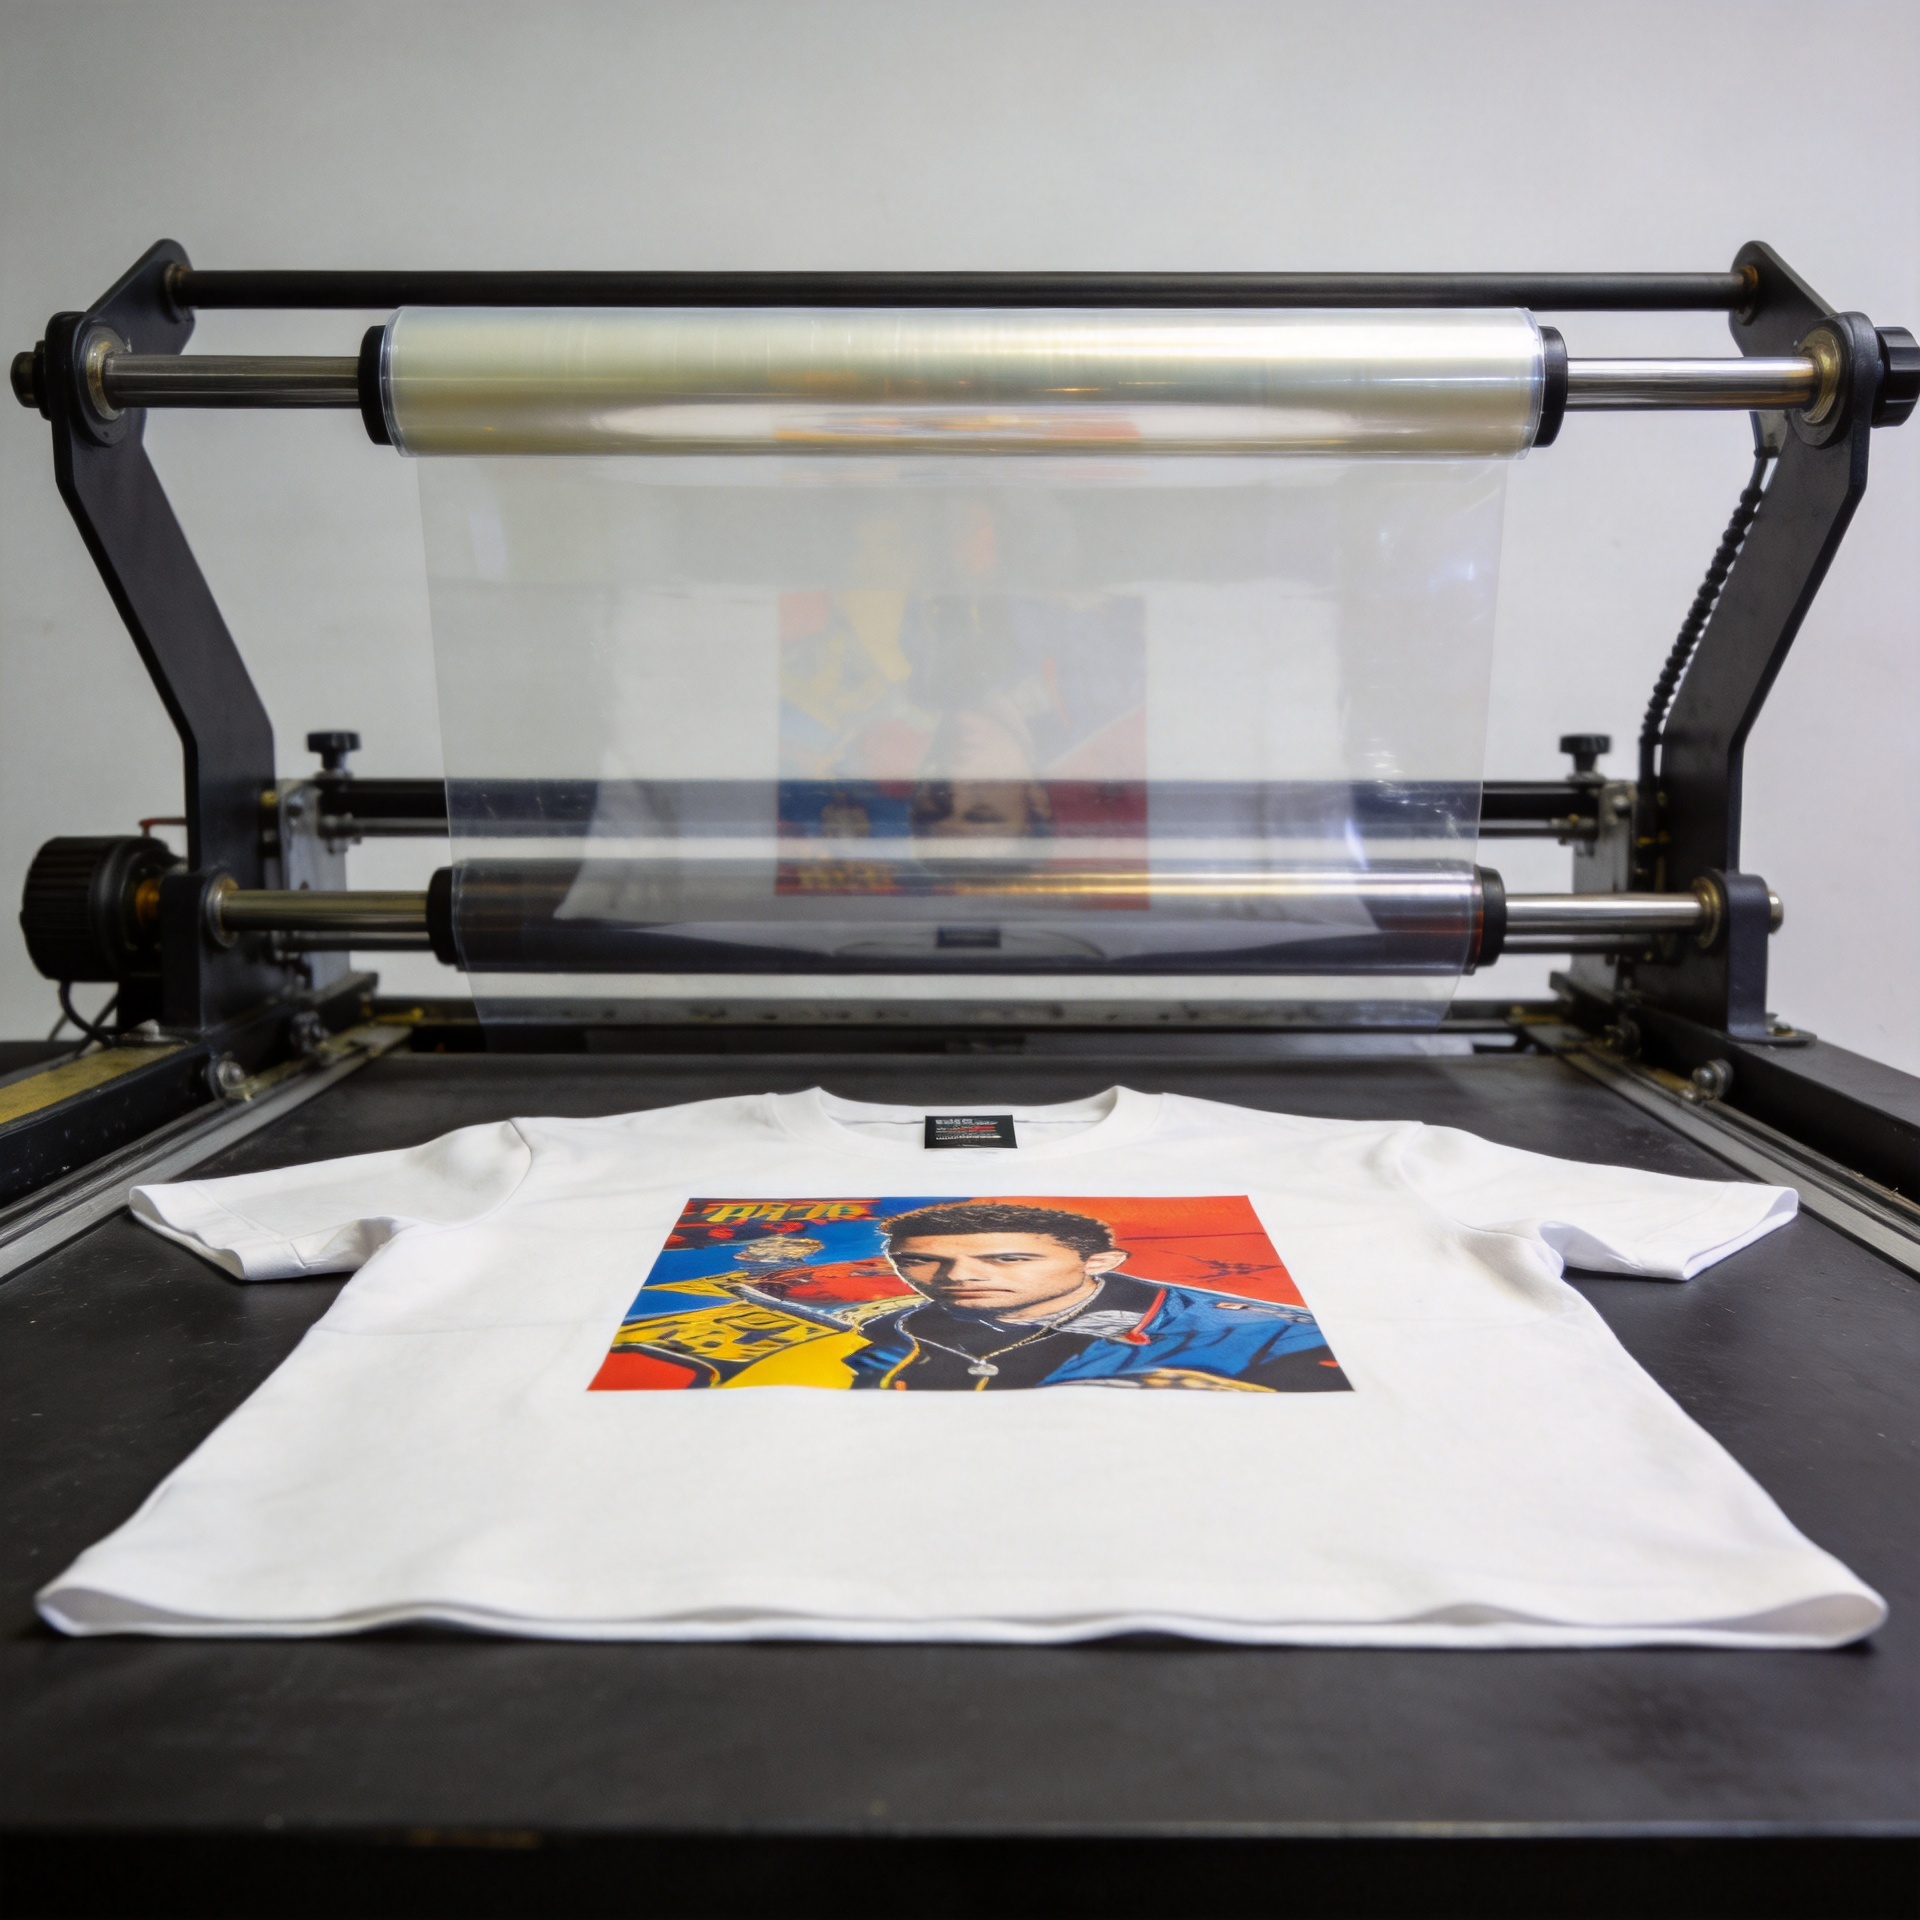
Pre-press the garment briefly if needed to remove wrinkles and moisture, position the cured transfer, and apply stable heat and pressure. Commercial guidance commonly uses roughly 300–325°F for about 10–15 seconds, but garment composition, transfer system, and press calibration all matter. Record the settings that work for each fabric category instead of relying on memory.
Pressure uniformity is easy to underestimate. A press can reach its set temperature and still produce uneven results when one side of the platen contacts differently. If an edge fails while the center adheres, inspect pressure and garment seams before changing every other variable.
Step 6: Cool peel, finish press, and inspect
For a cold-peel system, let the transfer cool fully before removing the carrier film in a smooth, controlled motion. Pulling too early can lift detail or disturb the adhesive bond. After peeling, many workflows use a short finishing press with protective paper or the supplier-recommended cover sheet to improve the surface finish and set the transfer.
Inspect the result under normal light: look for incomplete edges, color variation, loose powder marks, and areas that feel overly stiff. Test washing only after you have established a repeatable press profile. A successful DTF heat transfer is not defined by one good sample; it is defined by consistent results across designs and garments.
Common DTF process mistakes and practical fixes
- Patchy white coverage: verify nozzle condition, white-ink circulation, and the RIP white layer before changing the heat press.
- Powder outside the graphic: improve shaking or powder removal; stray powder becomes visible after transfer.
- Weak adhesion: check the powder coverage, curing result, fabric moisture, and actual platen pressure in that order.
- Film lifting during peel: confirm whether the film is hot, warm, or cold peel, then reassess time and temperature against the supplier instructions.
- Uneven edges: store film flat and dry, and inspect feed tension and platen contact.
Build a repeatable DTF workflow
For new operators, the fastest route to consistency is a simple test log: design type, film batch, powder, curing setting, press setting, fabric, peel timing, and result. That record separates a one-off success from a dependable process. Once the baseline is stable, an A3 production option such as the Sunika SK-A3 DTF Printer F1080 330mm A3 Direct to Film Printer can be evaluated within the same system context rather than by printer specifications alone.
DTF heat transfer rewards controlled routines. Start with matched consumables, validate one fabric at a time, and change only one variable per test. That approach makes the process easier to troubleshoot and gives beginners a workable standard for everyday production.