EN

Custom Glass Prints: Choosing the Right Digital Printing Workflow
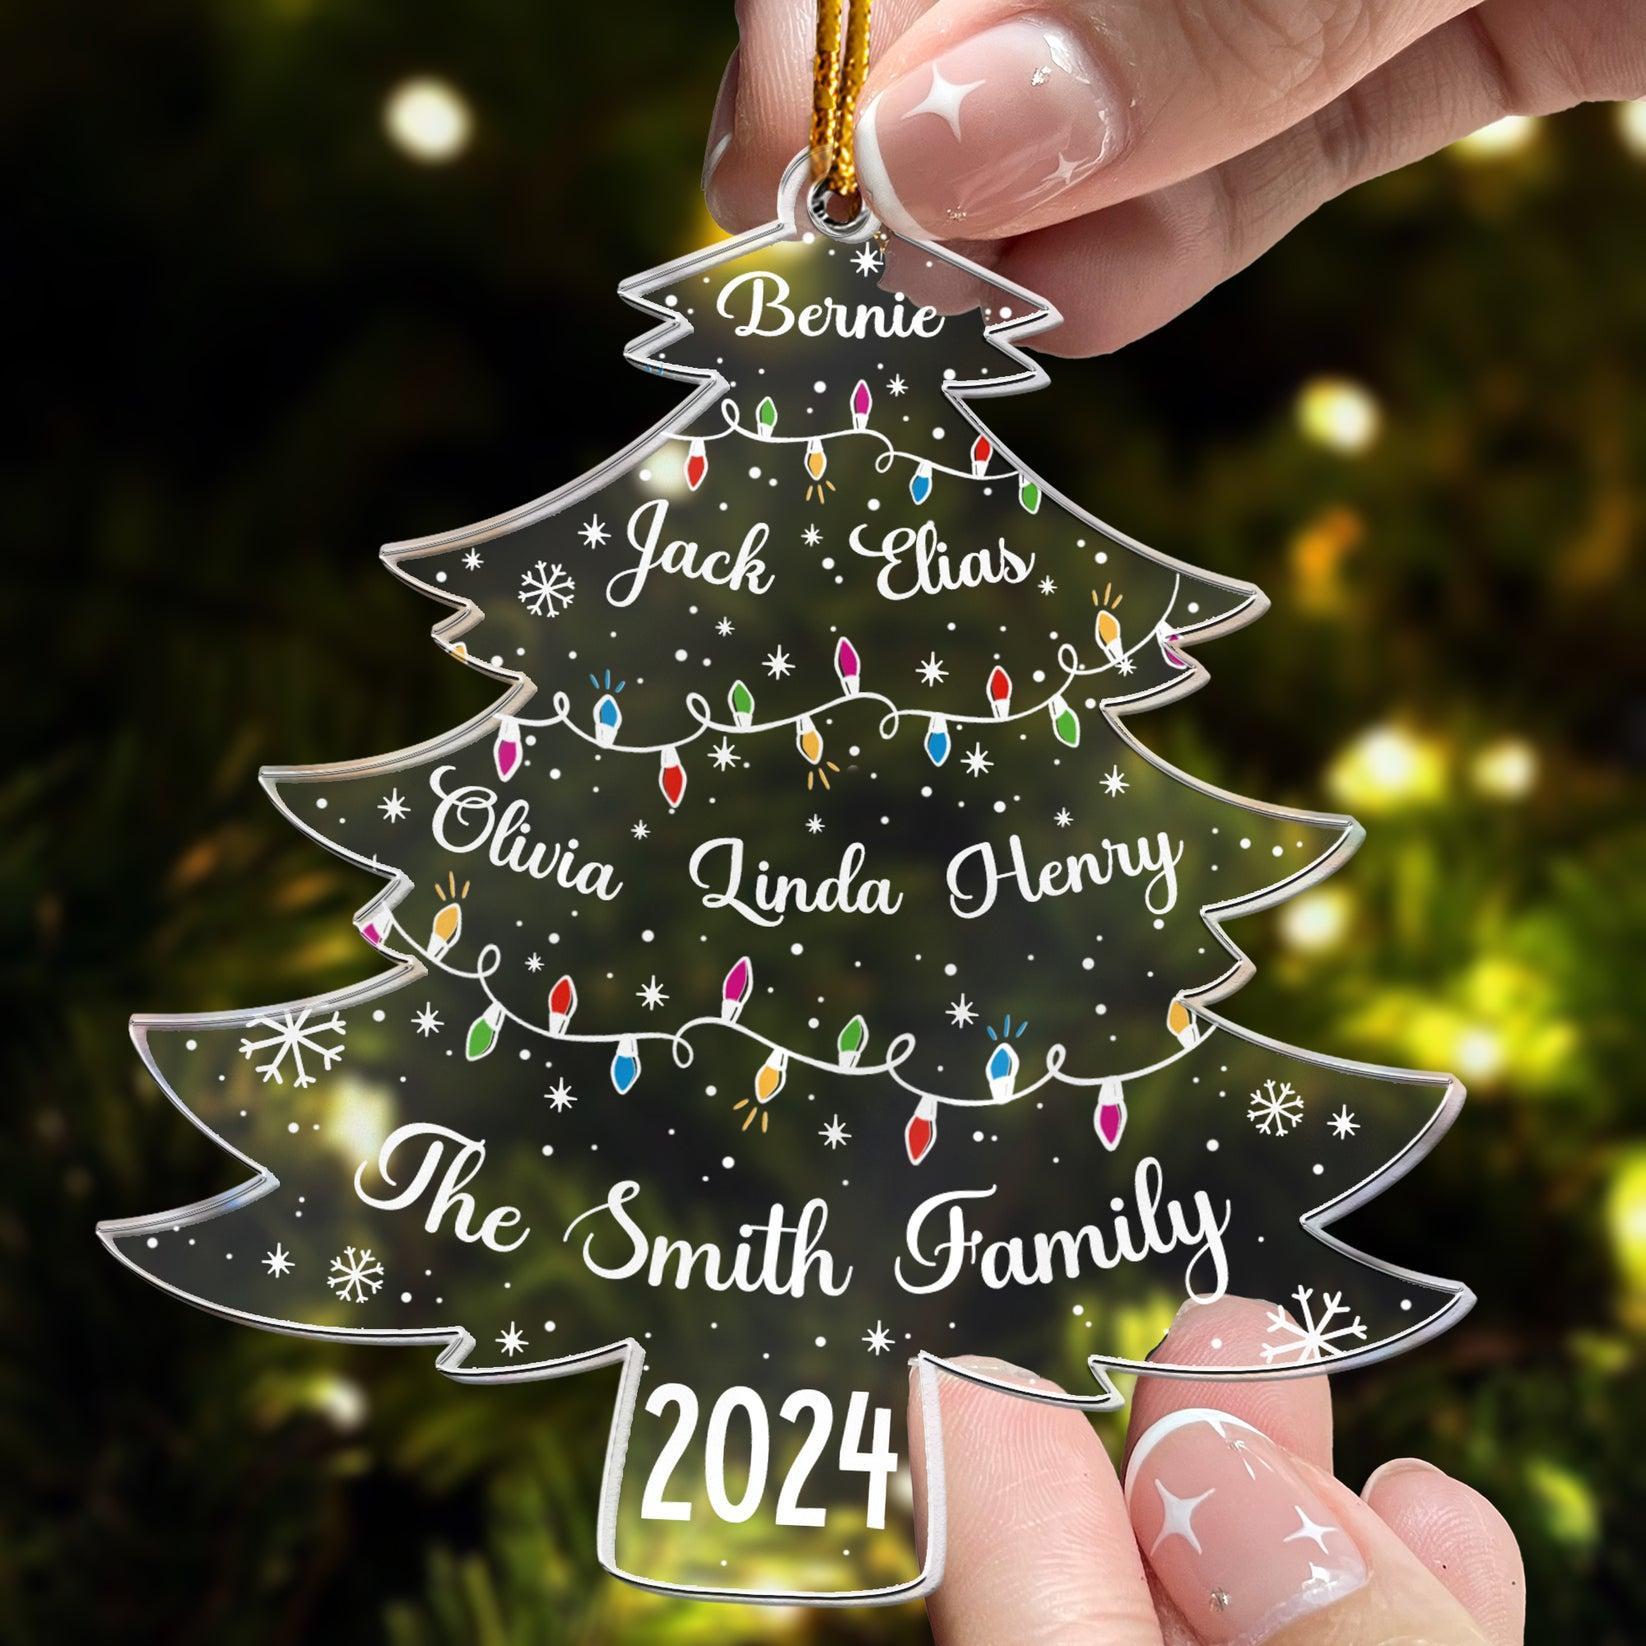
Custom glass prints can look premium, but a successful job starts long before the image reaches the glass. The right workflow has to connect the artwork, glass condition, ink system, white-ink strategy, curing method, and the capability of the printer. For decorators, sign makers, promotional-product suppliers, and print-service buyers, this is less about finding one universally ideal machine and more about matching a process to the end use.
That is especially important for digital glass printing. A small run of personalized plaques has different priorities from repeated batches of glass panels, display pieces, drinkware, or phone-case components. In both cases, however, the decision should be made from the workflow backward: what must the finished piece look like, withstand, and cost to produce consistently?
Start with the finished custom glass print, not the printer brochure
Before comparing equipment, define the application in practical terms. Is the graphic viewed through the front of the glass or printed on the reverse? Is it decorative, handled frequently, exposed to cleaning products, or part of an indoor display? Does the design need opaque white behind color, a textured effect, or variable names and serial information?
These questions shape the digital glass printing workflow. Reverse printing can protect artwork behind the substrate, while front-surface printing may be appropriate when texture or direct visual impact matters. Transparent or dark artwork can behave very differently on clear glass, so white ink should be treated as a design layer with its own registration and curing requirements—not as an automatic checkbox.
A useful buying habit is to request representative samples using the actual glass type, artwork, and intended finishing process. Higher resolution alone does not automatically deliver a better result; edge detail, ink laydown, white-layer alignment, viewing direction, and surface preparation all affect what the customer finally sees.
Assess the glass before choosing the digital printing process
Glass is not one uniform substrate. Float glass, coated decorative glass, tempered glass, recycled glass, bottles, and shaped items can differ in flatness, coatings, handling requirements, and how easily a print fixture can hold them. Even apparently clean glass may carry fingerprints, dust, packaging residue, or a coating that changes adhesion behavior.
For that reason, cleaning and surface preparation belong in the process plan. Targeted technical guidance on UV printing notes that debris and coatings can interfere with ink adhesion, and that pretreatment may be required for some applications. The exact method should come from the ink supplier’s guidance and a test on the real substrate; it is not safe to assume that one preparation recipe fits every glass project.
Build a simple acceptance check before production: inspect for visible contamination, confirm the printable side, use a consistent cleaning routine, and retain a tested sample. It is a small discipline, but it prevents a print shop from diagnosing every adhesion issue as a printer fault.
Choose between direct UV flatbed printing and a transfer-based route
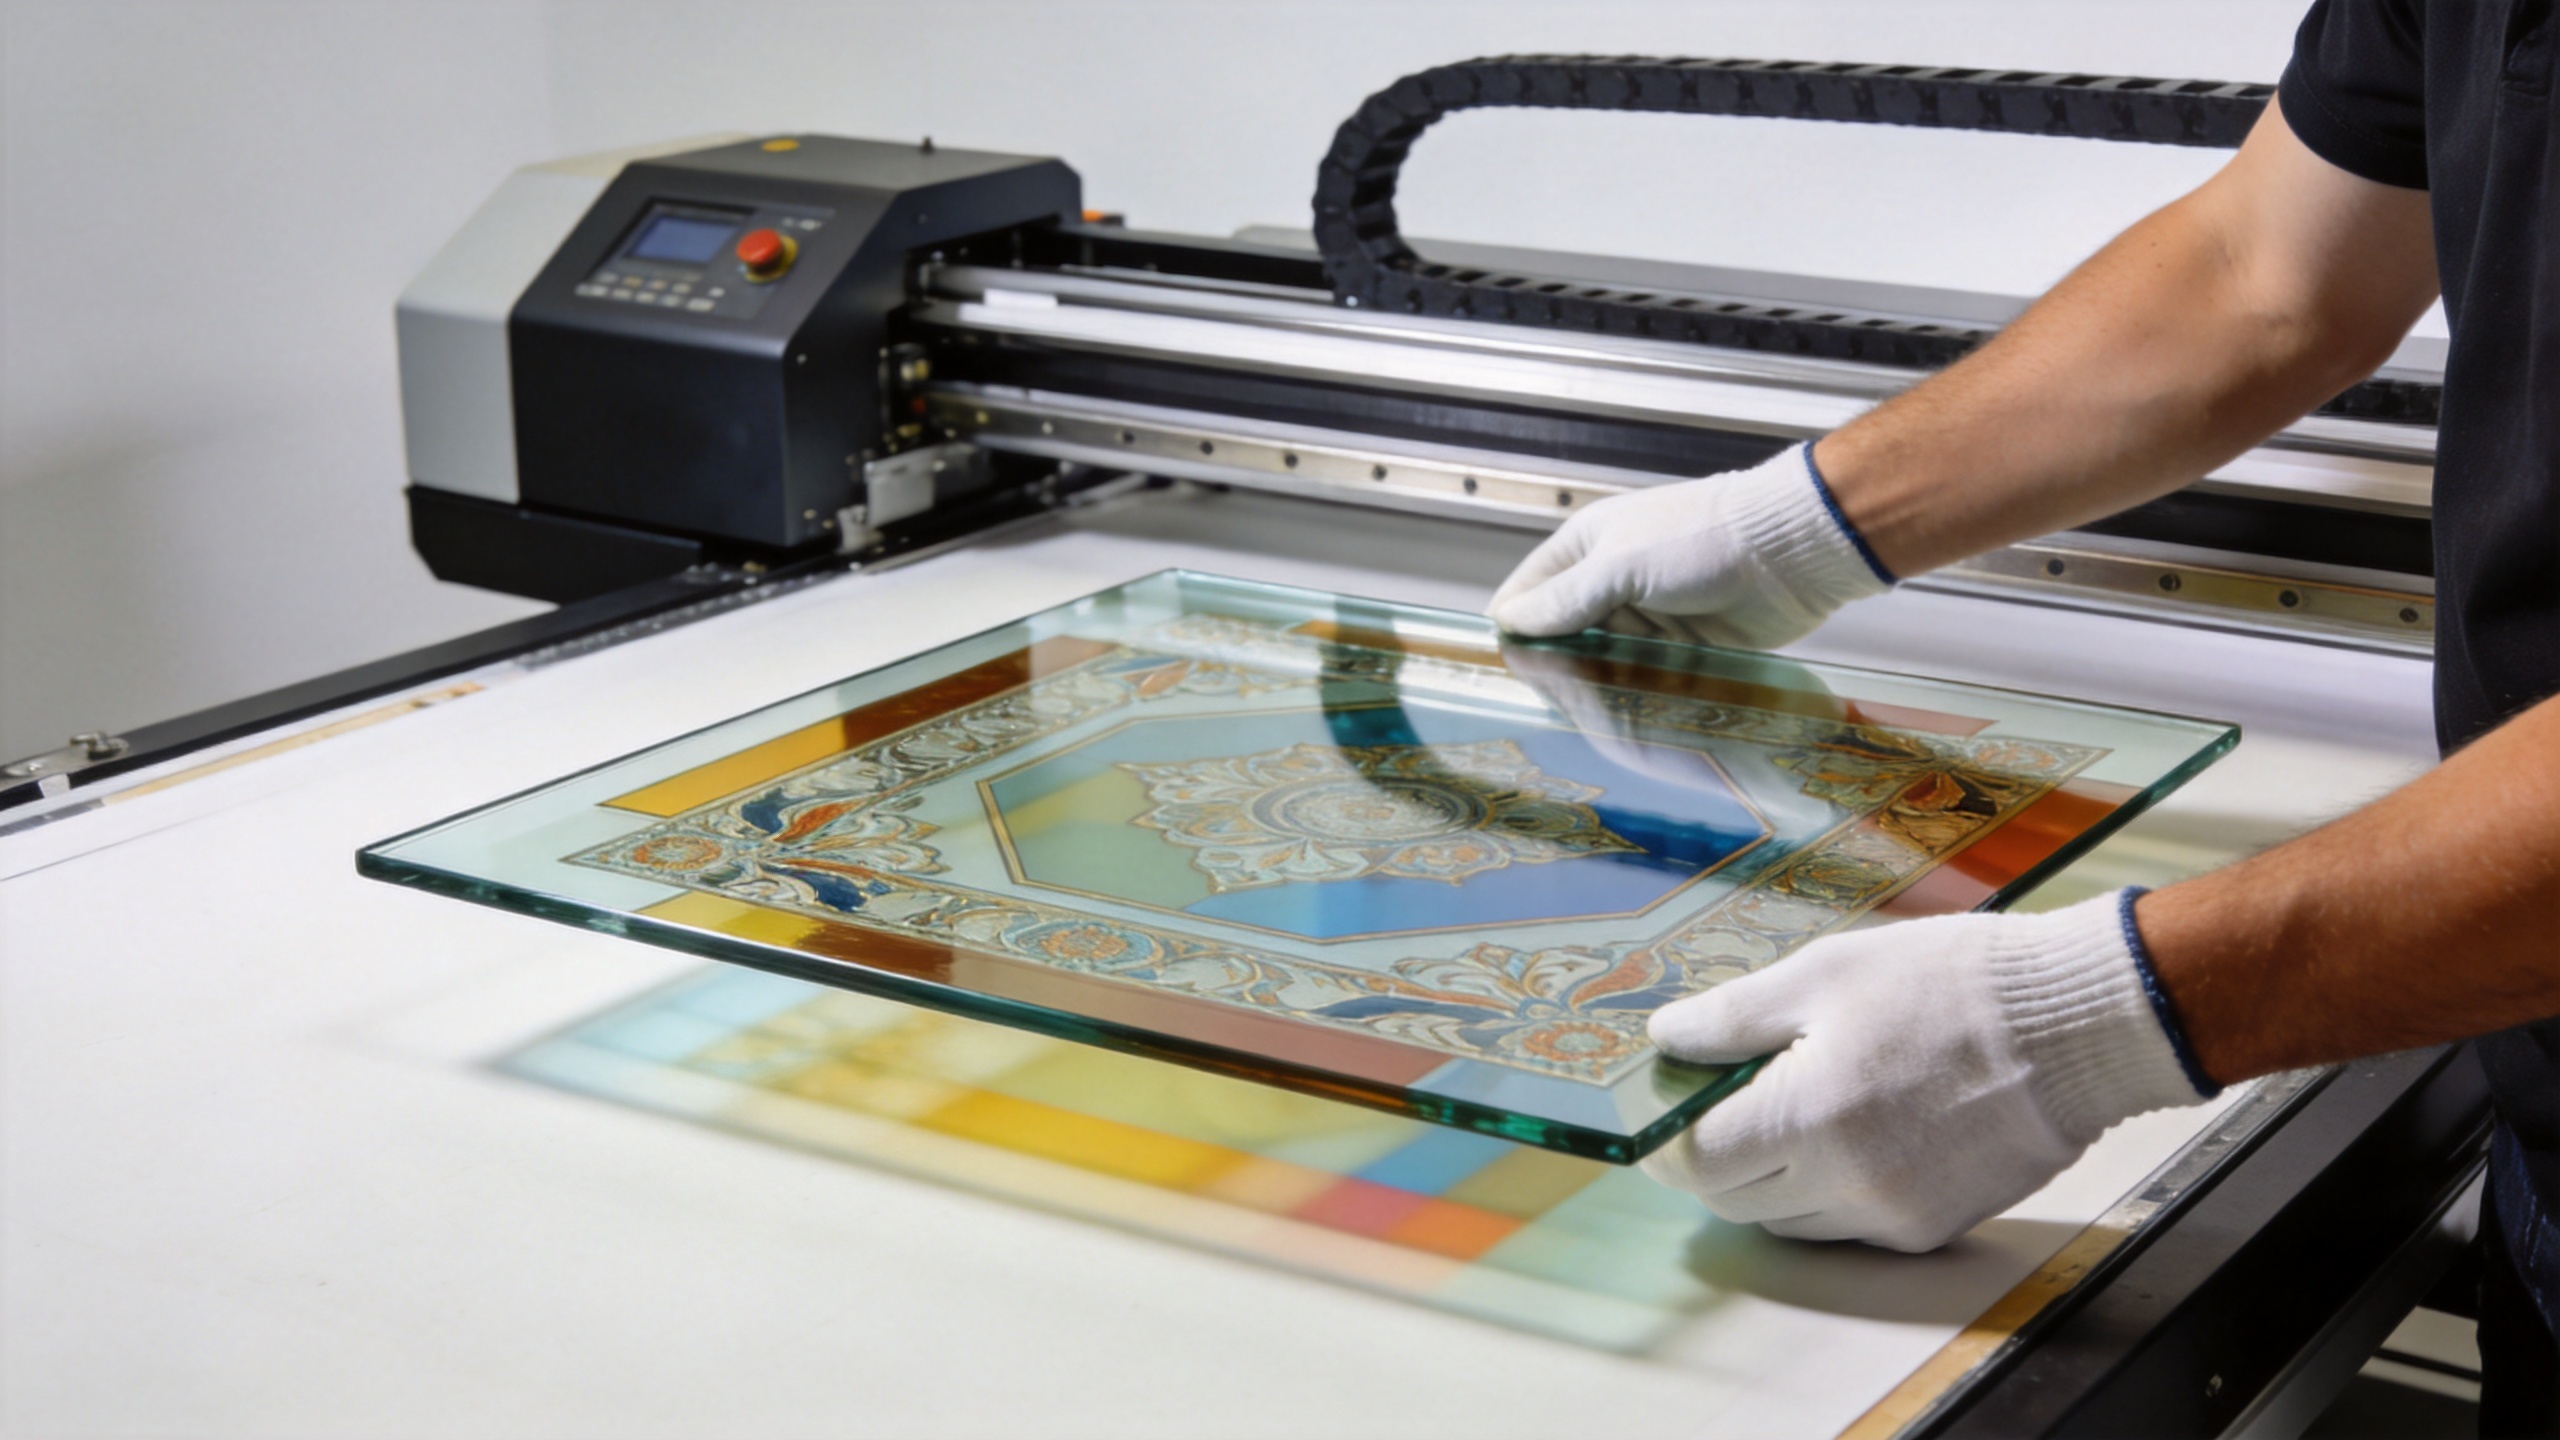
For flat, rigid pieces, direct UV flatbed printing is often the most straightforward route because the printer can place ink directly on the glass in a controlled bed setup. It is a good fit when the artwork is variable, the item is reasonably flat, and you need to manage white, color, and varnish-type effects in one workflow. Direct printing also reduces an extra transfer step, though it still requires reliable fixturing and substrate validation.
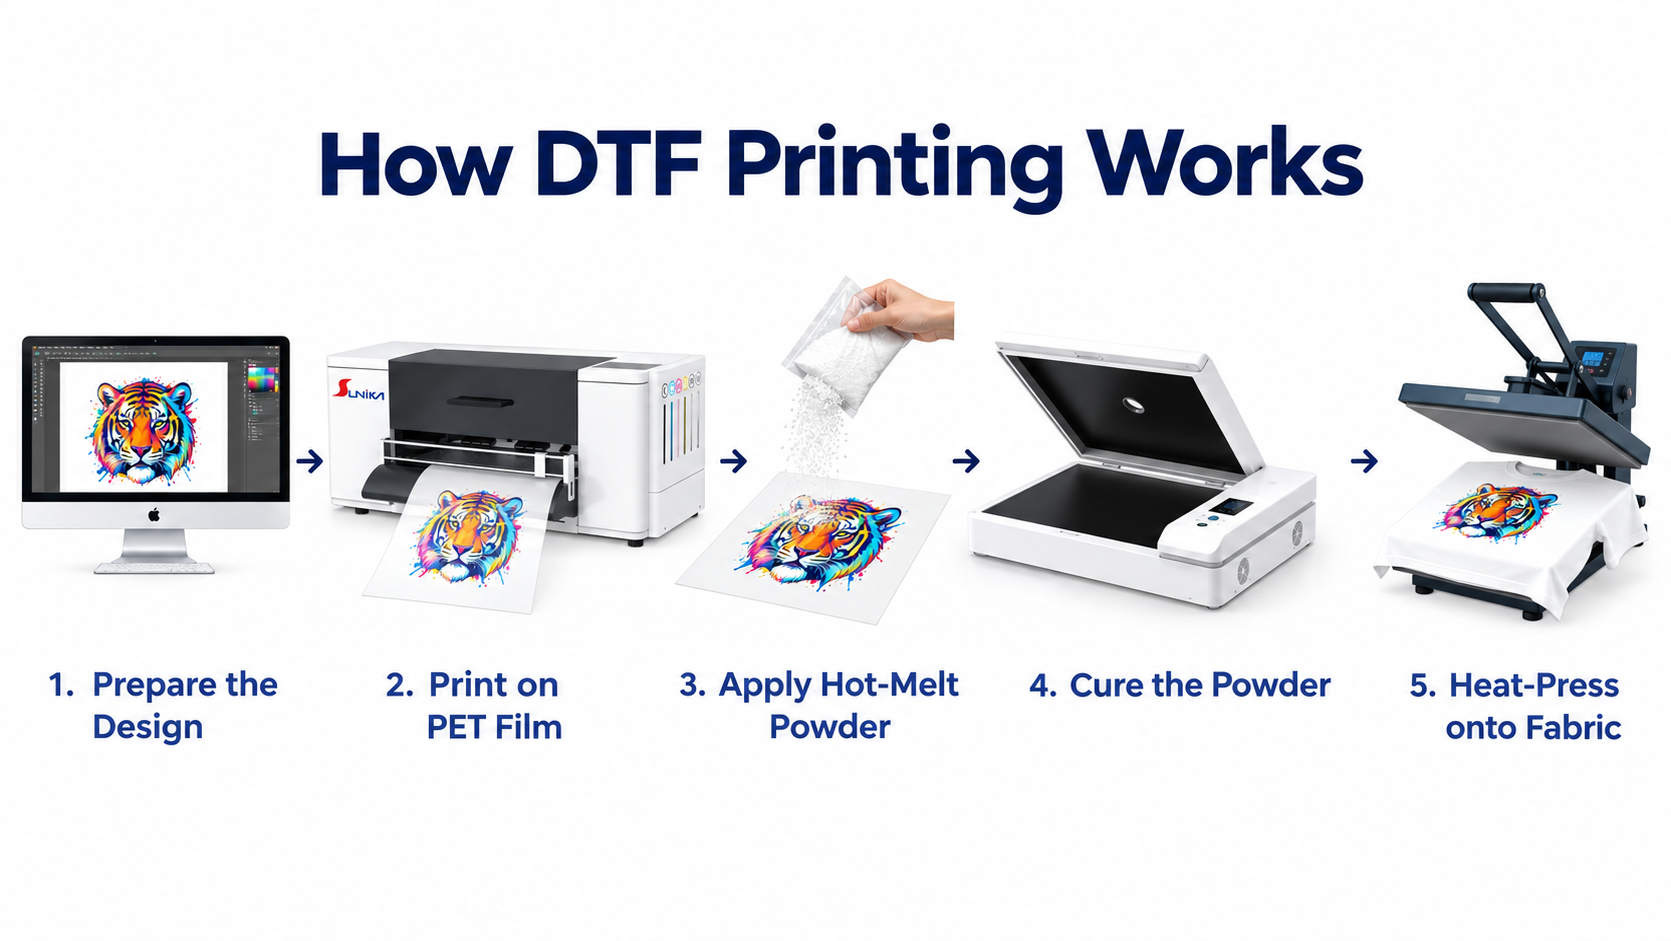
A transfer-based route, such as a UV DTF workflow, can make sense when the production team needs to decorate shapes that are awkward to position on a flatbed or when the application benefits from applying a prepared graphic after printing. The trade-off is that the transfer material, application technique, and final-use durability become part of the quality-control plan. Neither route is automatically superior; the better fit depends on part geometry, order mix, artwork variation, and the level of handling the finished product will receive.
| Decision factor | Direct UV flatbed printing | Transfer-based workflow |
|---|---|---|
| Part geometry | Best for flat, stable pieces that can be positioned accurately | Useful when a shaped or difficult-to-fixture surface drives the decision |
| Artwork variation | Supports on-demand, variable graphics directly on the substrate | Can separate graphic production from the application stage |
| Quality control focus | Registration, bed setup, surface preparation, and curing | Transfer application, edge finish, and end-use durability |
| Buying question | Can the printer and fixture handle the panel size and job mix? | Does the extra application step improve throughput for this product? |
Match the UV flatbed printer to the real production constraint
For custom glass prints, buyers often begin with speed or printhead count. Those matter, but they are not the first filter. Start with the largest practical printable area, the maximum supported material thickness, and how consistently operators can load and register the glass. A compact flatbed can be a sensible choice for samples, small décor pieces, and personalized items; it may be the wrong fit for a business whose workflow centers on larger panels or continuous batch loading.
Then evaluate the ink and curing system as a package. The biggest shift for many buyers is realizing that the substrate, ink, color profile, white layer, curing setup, and maintenance routine are as critical as the printer itself. Proper curing matters because UV ink must cure sufficiently to support the intended adhesion and durability. A preliminary production test should therefore include the actual glass, the expected artwork coverage, and a post-cure inspection—not just a visually attractive print straight off the bed.
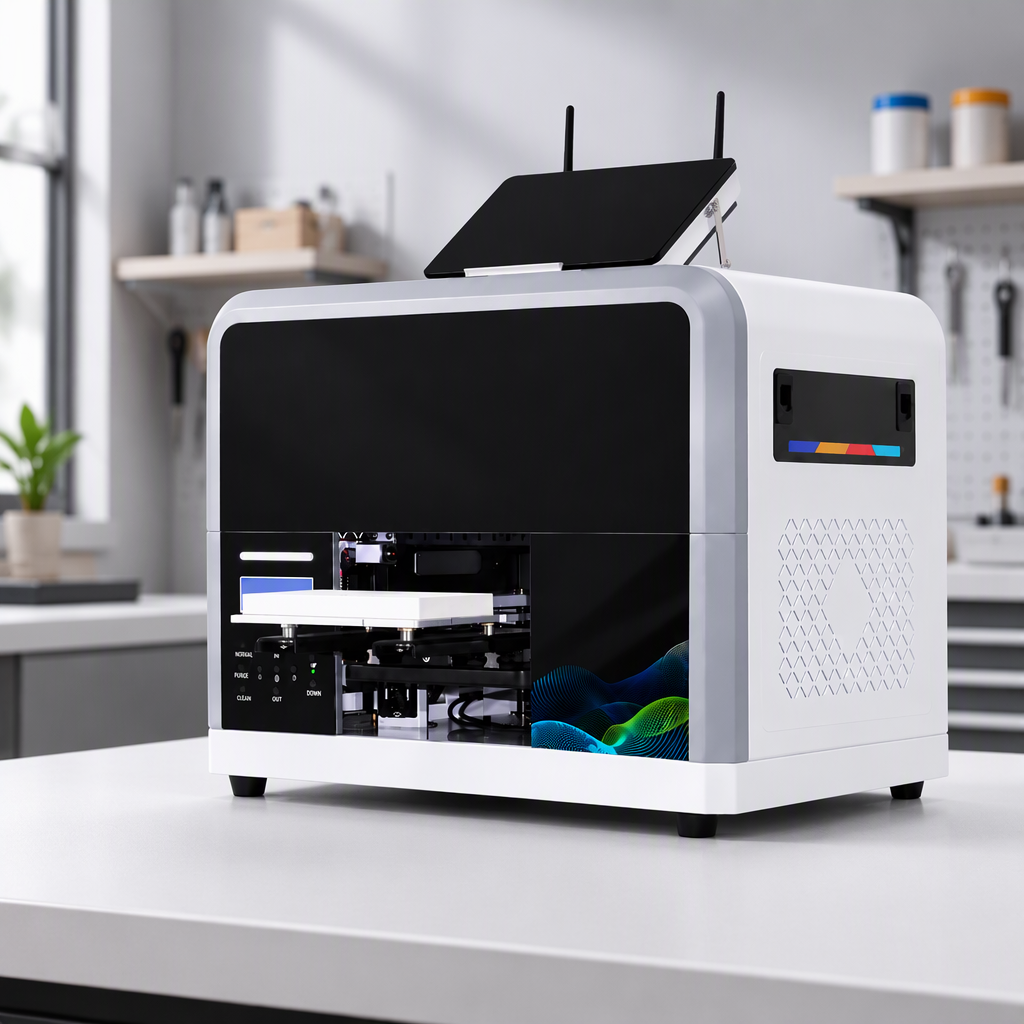
For a smaller direct-print workflow, review the real product page and support fit for the Sunika Sk-A3UV Printer Single I3200 UV Flatbed Printer against your own material dimensions and throughput requirements. Where a transfer-oriented glass decoration process is the better fit, assess the SK-U301 30cm UV DTF printer for glass phone cases in the same way: by sample quality, operating steps, and the applications you actually plan to sell.
Make proofing, curing, and adhesion checks part of the workflow
Do not treat a beautiful first print as final approval. Print durability depends on the combination of surface condition, ink compatibility, curing, and the finished item’s use. For applications that will be handled, cleaned, or shipped through demanding channels, agree on a sample-approval process before quoting a full run.
That process can include a visual inspection, edge inspection, and an adhesion check appropriate to the job. Industry guidance commonly references scratch and tape-style testing for printed glass, while coating-validation resources also discuss cross-hatch tape and solvent-rub methods. These are examples, not a substitute for confirming the relevant test method, safety requirements, and acceptance criteria with the ink supplier and the customer.
It is also wise to document the approved settings: glass type, cleaning method, artwork orientation, color profile, white-layer setup, curing settings, and test outcome. When a repeat order arrives, that record is more valuable than a generic “glass preset.”
Why custom glass prints need a repeatable workflow
Custom glass prints are often approved as a one-off visual sample and then expected to behave identically in later production. That expectation is realistic only when the workflow is documented. For each approved custom glass prints job, keep the substrate description, printable side, artwork orientation, white-ink file, cleaning sequence, fixture position, curing settings, and inspection notes together. This record makes digital glass printing more predictable when the same art returns on a different day or is handed to another operator.
A practical selection checklist for digital glass printing
- Define the end use. Record how the item will be viewed, handled, cleaned, installed, and shipped.
- Bring the real substrate to the test. Confirm glass type, coatings, thickness, and fixture needs before specifying a workflow.
- Plan the image layers. Decide whether the project needs reverse printing, white ink, color layers, or a tactile effect.
- Compare the process routes. Weigh direct UV flatbed printing against a transfer-based workflow based on geometry, job mix, and handling steps.
- Run a representative proof. Inspect color, registration, edges, and adhesion after the intended cure.
- Choose the machine around throughput and support. Consider printable area, material handling, maintenance discipline, and the ability to reproduce the approved sample.
Conclusion: select the workflow that protects consistency
The most reliable custom glass prints come from a linked system rather than a single specification. Start with the product requirement, validate the substrate and design layers, choose the direct or transfer route that fits the part, and make curing and adhesion checks repeatable. That approach gives buyers a clearer basis for comparing digital glass printing equipment and helps print businesses turn a good-looking sample into a stable production workflow.