EN
EN


UV Printer for Acrylic: A Guide to Material Preparation and Printing
Printing acrylic well is less about pressing “start” and more about controlling the small variables before the first pass. A uv printer for acrylic can create crisp, durable graphics on signage, display panels, awards, packaging components, and promotional pieces. But acrylic is smooth, often protective-film-covered, and prone to static. Those characteristics make surface preparation, ink laydown, and proofing part of the printing process—not optional extras.
As a print-shop operator, I would treat every new acrylic sheet, supplier batch, and finish as a short setup project. The practical goal is simple: establish a repeatable sample that looks right, adheres properly, and can be reproduced without surprises. This guide explains the workflow from material inspection through the final production check.
Why Acrylic Needs a Different UV Printing Workflow
Acrylic is non-porous, so UV ink must bond to a clean, stable surface rather than sink into it. Dust, handling oils, protective-film residue, moisture, and static can all affect droplet placement or adhesion. Clear acrylic adds another decision: whether the graphic will be viewed from the printed side or through the panel. That choice changes artwork orientation, the use of white ink, and the order of ink layers.
Higher resolution does not automatically mean better results. On acrylic, the finish is often limited by the surface condition, static level, and cure behavior before it is limited by the nominal resolution setting. For that reason, an acrylic uv printer workflow should start with a controlled test rather than a full production run.
Step 1: Inspect the Acrylic Before You Prepare It
First, identify the material and the intended viewing direction. Cast and extruded acrylic can behave differently, and colored, frosted, mirrored, or coated sheets may require their own sample settings. Check both faces for protective film, scratches, fingerprints, edge chips, and visible residue. Mark the print face with a removable note so the operator does not accidentally print the reverse side.
- Confirm the sheet thickness and flatness for the printer bed and fixture.
- Check whether the design needs first-surface or second-surface printing.
- Record the supplier, finish, color, and batch when a job needs repeatability.
- Keep protective film on non-print areas until the workflow requires removal.
This is a small step, but it prevents a common rework scenario: a visually correct print applied to the wrong face of a clear panel.
Step 2: Clean the Print Surface and Manage Static
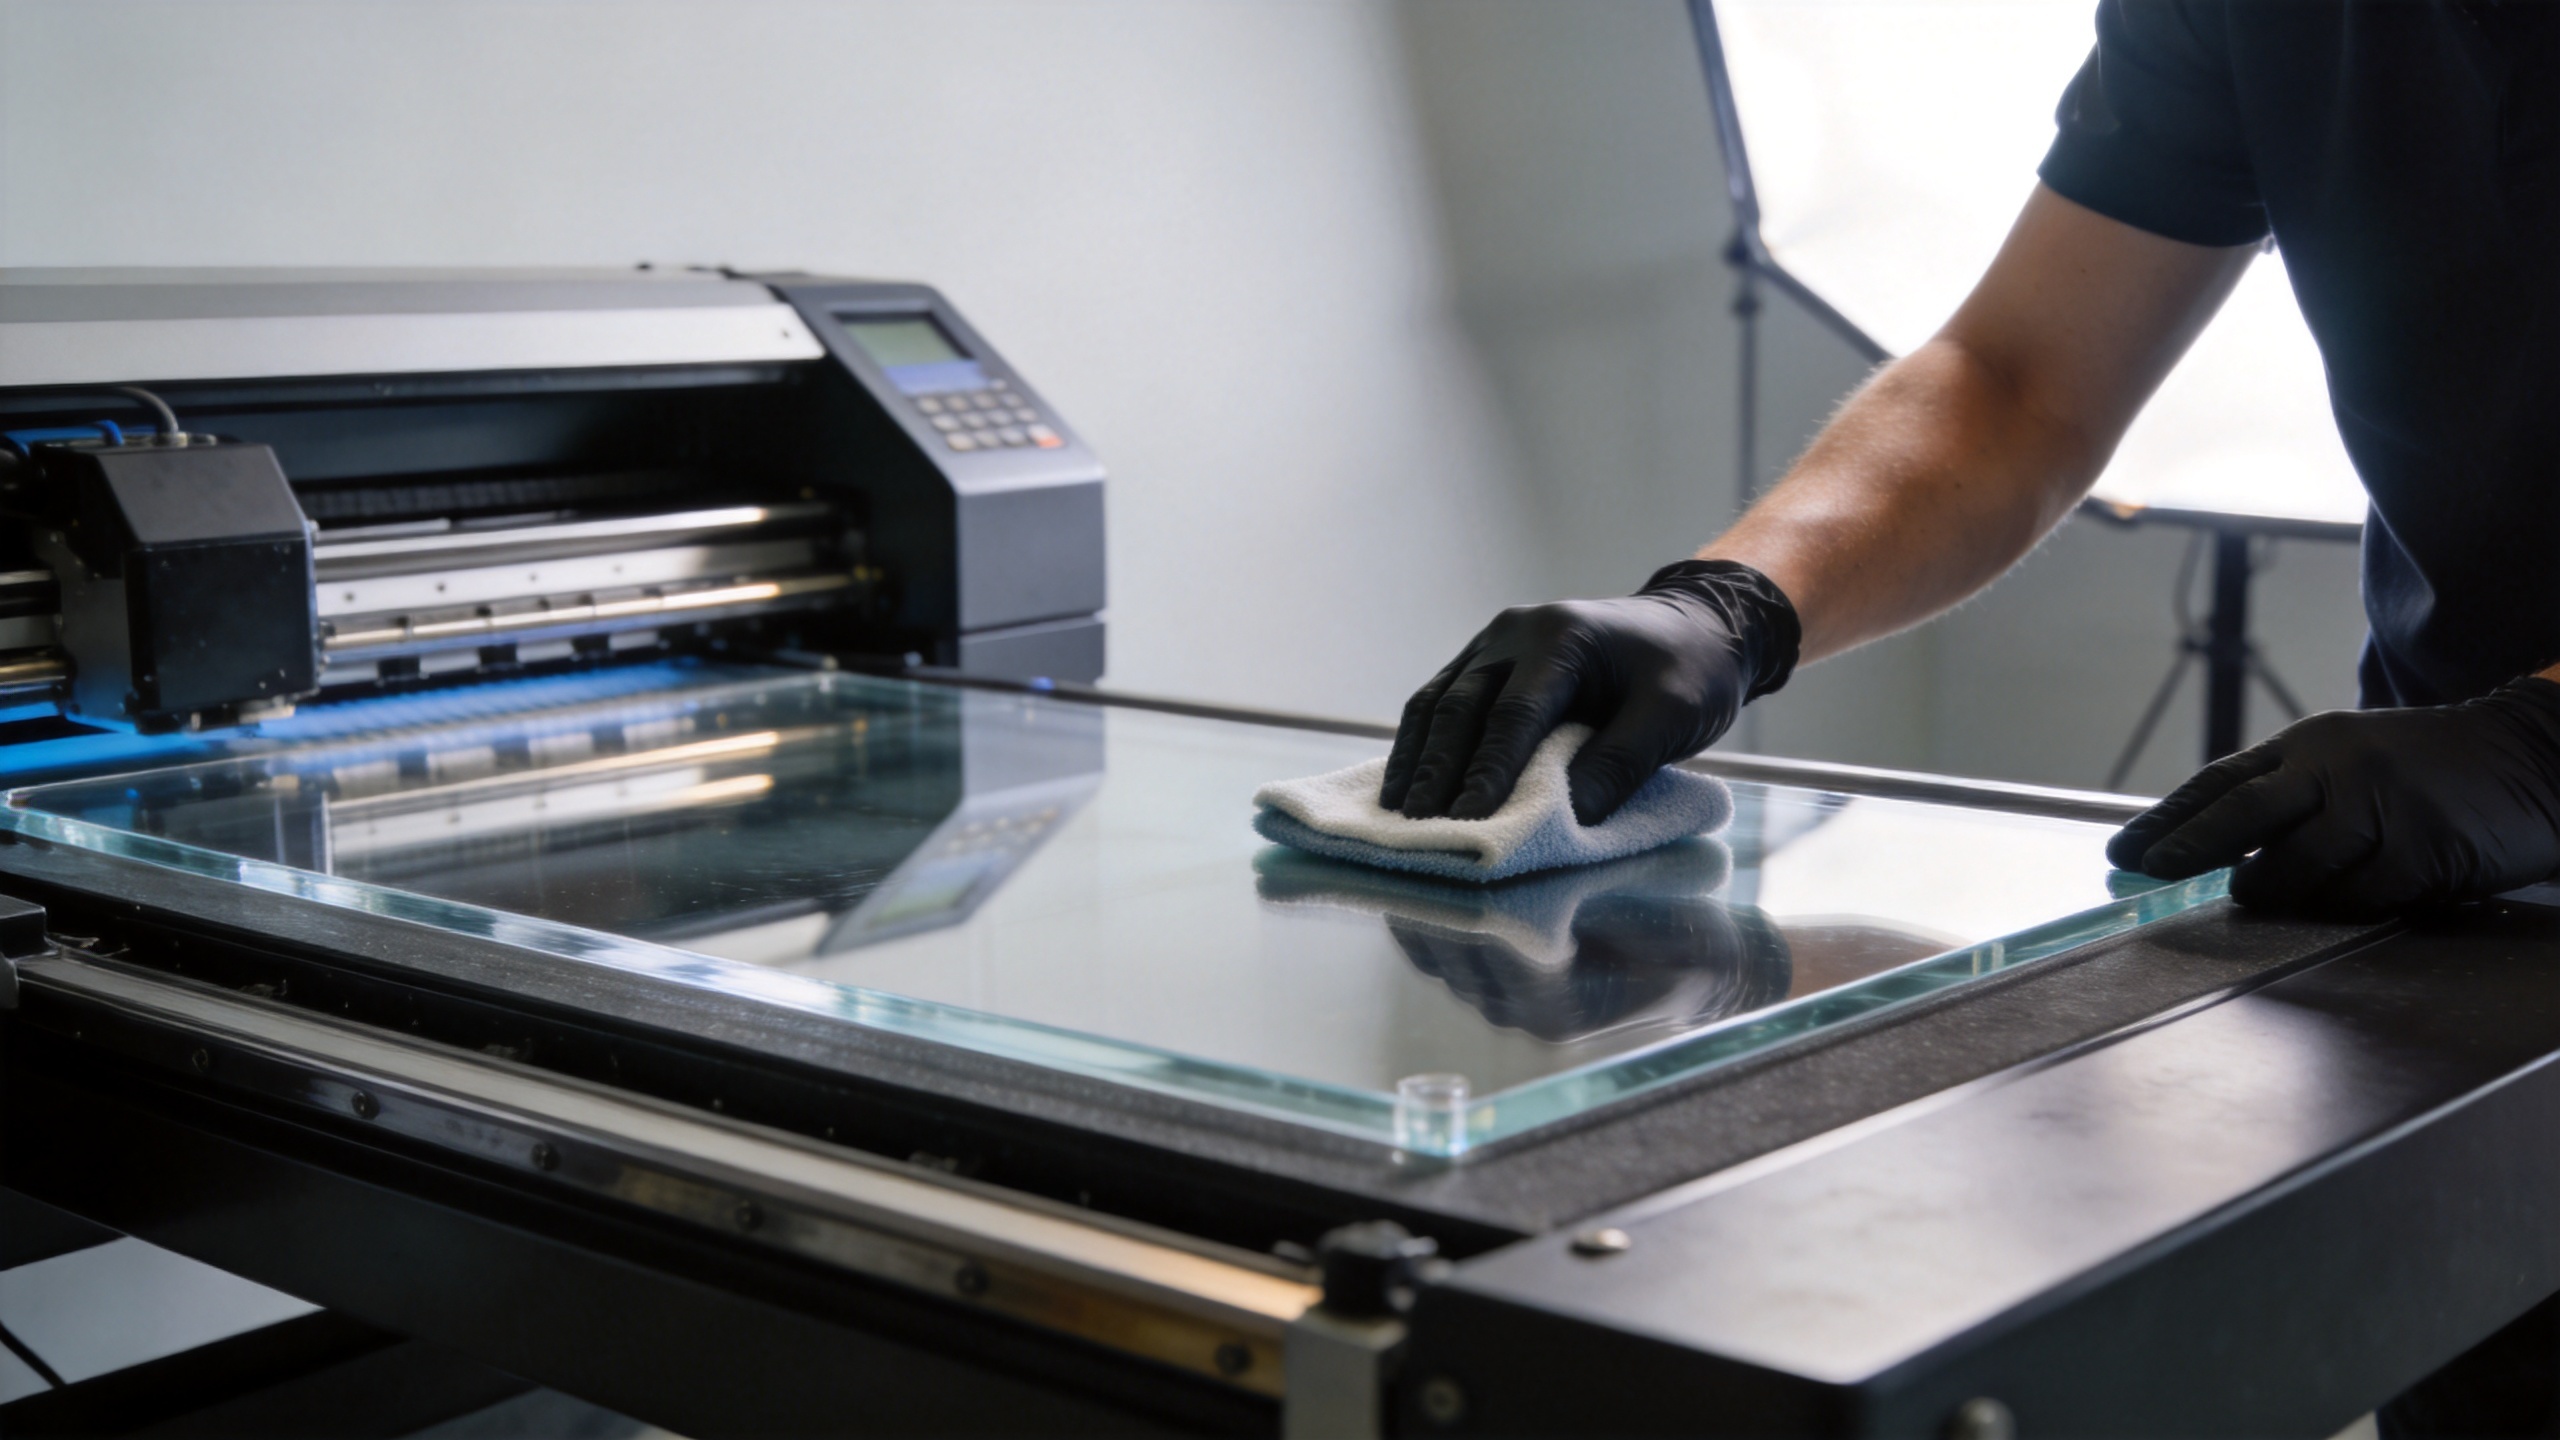
Use a lint-free cloth and a cleaning method compatible with the acrylic grade and the ink supplier’s guidance. Isopropyl alcohol is commonly used as a starting point for plastic-substrate cleaning, but it should be tested on a sample first. The aim is to lift contamination, not spread it around. Let the panel dry completely before placing it on the bed.
Static deserves equal attention. Static can attract airborne debris and can deflect ink droplets, which may soften fine details or create inconsistent edges. A clean work area, controlled handling, anti-static measures appropriate to the shop, and wiping both faces when needed can reduce these issues. If a print looks inexplicably uneven, do not assume the printhead is the cause; inspect the material and the environment first.
Step 3: Set Up the Artwork for the Viewing Direction
For first-surface printing, the image is viewed directly on the inked face. For second-surface printing on clear acrylic, the image is printed in reverse so it reads correctly through the panel. White ink is often used behind color on transparent material to maintain opacity, but the layer order depends on the viewing side and effect you want.
| Application | Artwork and Ink-Layer Question | Proofing Priority |
|---|---|---|
| Clear display panel | Will the image be viewed through the acrylic? If so, mirror the art and define the white layer. | Readability and white opacity |
| Frosted acrylic sign | Does the texture change color density or fine detail? | Color appearance and edge definition |
| Colored or opaque acrylic | Is a white underbase needed to prevent the substrate color from shifting the design? | Color match and adhesion |
Build a small test file that includes solid colors, fine type, gradients, white layers, and edge details. It gives the operator useful information faster than approving a sample made from only one logo.
Step 4: Establish a Safe Bed Setup and Print Sequence
Keep the sheet flat and stable. If the material bows, the print gap can vary across the board, affecting sharpness and the risk of head strikes. Use an appropriate fixture or vacuum arrangement where available, and confirm the printer’s material-height setup before the job begins.
Start with the print mode recommended for the required finish, then adjust only one variable at a time during sampling. You can push for faster throughput by reducing pass count, but the trade-off can be lower color density, less even coverage, or reduced detail. For a new acrylic job, a stable approved sample is more valuable than a fast but unverified setting.
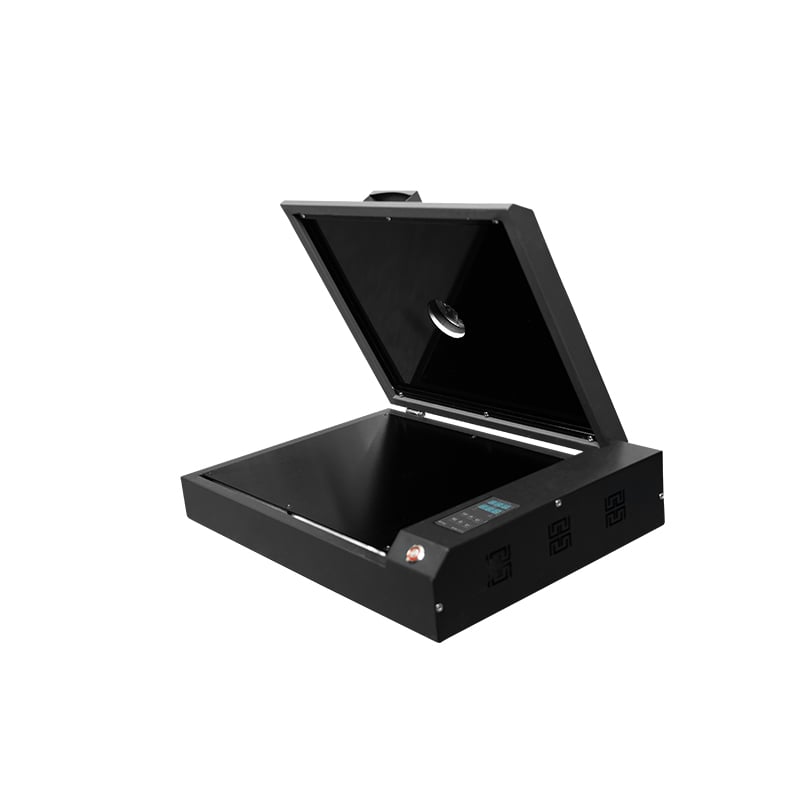
If you need a compact direct-to-object platform for sample development, review the available Sunika Sk-A3UV Printer Single I3200 UV Flatbed Printer alongside your actual material size, production volume, and workflow requirements. The machine should fit the job, rather than forcing the job to fit the machine.
Step 5: Check Curing, Adhesion, and Appearance Before Production
A print that looks good immediately after curing is not automatically production-ready. Inspect it under the lighting in which the finished piece will be seen. Check solid areas for banding, fine text for edge quality, gradients for visible transitions, and white layers for coverage. Then perform a simple adhesion screening check on a fully cured test area, such as a controlled tape-pull method used within your shop’s validation routine.
Use this checklist before releasing the full job:
- Is the design oriented correctly for the viewing side?
- Are color, white ink, and varnish layers aligned as intended?
- Does the print remain clean and sharp across the whole test area?
- Does the cured ink pass your internal adhesion check without lifting?
- Have you recorded the material, file version, print mode, and results for repeat orders?
Looking back on setup work, the thing worth doing every time is a full substrate test series before accepting a production deadline. Acrylic may look consistent from sheet to sheet, but finish, static, and surface condition can create differences that are easier to solve during sampling than during a rush job.
Common Acrylic UV Printing Problems and First Checks
Ink flakes or scratches too easily
Recheck cleaning, cure conditions, material compatibility, and whether the sample had enough time to reach a stable cured state. If adhesion remains weak, consult the ink and printer guidance for the specific acrylic grade and consider approved adhesion-promoting processes only after controlled testing.
Fine details look fuzzy or edges are irregular
Inspect static, dust, sheet flatness, nozzle condition, and print gap. Something you notice when printing fine-line designs is that material flatness and edge cleanliness can affect registration more than expected.
Colors look dull through clear acrylic
Review the viewing direction and white-layer design. A white underbase can change how color reads through a transparent sheet, but it must be tested with the actual artwork and lighting conditions.
Quick UV Printer for Acrylic FAQ
Can a uv printer for acrylic handle every sheet? A uv printer for acrylic should be approved with the actual sheet and finish. Before production, run the uv printer for acrylic on a small sample and retain the settings. An acrylic uv printer sample should include white, color, fine detail, and a tape-pull screen.
What should be recorded for a uv printer for acrylic? Record the material source, cleaning method, height setting, and print mode. For an acrylic uv printer, record the artwork orientation and white-layer order too. This makes the next uv printer for acrylic job easier to repeat.
When does an acrylic uv printer need a new proof? Use a new proof when the supplier, finish, color, thickness, or artwork changes. A uv printer for acrylic is most predictable when the proven material workflow stays intact. Do not use an old acrylic uv printer profile as a substitute for testing a new sheet.
For a production checklist, confirm that the uv printer for acrylic bed is clean, the acrylic uv printer substrate is flat, and the file is oriented for the viewing side. Confirm the white layer, inspect the test, and document the result. This approach helps repeat orders stay consistent.
Turn an Approved Sample Into a Repeatable Process
A reliable uv printer for acrylic workflow is a documented one. Save the final artwork version, layer order, material source, print mode, height setup, cleaning method, and proofing result. This record turns the next run from a fresh experiment into a controlled repeat job.
For awareness-stage buyers, the main takeaway is straightforward: choose an acrylic uv printer based on the acrylic formats and applications you need to handle, then validate the full material-and-ink workflow with samples. Good preparation protects print quality, reduces rework, and gives you a clearer basis for scaling into production.