EN
EN

How to Make UV DTF Stickers: Step-by-Step Guide for Beginners
Making a sticker UV DTF transfer looks simple from the finished decal, but the reliable result comes from treating it as one connected workflow: artwork, UV printing, A/B film lamination, application, and a controlled peel. For beginners, the useful goal is not just a bright graphic. It is a sticker that sits smoothly on a clean hard surface without wrinkles, bubbles, or damaged edges.
As a DTF printing equipment specialist, I recommend starting with the workflow before experimenting with dozens of materials. UV DTF is designed for hard-surface decoration; it is not the same process as textile DTF, which typically relies on powder adhesive and a heat press. A sticker dtf uv transfer instead uses UV-cured ink on film and an adhesive transfer layer. That distinction makes the next five steps much easier to understand.
What You Need Before Making a Sticker UV DTF Transfer
Prepare a UV DTF printer, RIP-ready artwork, compatible UV inks, A film, B film, a clean squeegee or application tool, and test objects. Smooth, hard, non-porous surfaces are the easiest place to begin: glass, coated metal, ceramic, acrylic, and many rigid plastics can be suitable candidates. Surface chemistry varies, though, so test an inconspicuous area before producing a full batch.
The biggest shift for many new operators is realizing that the film and ink system are as critical as the printer itself. A well-prepared UV DTF print can still fail if the films are contaminated, the laminate is uneven, or the target surface has dust, oil, or moisture.
Step 1: Prepare Artwork for UV DTF Print
Build the design at the required finished size and inspect small lettering, thin outlines, gradients, and transparent areas at full scale. Keep practical spacing between individual decals so cutting and handling remain manageable. Mirror only when the RIP workflow or film orientation requires it; do not assume every UV DTF print setup uses the same orientation.
For a first job, choose a compact logo or simple color block rather than a full wrap. This makes it easier to identify whether a defect came from the artwork, the printer profile, or the transfer step. Confirm the RIP settings, white-ink layer logic, and print order against your ink and film supplier’s instructions before sending the file.
Step 2: Print the Design onto the Film
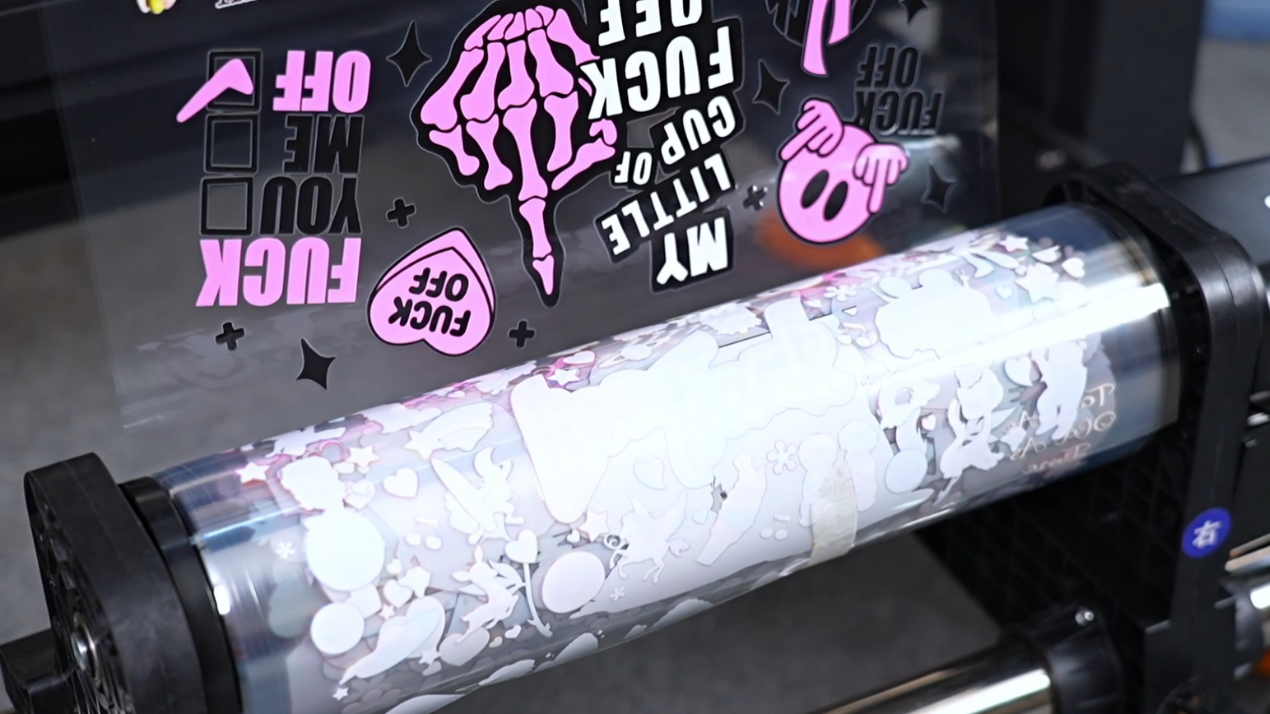
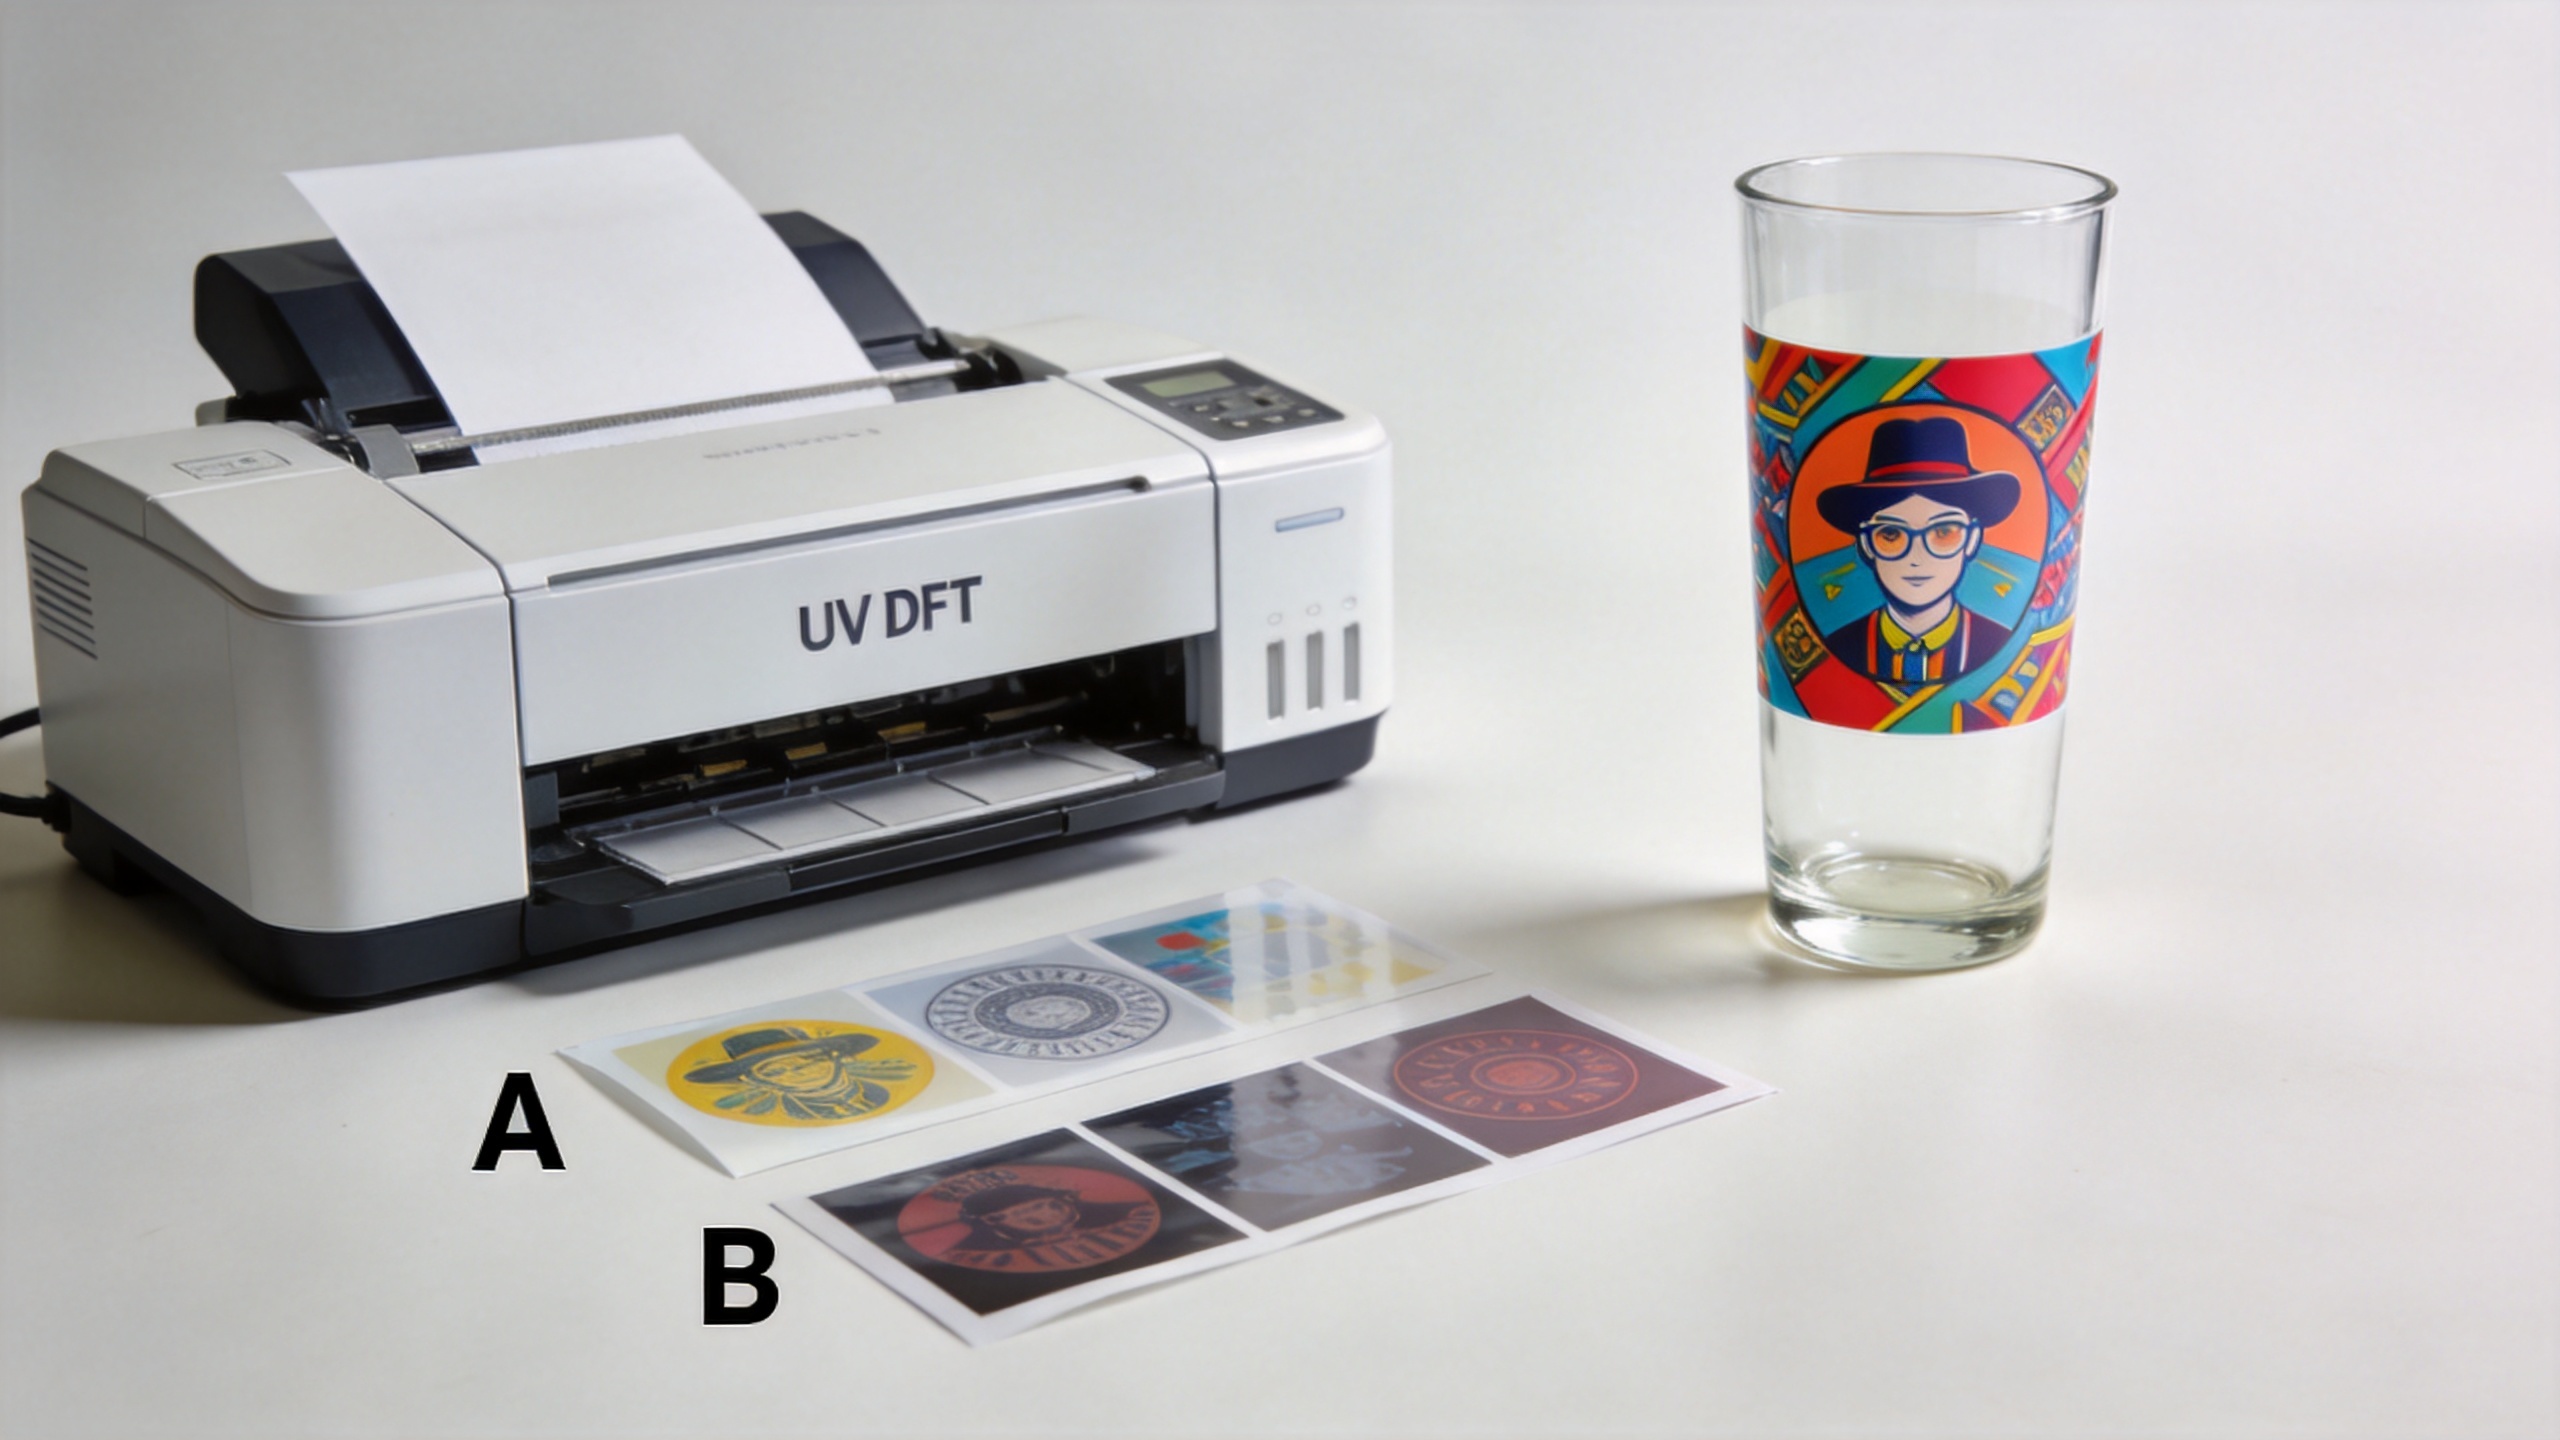
Load the correct film side, run nozzle and alignment checks, then print the artwork using the approved RIP profile. UV-curable ink is set during the printer’s curing process, so stable media handling and a clean print path matter. Watch the first section of the job: banding, missing white, or soft edges should be corrected before you continue with a larger run.
A sticker UV DTF workflow is more repeatable when you record the film type, profile, and any successful settings used for that material. Higher resolution alone does not guarantee a better transfer; ink laydown, curing, and the way the adhesive film meets the printed layer all affect the final result.
Step 3: Laminate with B Film Carefully
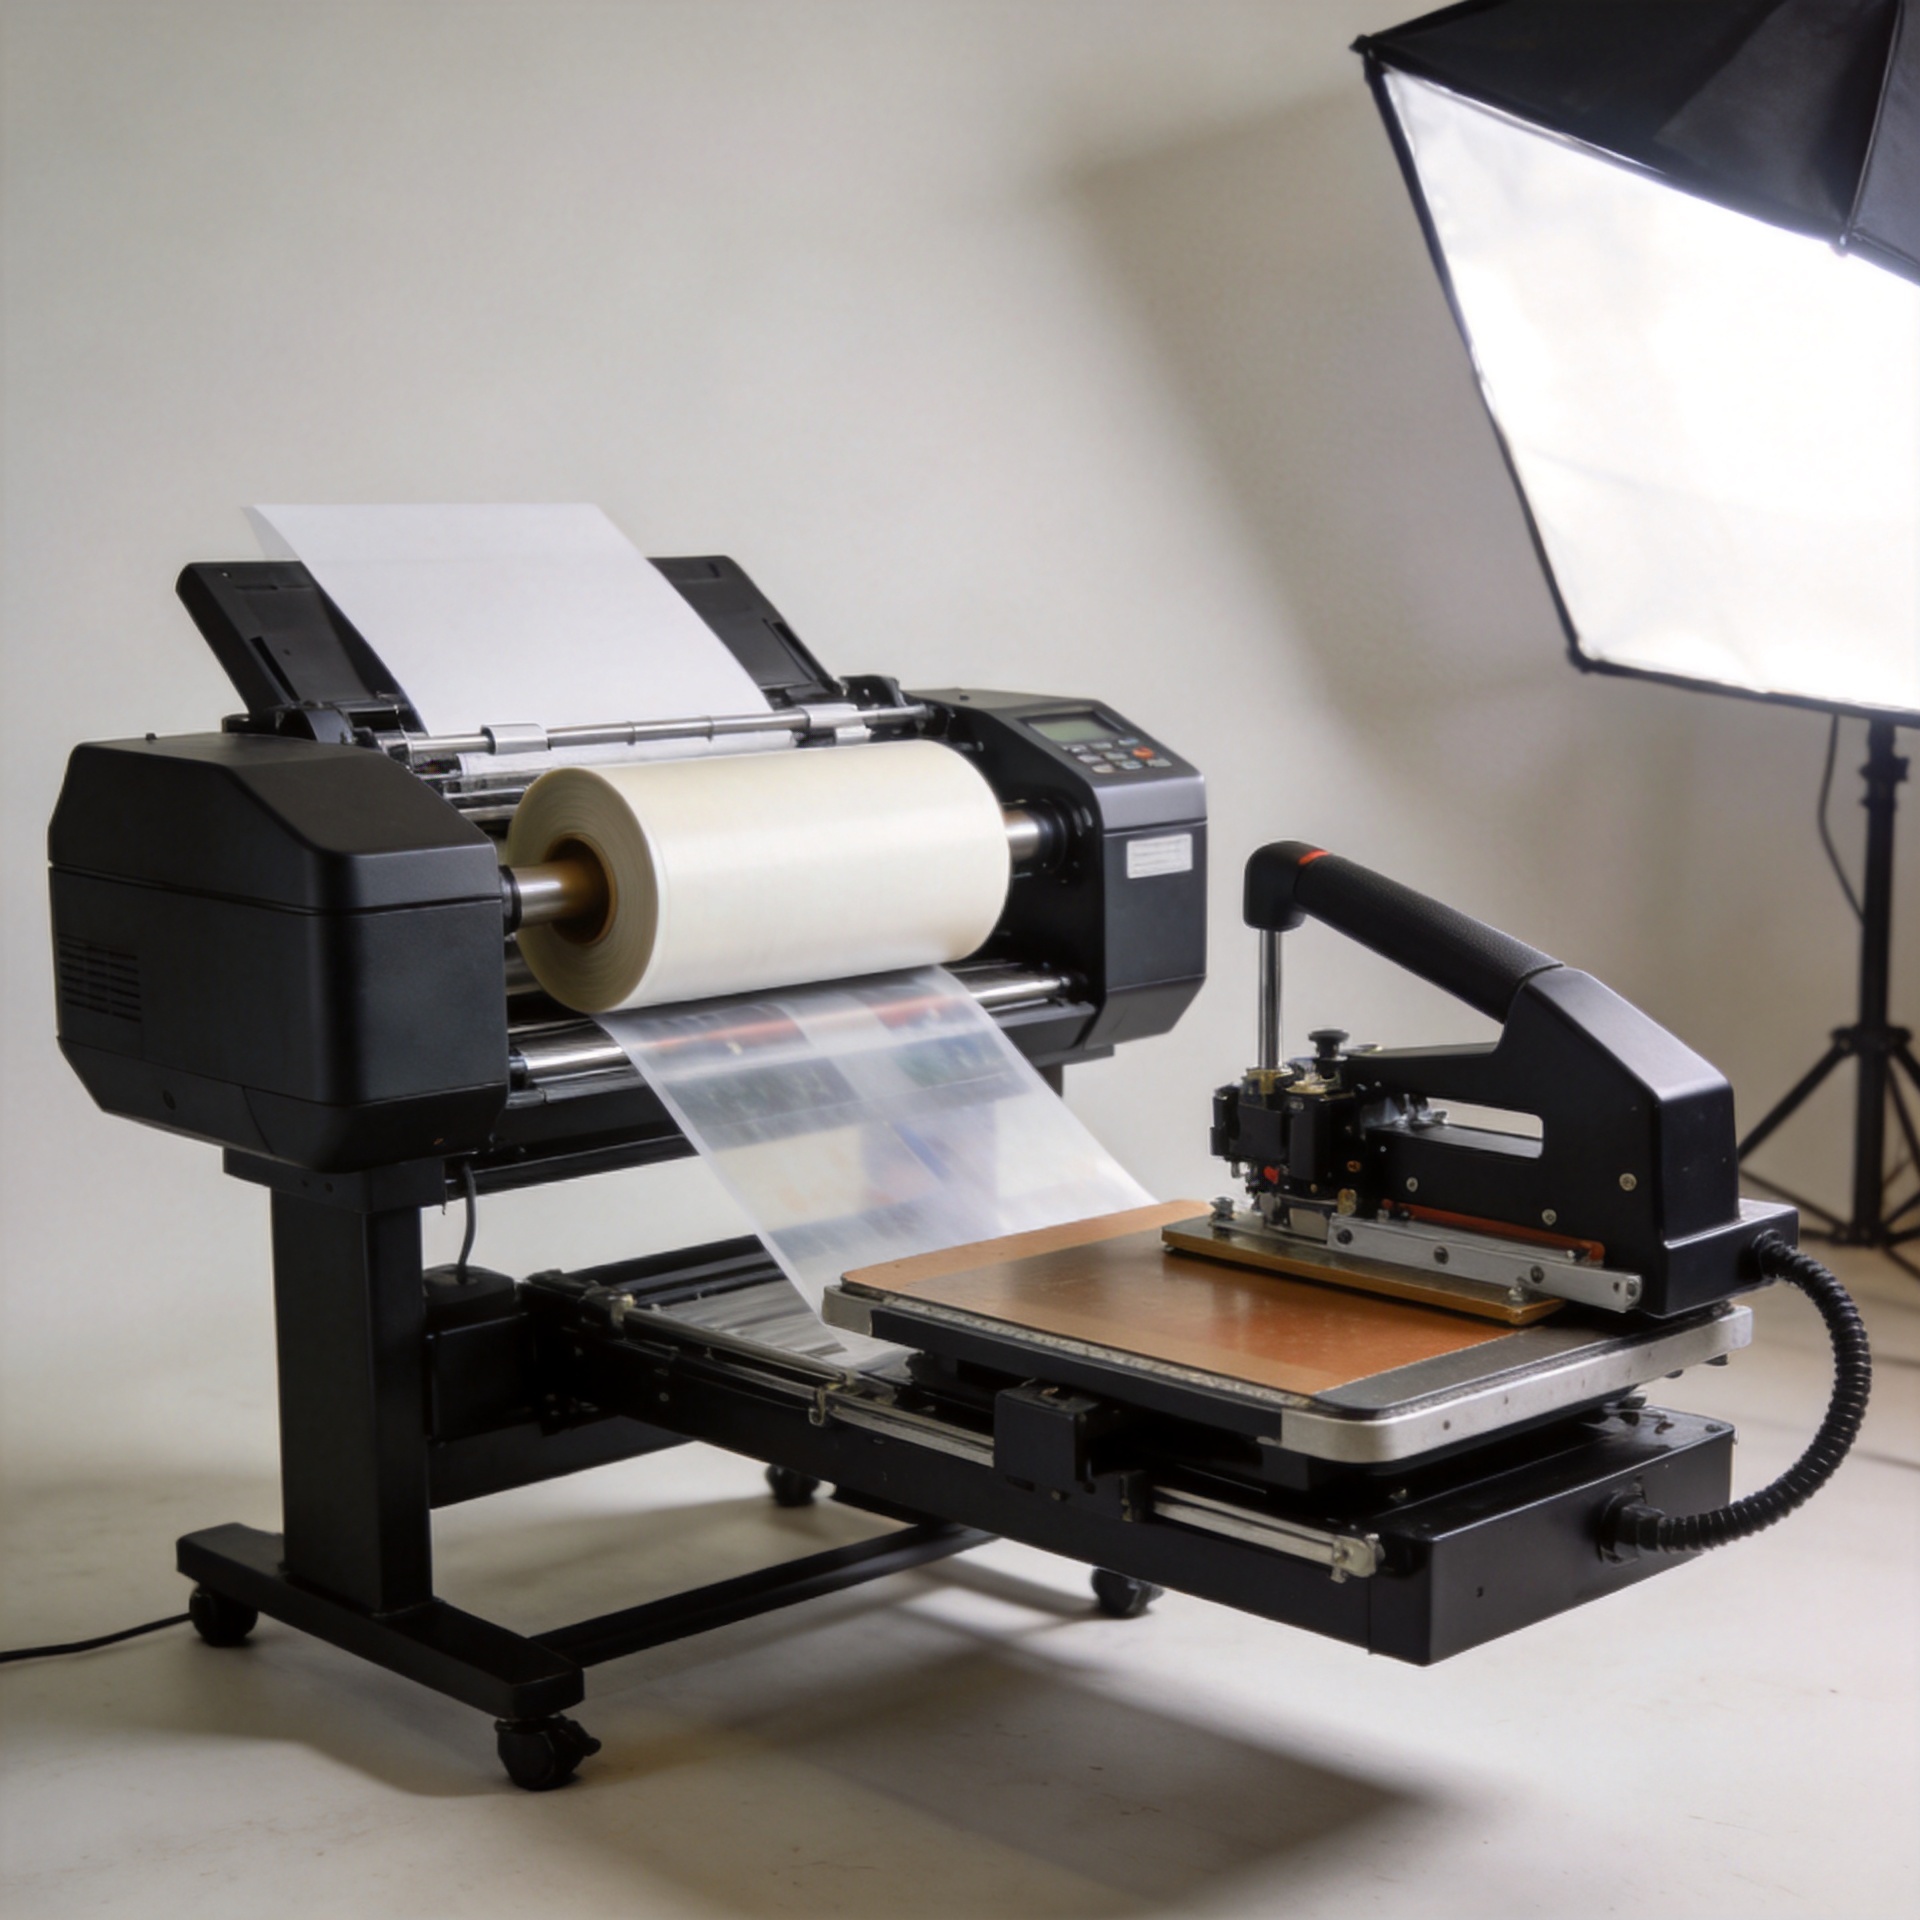
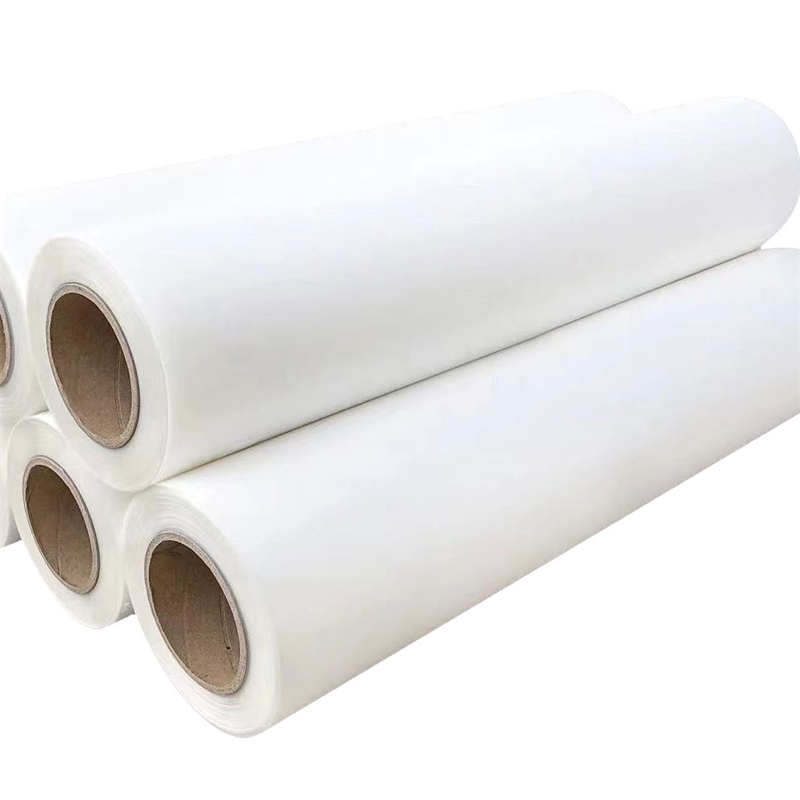
After the printed layer is ready, apply B film evenly according to the consumable system’s instructions. Work from one edge and use steady, even pressure to avoid trapping air. The aim is full contact across the design, especially around fine text and small isolated elements.
Do not rush this stage. If the laminate is skewed, wrinkled, or poorly bonded, the later transfer can lift unevenly. Keep the film clean and supported while handling it; fingerprints or debris may show up as weak spots. For beginners, a short test strip is a better diagnostic tool than trying to fix a large sheet after lamination.
Step 4: Apply the Sticker DTF UV Transfer to the Surface
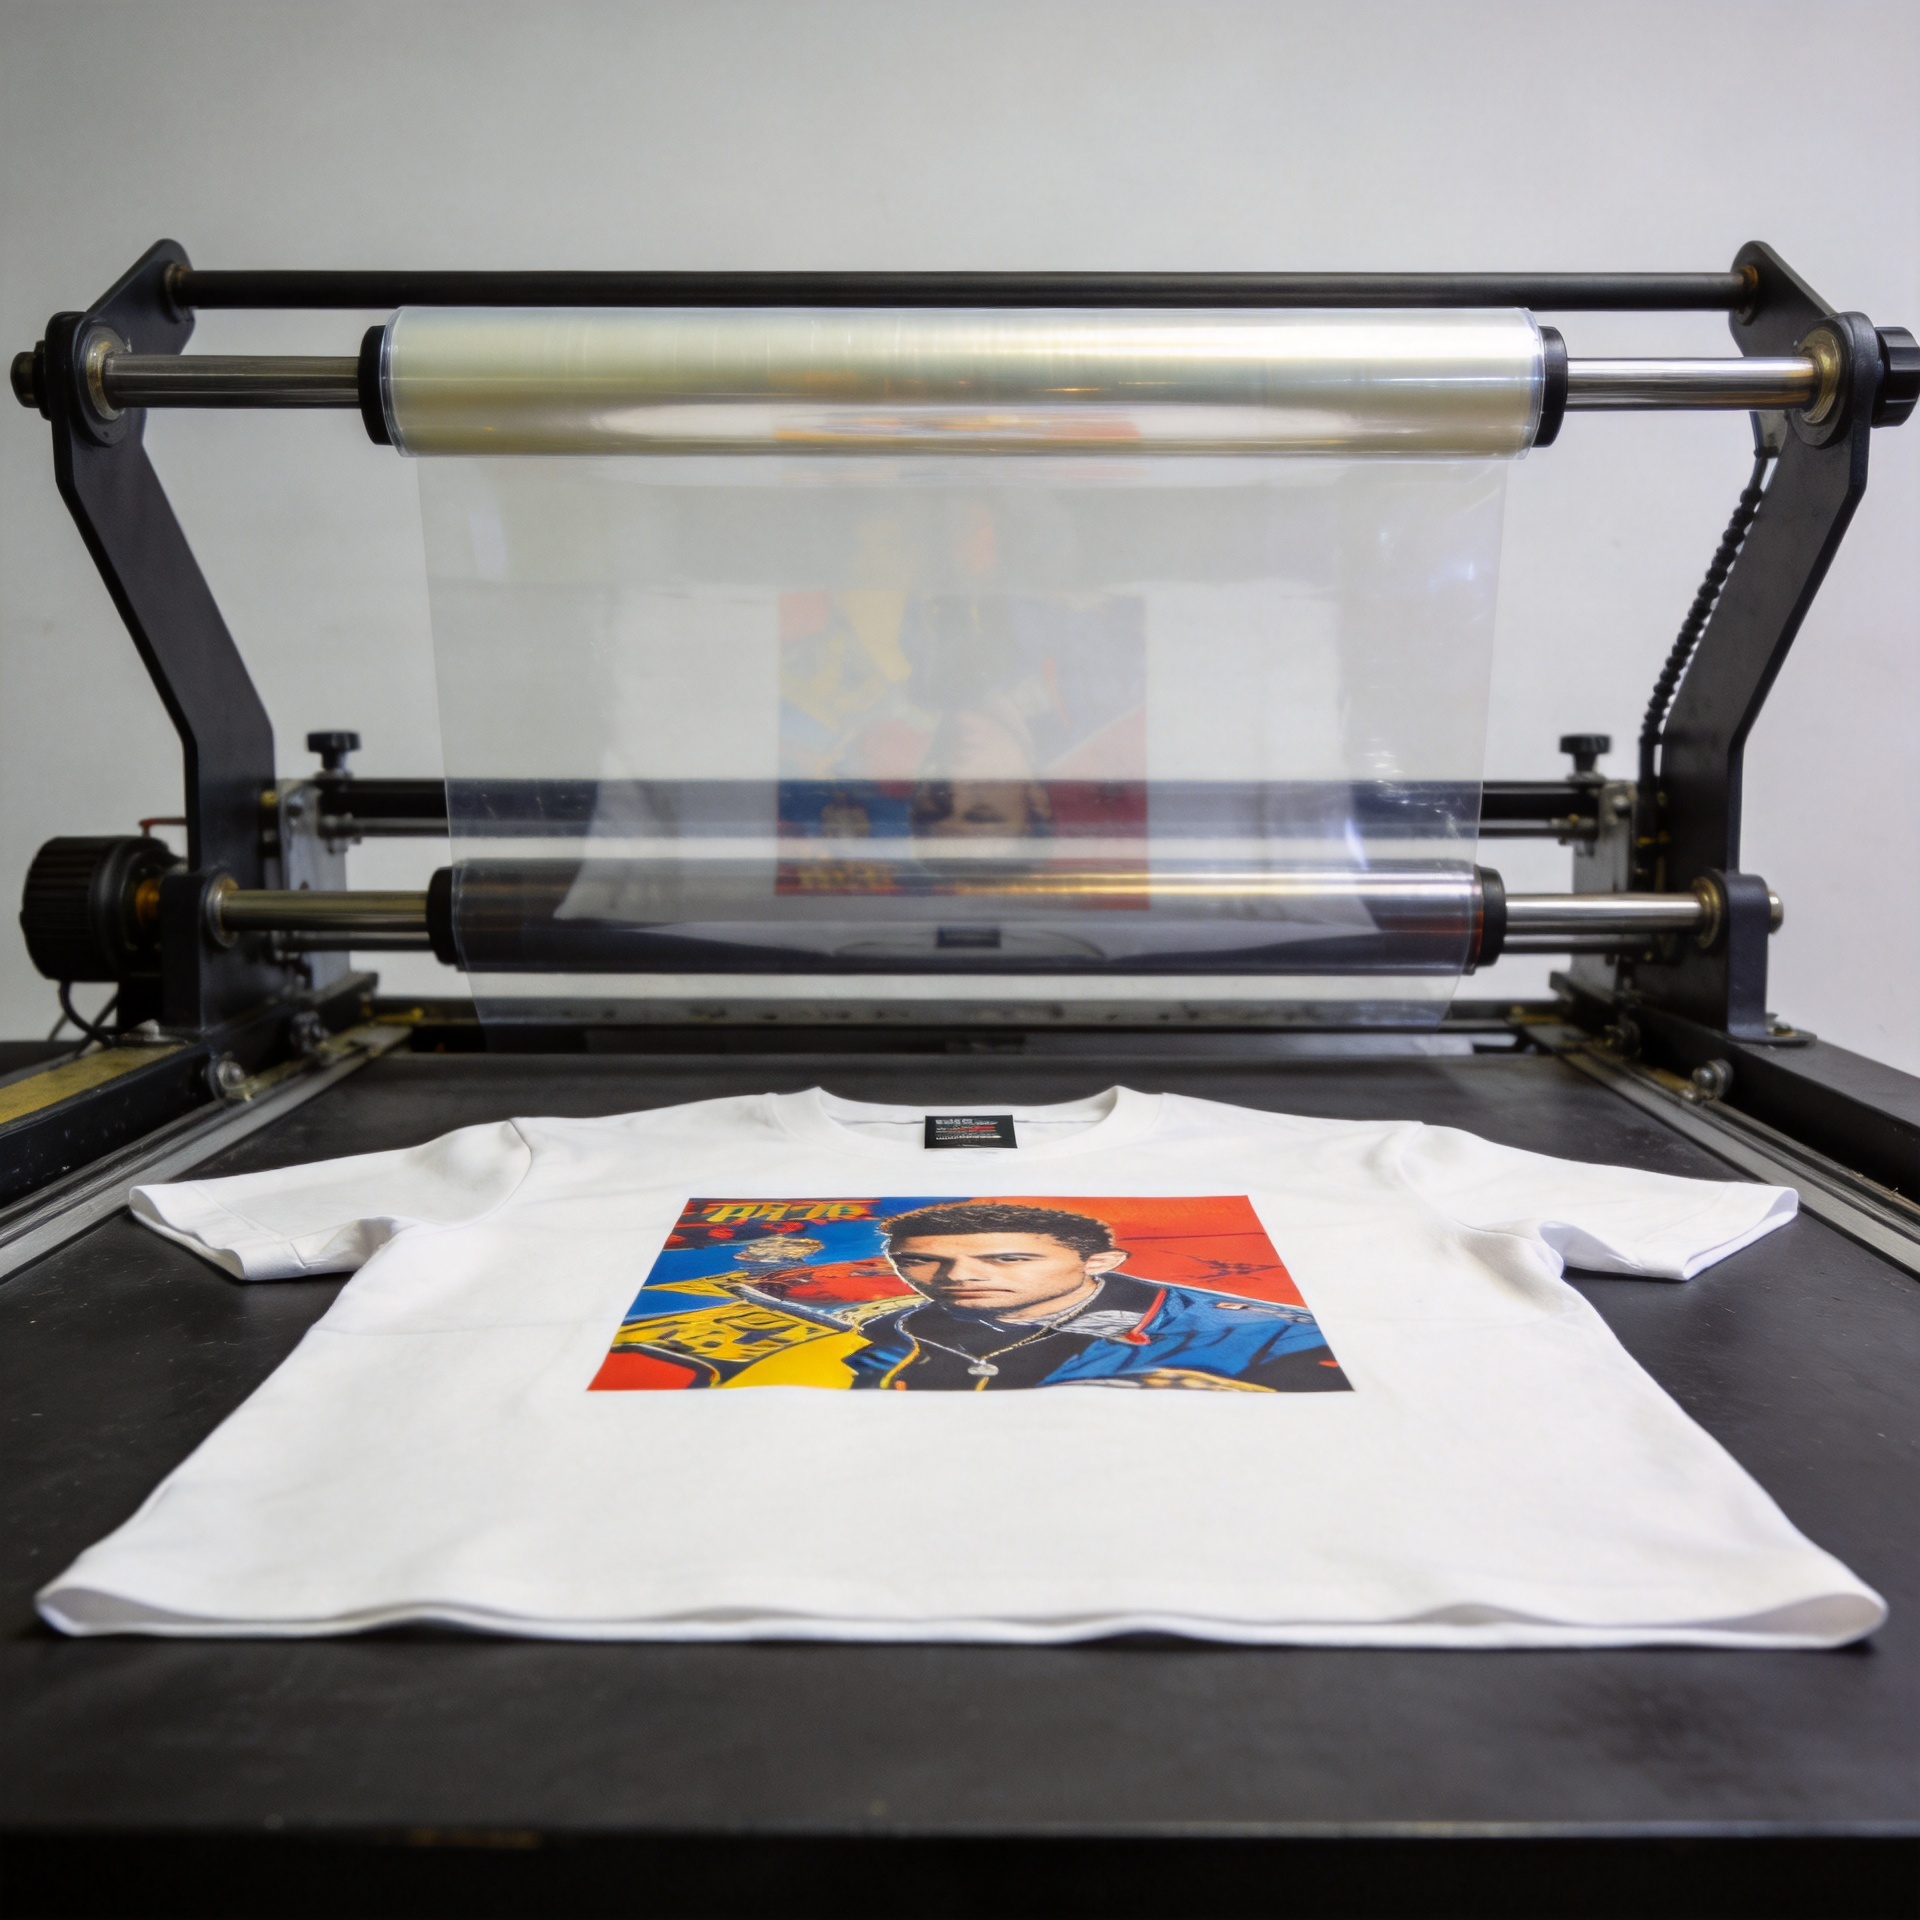
Clean the object first. Remove dust, oils, moisture, and residue, then allow the surface to dry completely. Position the transfer before pressing it down because repositioning after contact can distort fine details. Once aligned, smooth from the center outward with controlled pressure to push air toward the edges.
Flat objects are the simplest starting point. On gently curved tumblers, bottles, or cases, apply the transfer gradually in smaller sections instead of forcing the whole design down at once. Sharp curves, textured finishes, silicone-like coatings, and porous surfaces need separate testing because adhesion can vary. This is a practical boundary, not a limitation of the artwork.
Step 5: Peel the Carrier Film and Inspect the Result
Follow the recommended dwell time for your film system, then peel the carrier slowly at a low angle. If a detail starts lifting, stop rather than pulling harder; press that area again and reassess the bond. A controlled peel helps protect small letters, corners, and narrow lines.
Inspect the completed sticker UV DTF transfer under good light. Look for bubbles, lifted edges, incomplete contact, or scratches. Record the surface type and any issue you see. Over a few tests, those notes become a straightforward troubleshooting reference for the jobs you want to repeat.
Common Beginner Mistakes and Quick Fixes
- Applying onto an unclean surface: clean and dry the item before positioning the transfer.
- Rushing the peel: peel slowly at a low angle and pause when fine details lift.
- Using one method for every material: test glass, metal, ceramic, acrylic, and coated plastics separately.
- Ignoring film compatibility: use a matched A/B film and ink workflow, then document the settings that work.
- Forcing a decal around a tight curve: use smaller sections or simplify the design for the object shape.
Choosing a UV DTF Printer for a Repeatable Workflow
Once you understand the process, equipment selection becomes more practical. Look for a workflow that supports consistent media handling, RIP control, routine maintenance, and the film format you plan to run. If you are evaluating a 300 mm format option, review the product details for the Sunika Sk30-3 UV DTF printer 300mm UV DTF Sticker Printer Triple F1080 alongside your intended decal size, output volume, and support needs.
Start with clean artwork, a matched consumable system, and a few controlled surface tests. That method will teach you far more than chasing a single “universal” setting—and it gives every UV DTF print a better chance of transferring cleanly.