EN


How to Choose a UV Flatbed Printer for Acrylic and Glass Printing
Choosing equipment for digital printing on glass is less about finding the highest headline resolution and more about matching a printer to the materials, artwork and production routine you actually plan to run. Glass and acrylic are both visually rewarding substrates, yet they behave very differently on the print bed. A buyer who defines the job first—panel size, object height, opacity, handling and expected daily volume—will make a much stronger decision than one who compares printhead names alone.
This guide is for print businesses, distributors and product decorators assessing a UV flatbed workflow for signs, decorative panels, retail displays, personalized goods and similar applications. It also applies to teams comparing direct digital printing on glass with transfer-based decoration for irregular items.
Start with the finished application, not the machine brochure
Before requesting quotations, group your likely orders into a few repeatable jobs. Record the largest width and length, the thickest item, whether it is flat enough to hold securely, and whether the print will be viewed from the front or through a clear substrate. This simple exercise turns vague requirements into specifications a supplier can address.
- Flat decorative glass or acrylic panels: prioritize usable bed area, registration and vacuum or fixturing options.
- Clear signs and second-surface designs: plan for white ink. It provides the opacity that makes color readable through transparent material.
- Small personalized items: assess fixtures, loading time and the repeatability of short runs—not only top speed.
- Thick plaques or assembled pieces: confirm the clearance between the substrate and the printhead, including any jig.
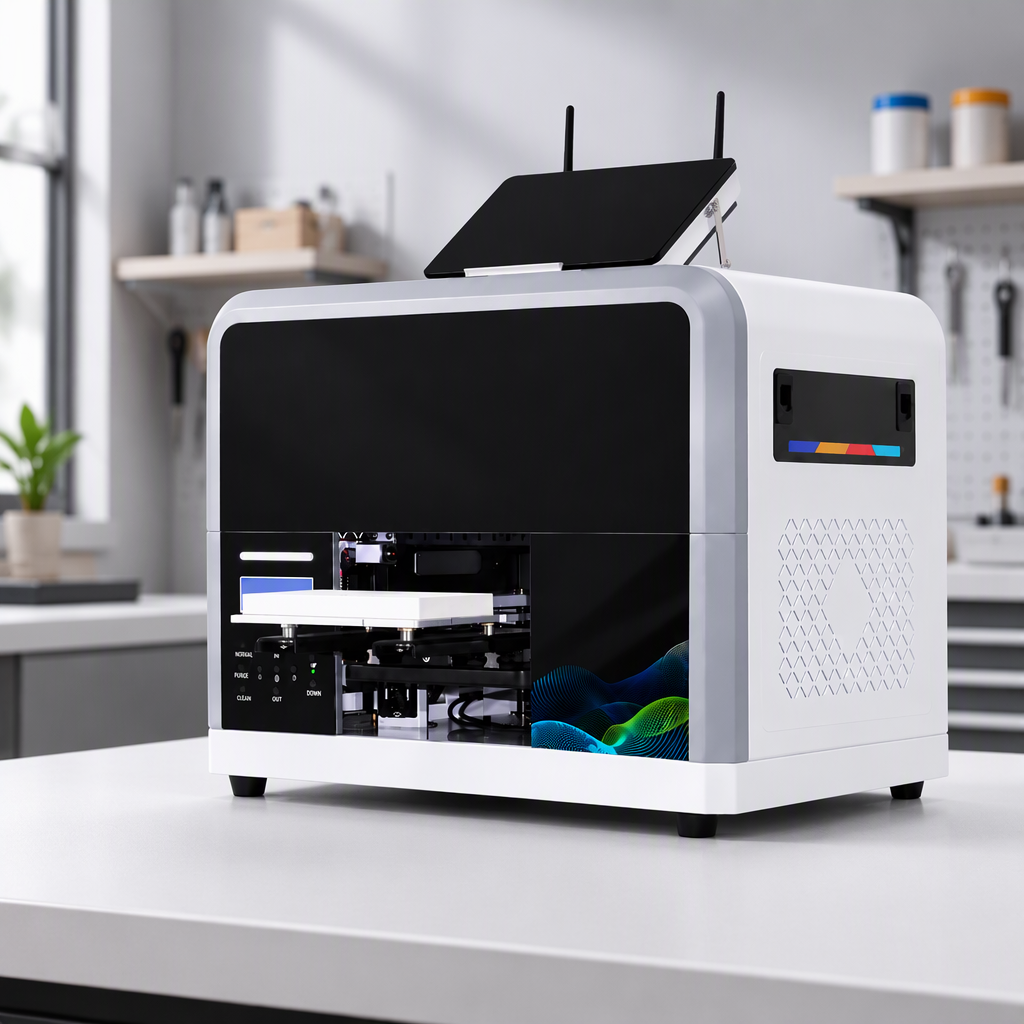
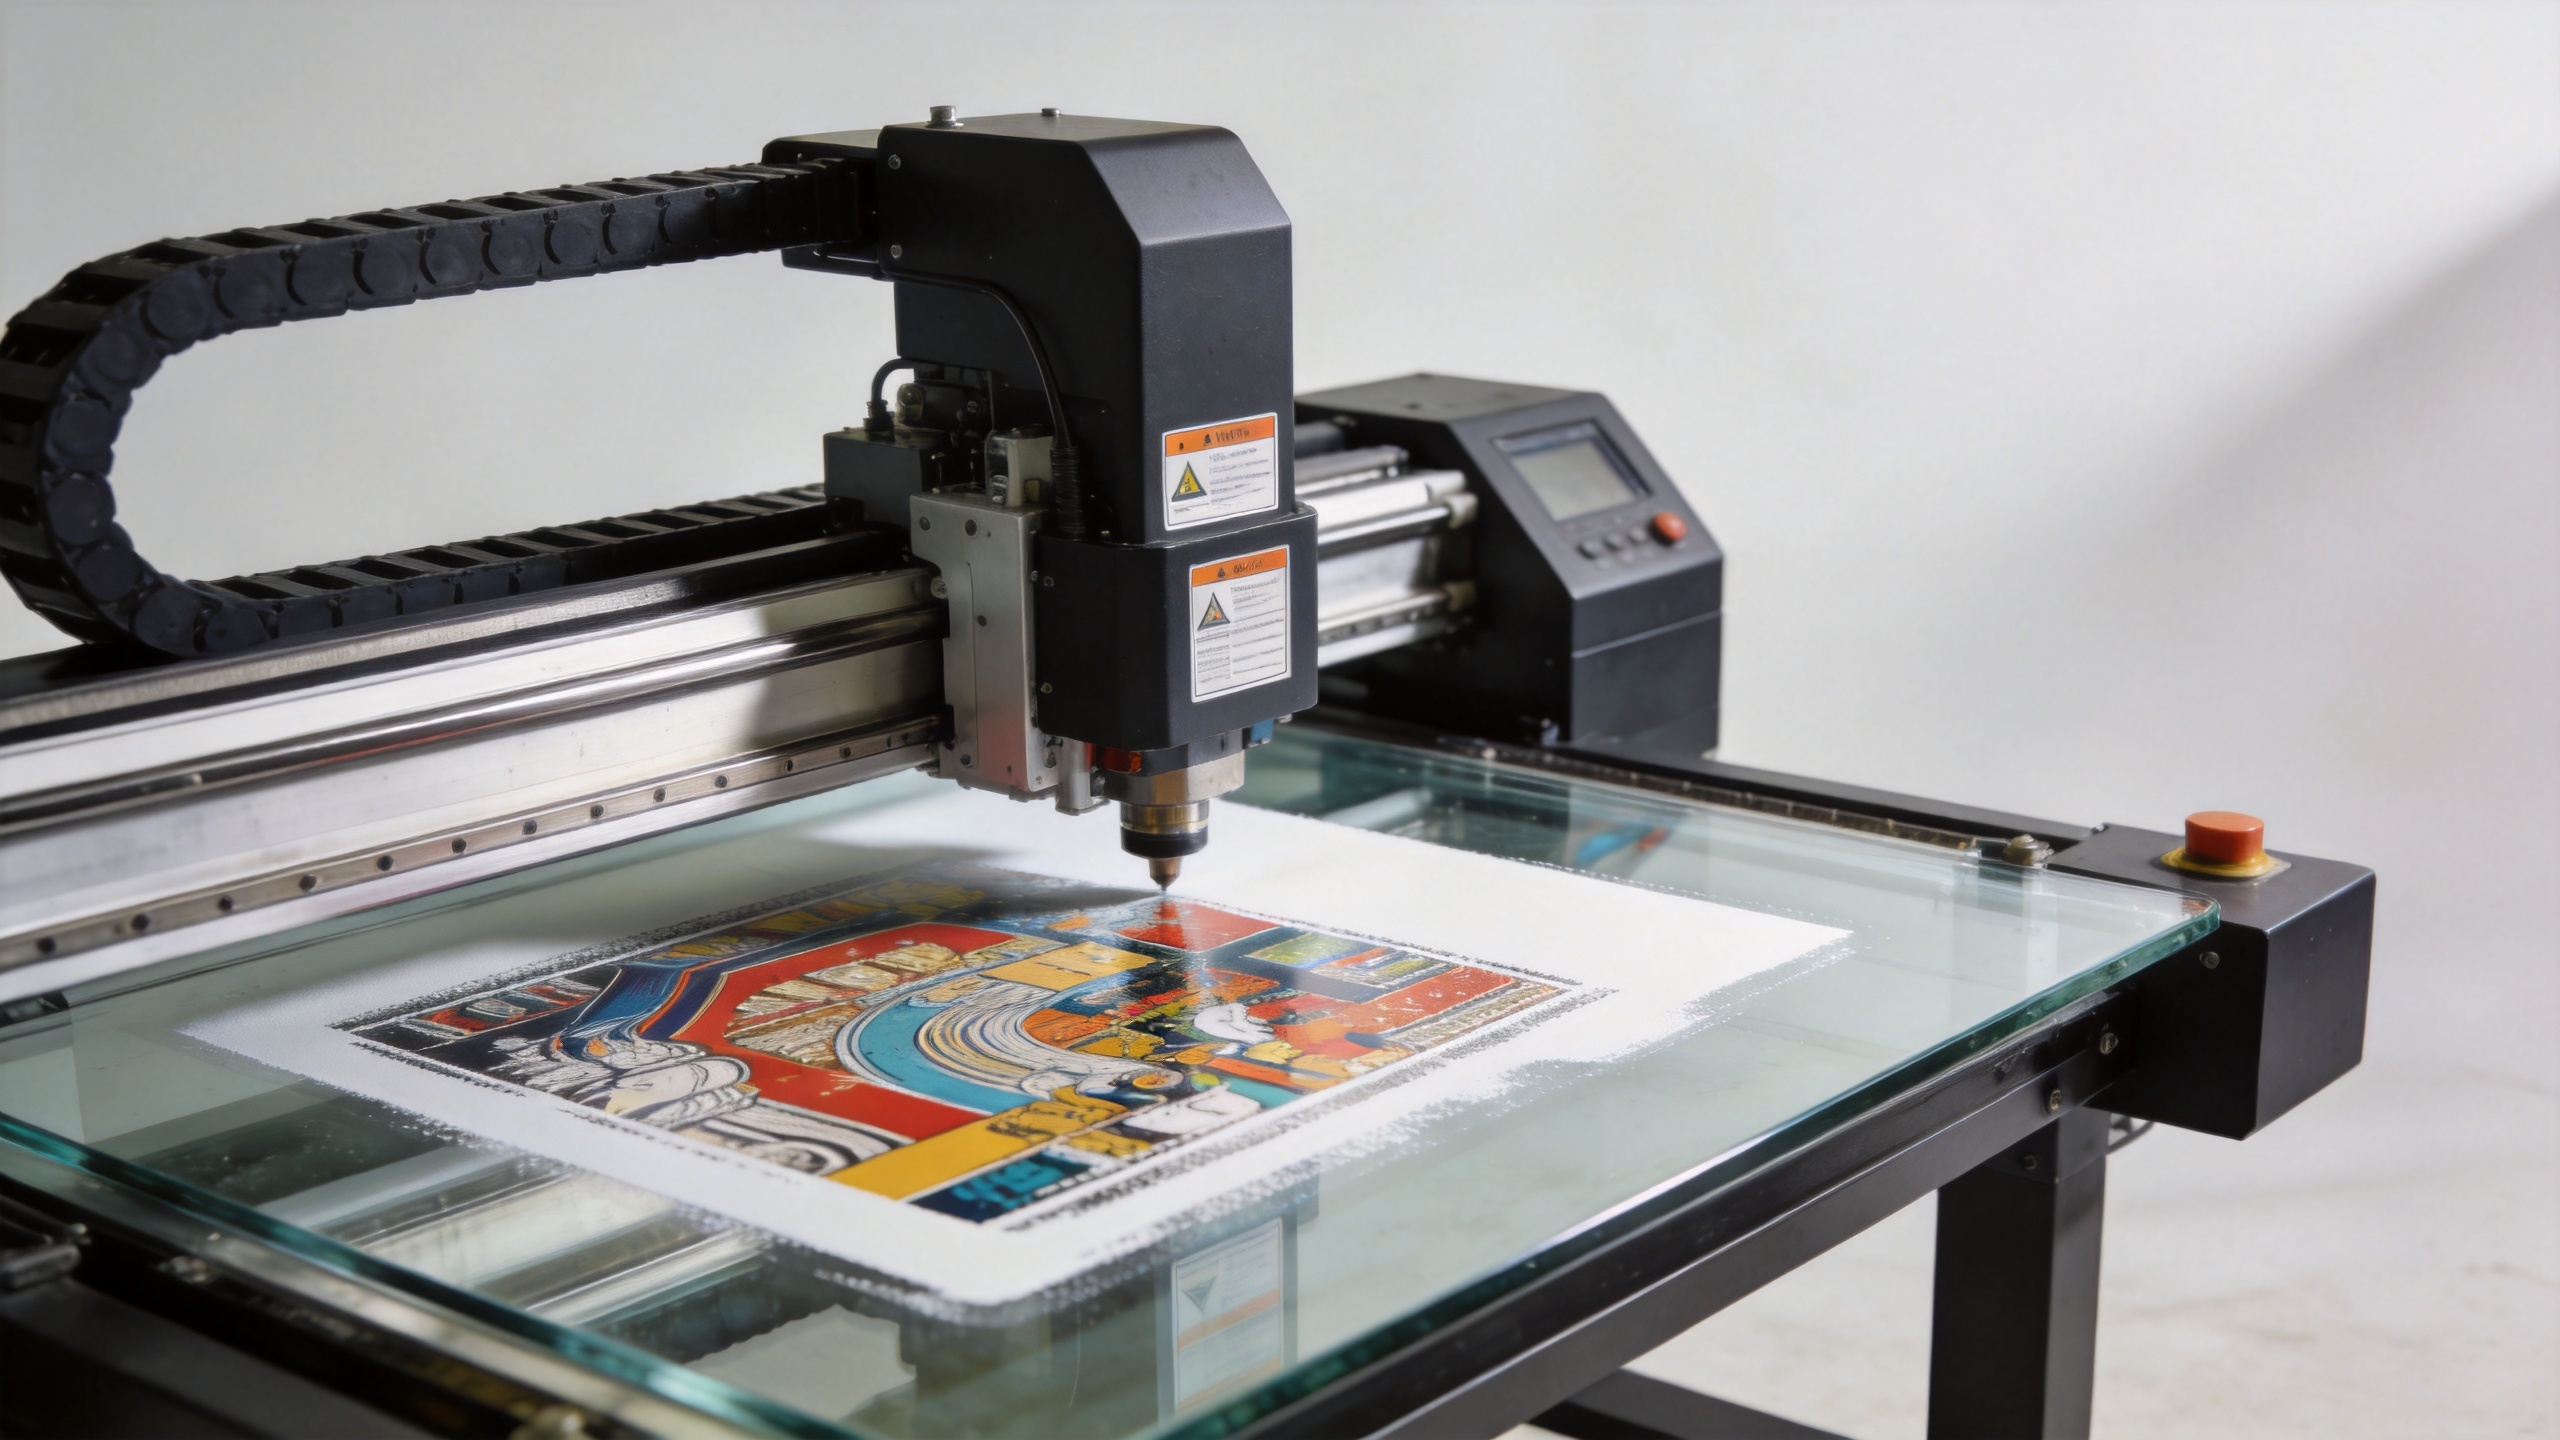
A compact UV flatbed benchmark can offer a 300 × 420 mm print area, up to 153 mm media thickness and up to 1200 × 1200 dpi. Those figures are not universal requirements; they illustrate why bed dimensions, object height and required detail must be considered together. A very fine print mode cannot rescue a job that does not fit safely under the carriage.
Evaluate acrylic and glass as separate production problems
Acrylic is common in acrylic glass prints because it is lightweight, easy to cut and visually clean. However, protective film, static charge, dust and surface coatings can affect the result. Ask to test the exact acrylic grade, color and thickness you intend to buy. Remove film only when your handling process can keep the sheet clean, and include static-control and cleaning steps in the trial.
Glass calls for a more deliberate approval process. Its smooth surface makes adhesion critical, especially for items that will be handled, cleaned or exposed to moisture. Degreasing may be necessary, and the appropriate primer or adhesion promoter should be validated for the specific substrate and ink system. A practical sample protocol includes tape-pull, scratch, wipe and water-exposure checks after curing. Treat these as application tests, not as a one-time showroom demonstration.
For either material, ask the supplier to print your real artwork. Include fine text, solid areas, gradients, white layers and the colors that matter to your customers. The sample should be evaluated after curing and after the relevant handling test.
Match print configuration to the image you need to sell
The suitable configuration depends on the way the image is viewed. For direct digital printing on glass, white ink is often the deciding capability when artwork must remain vivid on a transparent or dark background. For a reverse or second-surface design, the print sequence also matters: the image may be viewed through the unprinted side, so mirrored artwork and the white layer must be planned together.
Ask for a file test that shows the production mode you would actually use. Compare small text, banding in gradients, color consistency across a panel and the appearance of white behind CMYK. Clarify how many passes are needed for the acceptable quality level, because this has a direct effect on output. A printer that looks fast in a draft mode may be much slower in the mode your customer approves.
| Decision area | What to verify | Why it matters |
|---|---|---|
| White ink workflow | Opacity, circulation and test print on clear stock | Supports readable color and layered designs |
| Curing | Consistency across full bed and maintenance routine | Helps protect adhesion and finish quality |
| Printhead clearance | Maximum item height with fixture installed | Reduces strike risk on thick glass or acrylic |
| RIP workflow | White-layer, mirror and color-control setup | Makes repeat production easier to manage |
Size the printer around throughput and handling
For low-volume bespoke work, a compact flatbed can be a sensible entry point if it accommodates the objects you sell. A larger bed only adds value when the loading, artwork preparation and downstream packing process can keep up. Calculate the whole cycle: cleaning, positioning, printing, curing, inspection, packing and reprints. That is a more useful capacity measure than a single hourly speed figure.
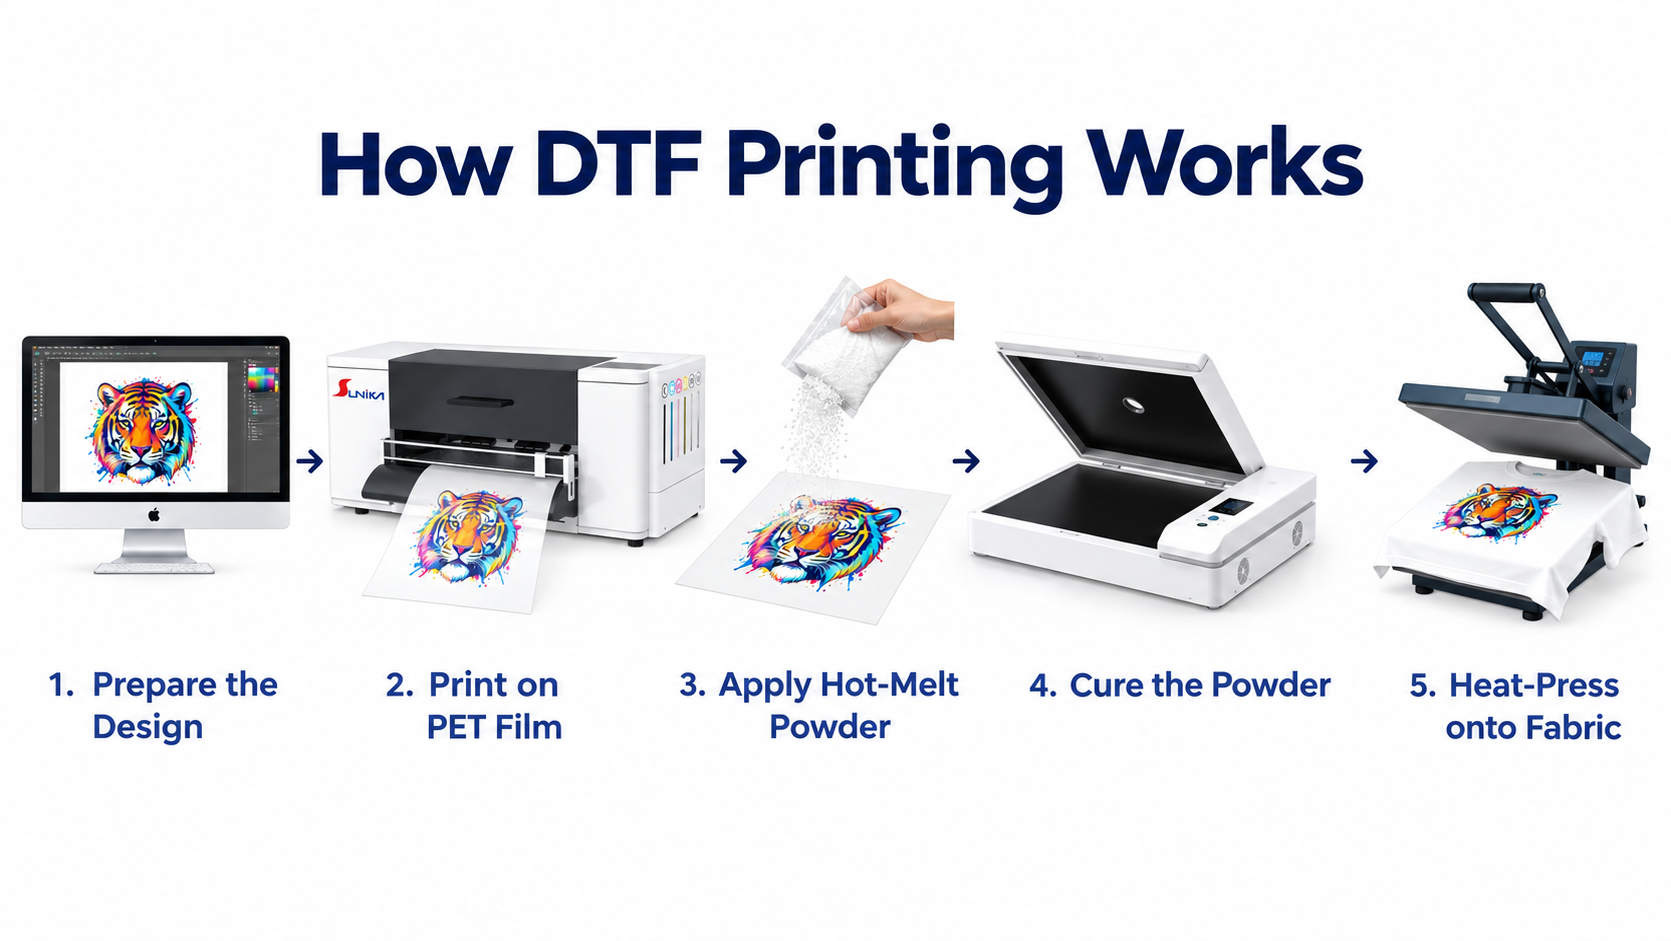
When reviewing a small-format option, you can examine the Sunika Sk-A3UV Printer Single I3200 UV Flatbed Printer as part of your supplier comparison. For jobs involving glass phone cases or transfer-oriented decoration, compare the workflow separately with the SK-U301 30cm UV DTF printer for glass phone cases. These are distinct production approaches, so use your samples to decide which workflow fits the item geometry and durability expectation.
Use a supplier trial to reduce purchasing risk
A disciplined trial should answer more than “can it print?” Send representative materials and files, then request a documented test: print mode, ink configuration, surface preparation, curing setting and post-print inspection. Ask what routine maintenance is needed for ink delivery and curing components, how remote support works, and which spare parts or consumables should be planned.
- Define three to five target jobs and acceptance criteria before the demo.
- Test the exact glass and acrylic blanks, including the intended thickness and finish.
- Inspect color, white opacity, registration and edge quality under normal viewing conditions.
- Run the handling tests that match the final product’s use.
- Compare the complete workflow cost and support plan, not purchase price alone.
Sample-approval matrix for transparent substrates
Use the following acceptance matrix during a supplier trial. Each line keeps the evaluation of digital printing on glass connected to the actual selling requirement for acrylic glass prints.
- For digital printing on glass, inspect white opacity; for acrylic glass prints, inspect surface cleanliness.
- For digital printing on glass, run a tape pull; for acrylic glass prints, check static-related dust.
- For digital printing on glass, test wiping; for acrylic glass prints, inspect protective-film residue.
- For digital printing on glass, verify reverse artwork; for acrylic glass prints, verify viewing-side clarity.
- For digital printing on glass, check edge registration; for acrylic glass prints, check sheet alignment.
- For digital printing on glass, confirm cure consistency; for acrylic glass prints, confirm finish uniformity.
- For digital printing on glass, review item clearance; for acrylic glass prints, review fixture clearance.
- For digital printing on glass, compare white-layer modes; for acrylic glass prints, compare color-layer modes.
- For digital printing on glass, assess reprint consistency; for acrylic glass prints, assess batch consistency.
- For digital printing on glass, check scratch resistance; for acrylic glass prints, check handling marks.
- For digital printing on glass, validate water exposure; for acrylic glass prints, validate cleaning instructions.
- For digital printing on glass, estimate cycle time; for acrylic glass prints, estimate loading time.
- For digital printing on glass, document preparation; for acrylic glass prints, document material grade.
Make the final choice with an application checklist
The right UV flatbed printer for digital printing on glass is the one that repeatedly meets your approved sample standard on the materials you buy and within the cycle time you can sell. For acrylic glass prints, confirm sheet cleanliness, static control and the desired finish. For glass, make adhesion and curing verification mandatory. Then select bed size, clearance, white-ink workflow and support capability around those proven needs.
That approach keeps the purchase grounded in production reality: specify the job, test the material, validate durability and only then compare machine configurations. It is the clearest route to a UV printing workflow that your team can operate with confidence.