EN


DTF Printing Supplies Checklist for Starting a Transfer Production Workflow
Buying a DTF printer is only one part of launching dependable transfer production. A workable setup also needs a coordinated set of dtf printing supplies: film, inks, adhesive powder, curing equipment, cleaning items, and a plan for storing and testing them. When one item is selected in isolation, the first symptom is often inconsistent color, incomplete powder melt, or transfers that look good initially but fail after pressing. This checklist helps new production teams map each supply to the step where it matters.
Start with the DTF workflow, not a shopping cart
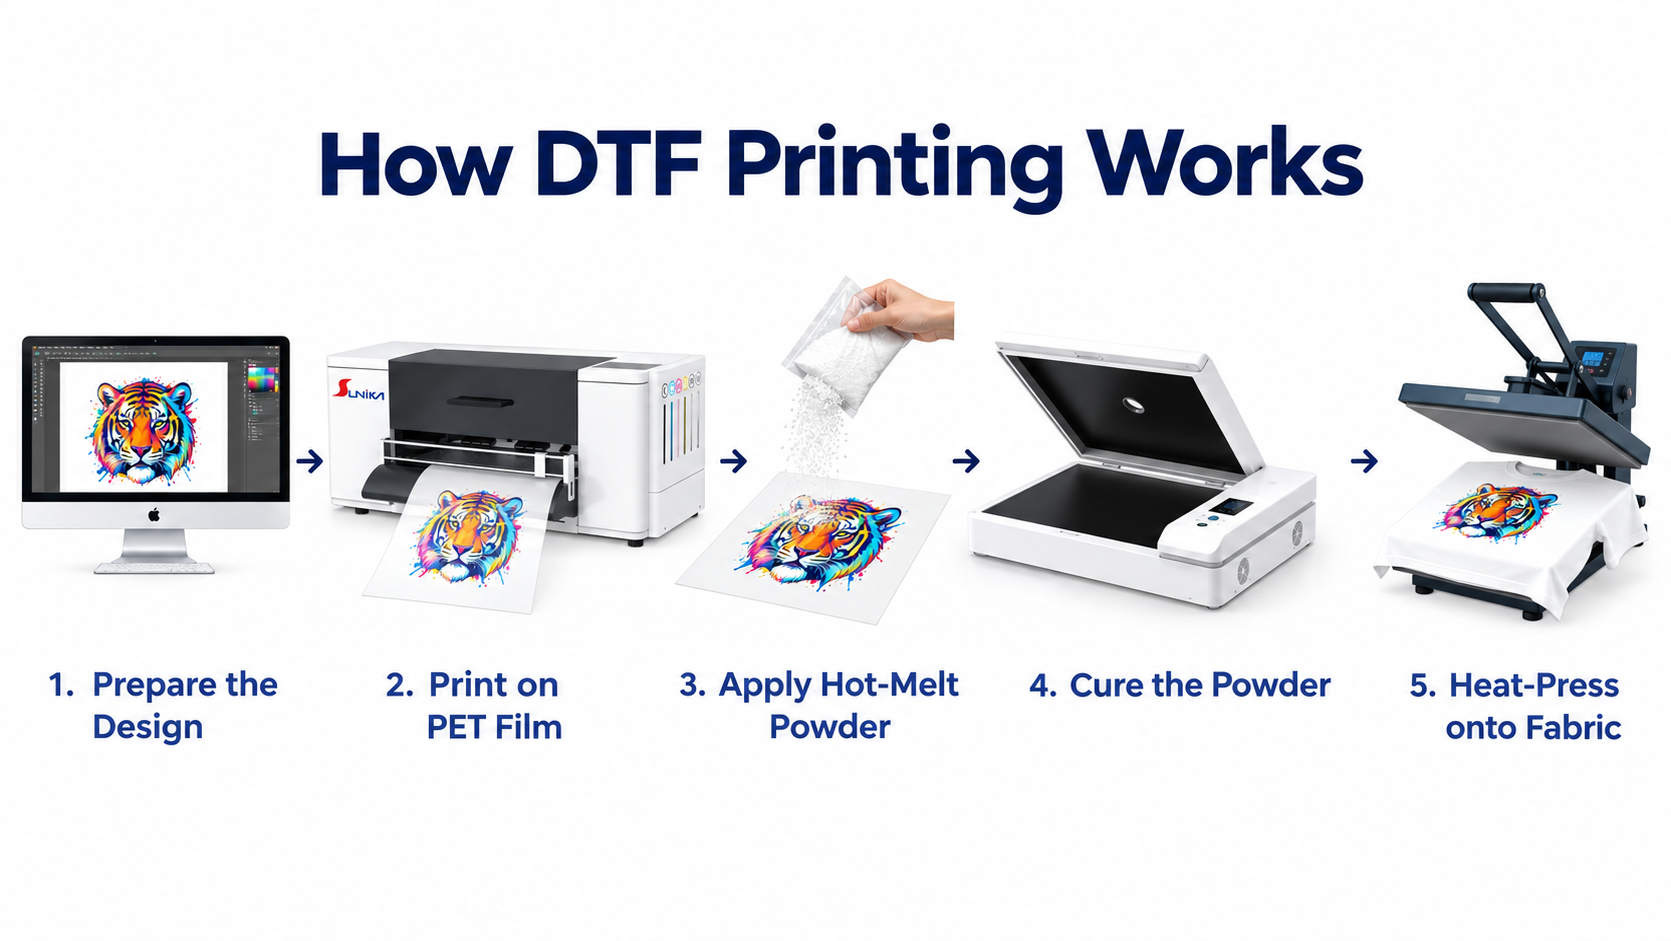
A basic DTF workflow has six linked stages: prepare artwork, print onto coated film, apply hot-melt powder, cure the coated film, heat-press the transfer onto a garment, and peel according to the film specification. Your dtf printing supplies should be planned around that sequence. It is useful to make one owner responsible for confirming compatibility between the printer, ink set, film coating, powder, curing method, and press settings before placing a larger order.
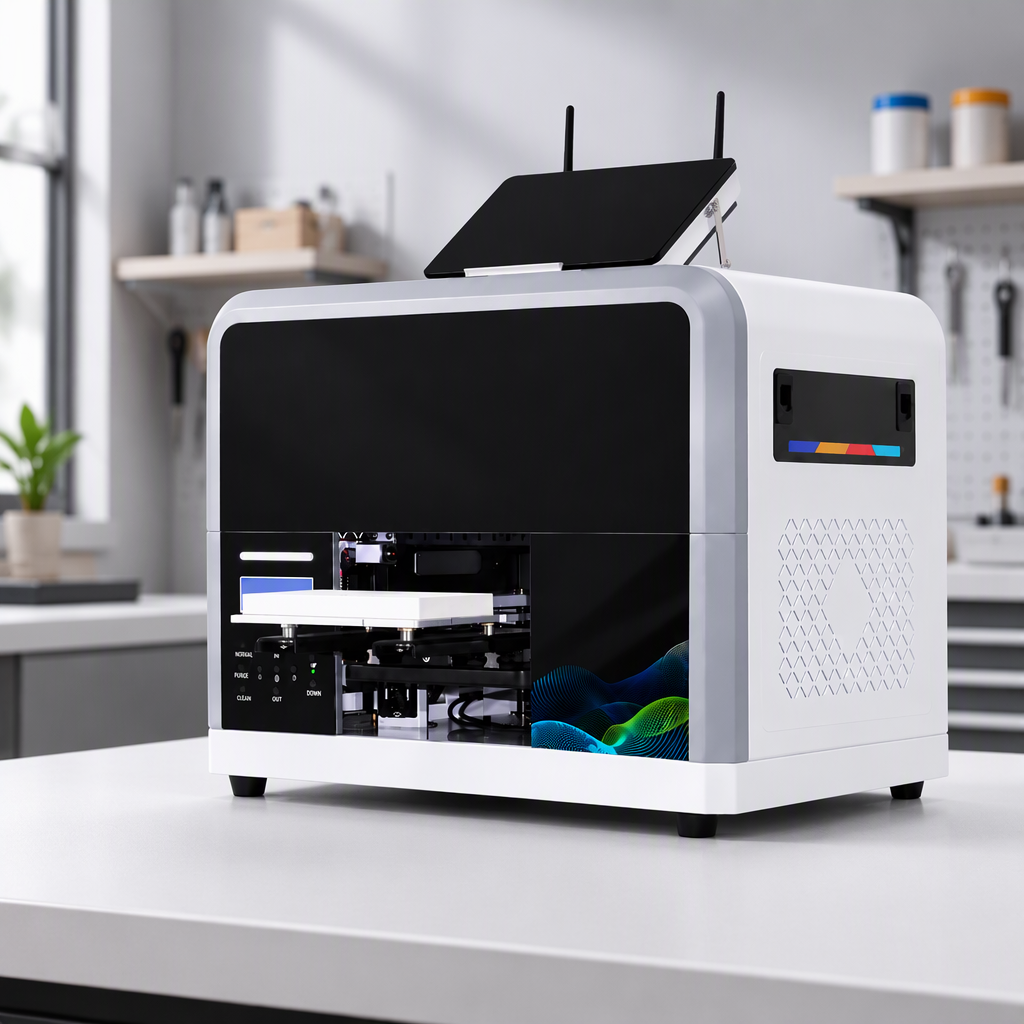
For a small-format starting point, review the workflow requirements alongside a machine such as the Sunika SK-A3 DTF Printer F1080 330mm A3 Direct to Film Printer. For wider production planning, a system such as the Sunika SK60 DTF Printer Dual I3200 600mm Tee Shirt Printer can be evaluated with the same consumables checklist. The product page is a starting point for equipment review; the consumables must still be verified against the supplier’s current instructions.
Core DTF printing supplies for the print stage
- DTF inks: Typically CMYK plus white ink. White ink management deserves special attention because settling, circulation, and routine maintenance can affect opacity and nozzle reliability.
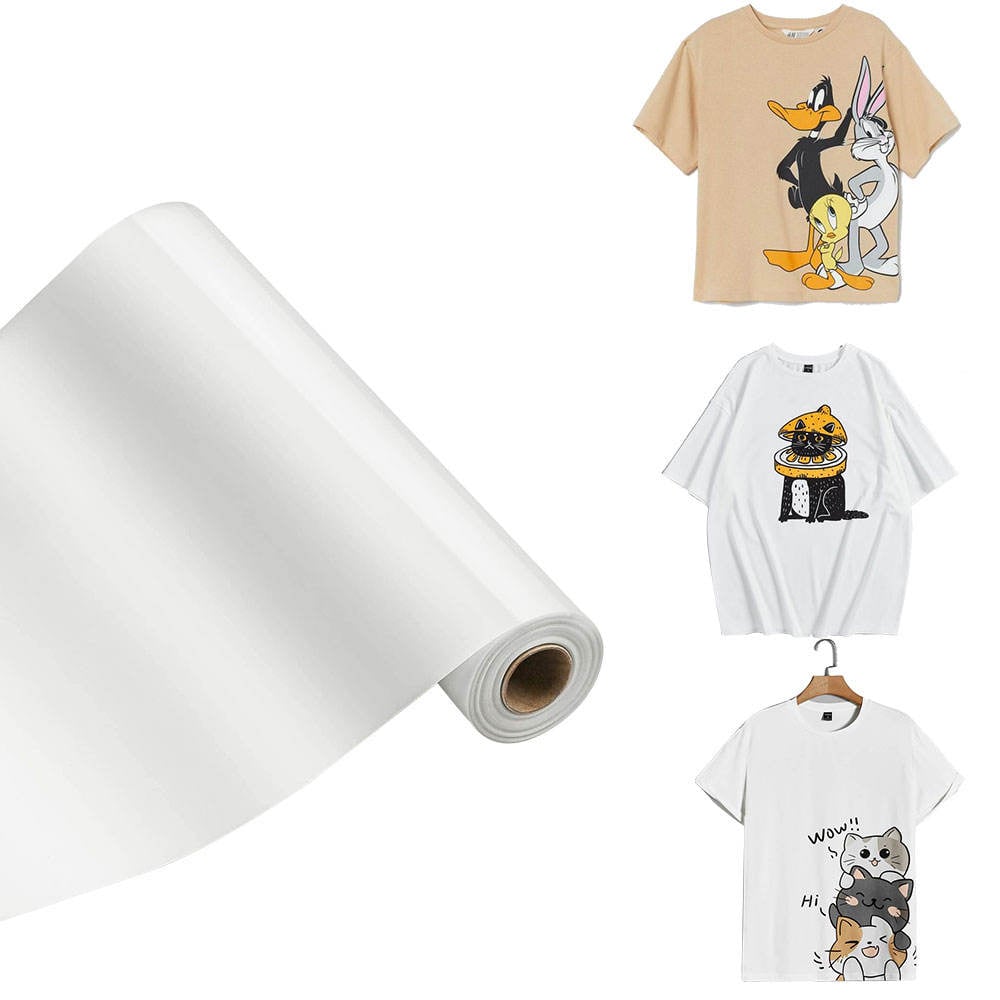
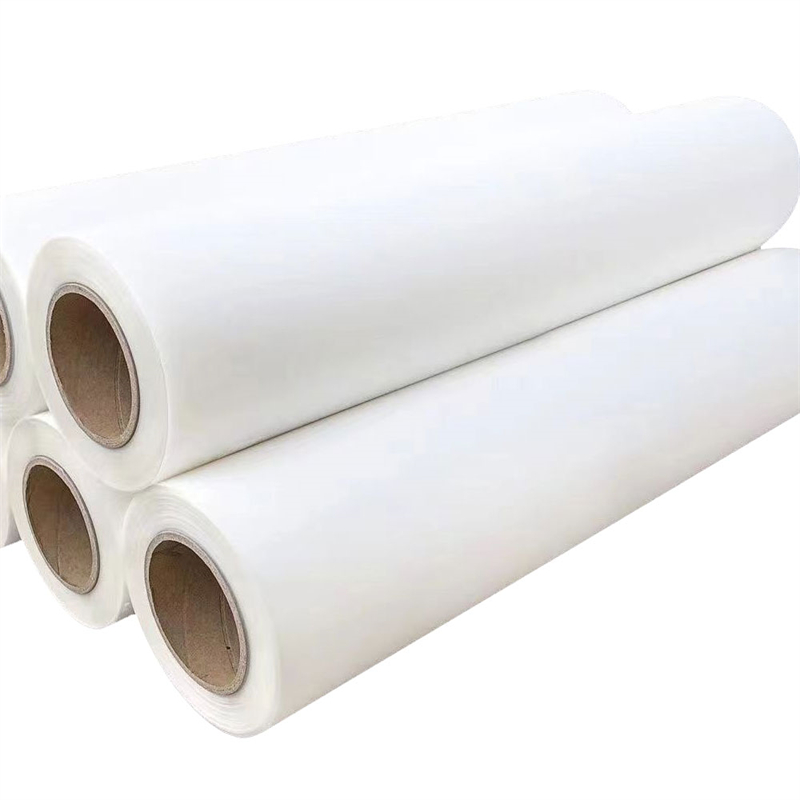
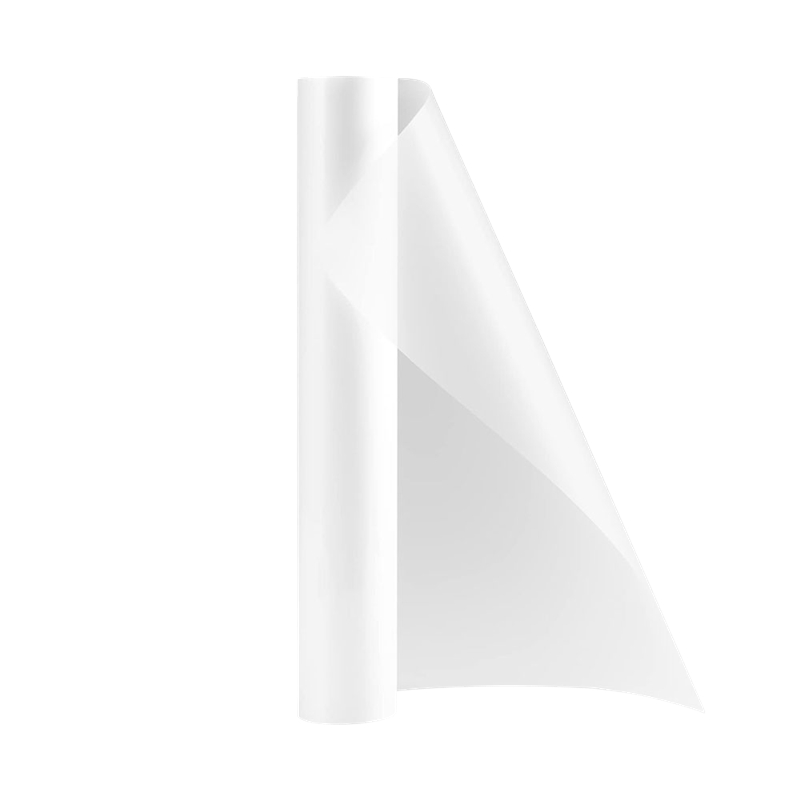
- Coated DTF film: Choose film designed for your intended peel method and production conditions. Record whether it is hot peel, warm peel, or cold peel so operators do not rely on guesswork at the press.
- Ink storage and maintenance materials: Keep approved cleaning solution, lint-free wipes, swabs, and suitable containers available. These are not optional extras when daily printhead care is part of the process.
- RIP software and color workflow: The software profile, white-ink layer, and print settings are part of the supply plan because they determine how ink lands on the film.
Before opening a large amount of stock, run a short acceptance test: print a standard artwork, inspect fine details and white coverage, then retain the sample with its batch details. This simple habit makes later troubleshooting much faster.
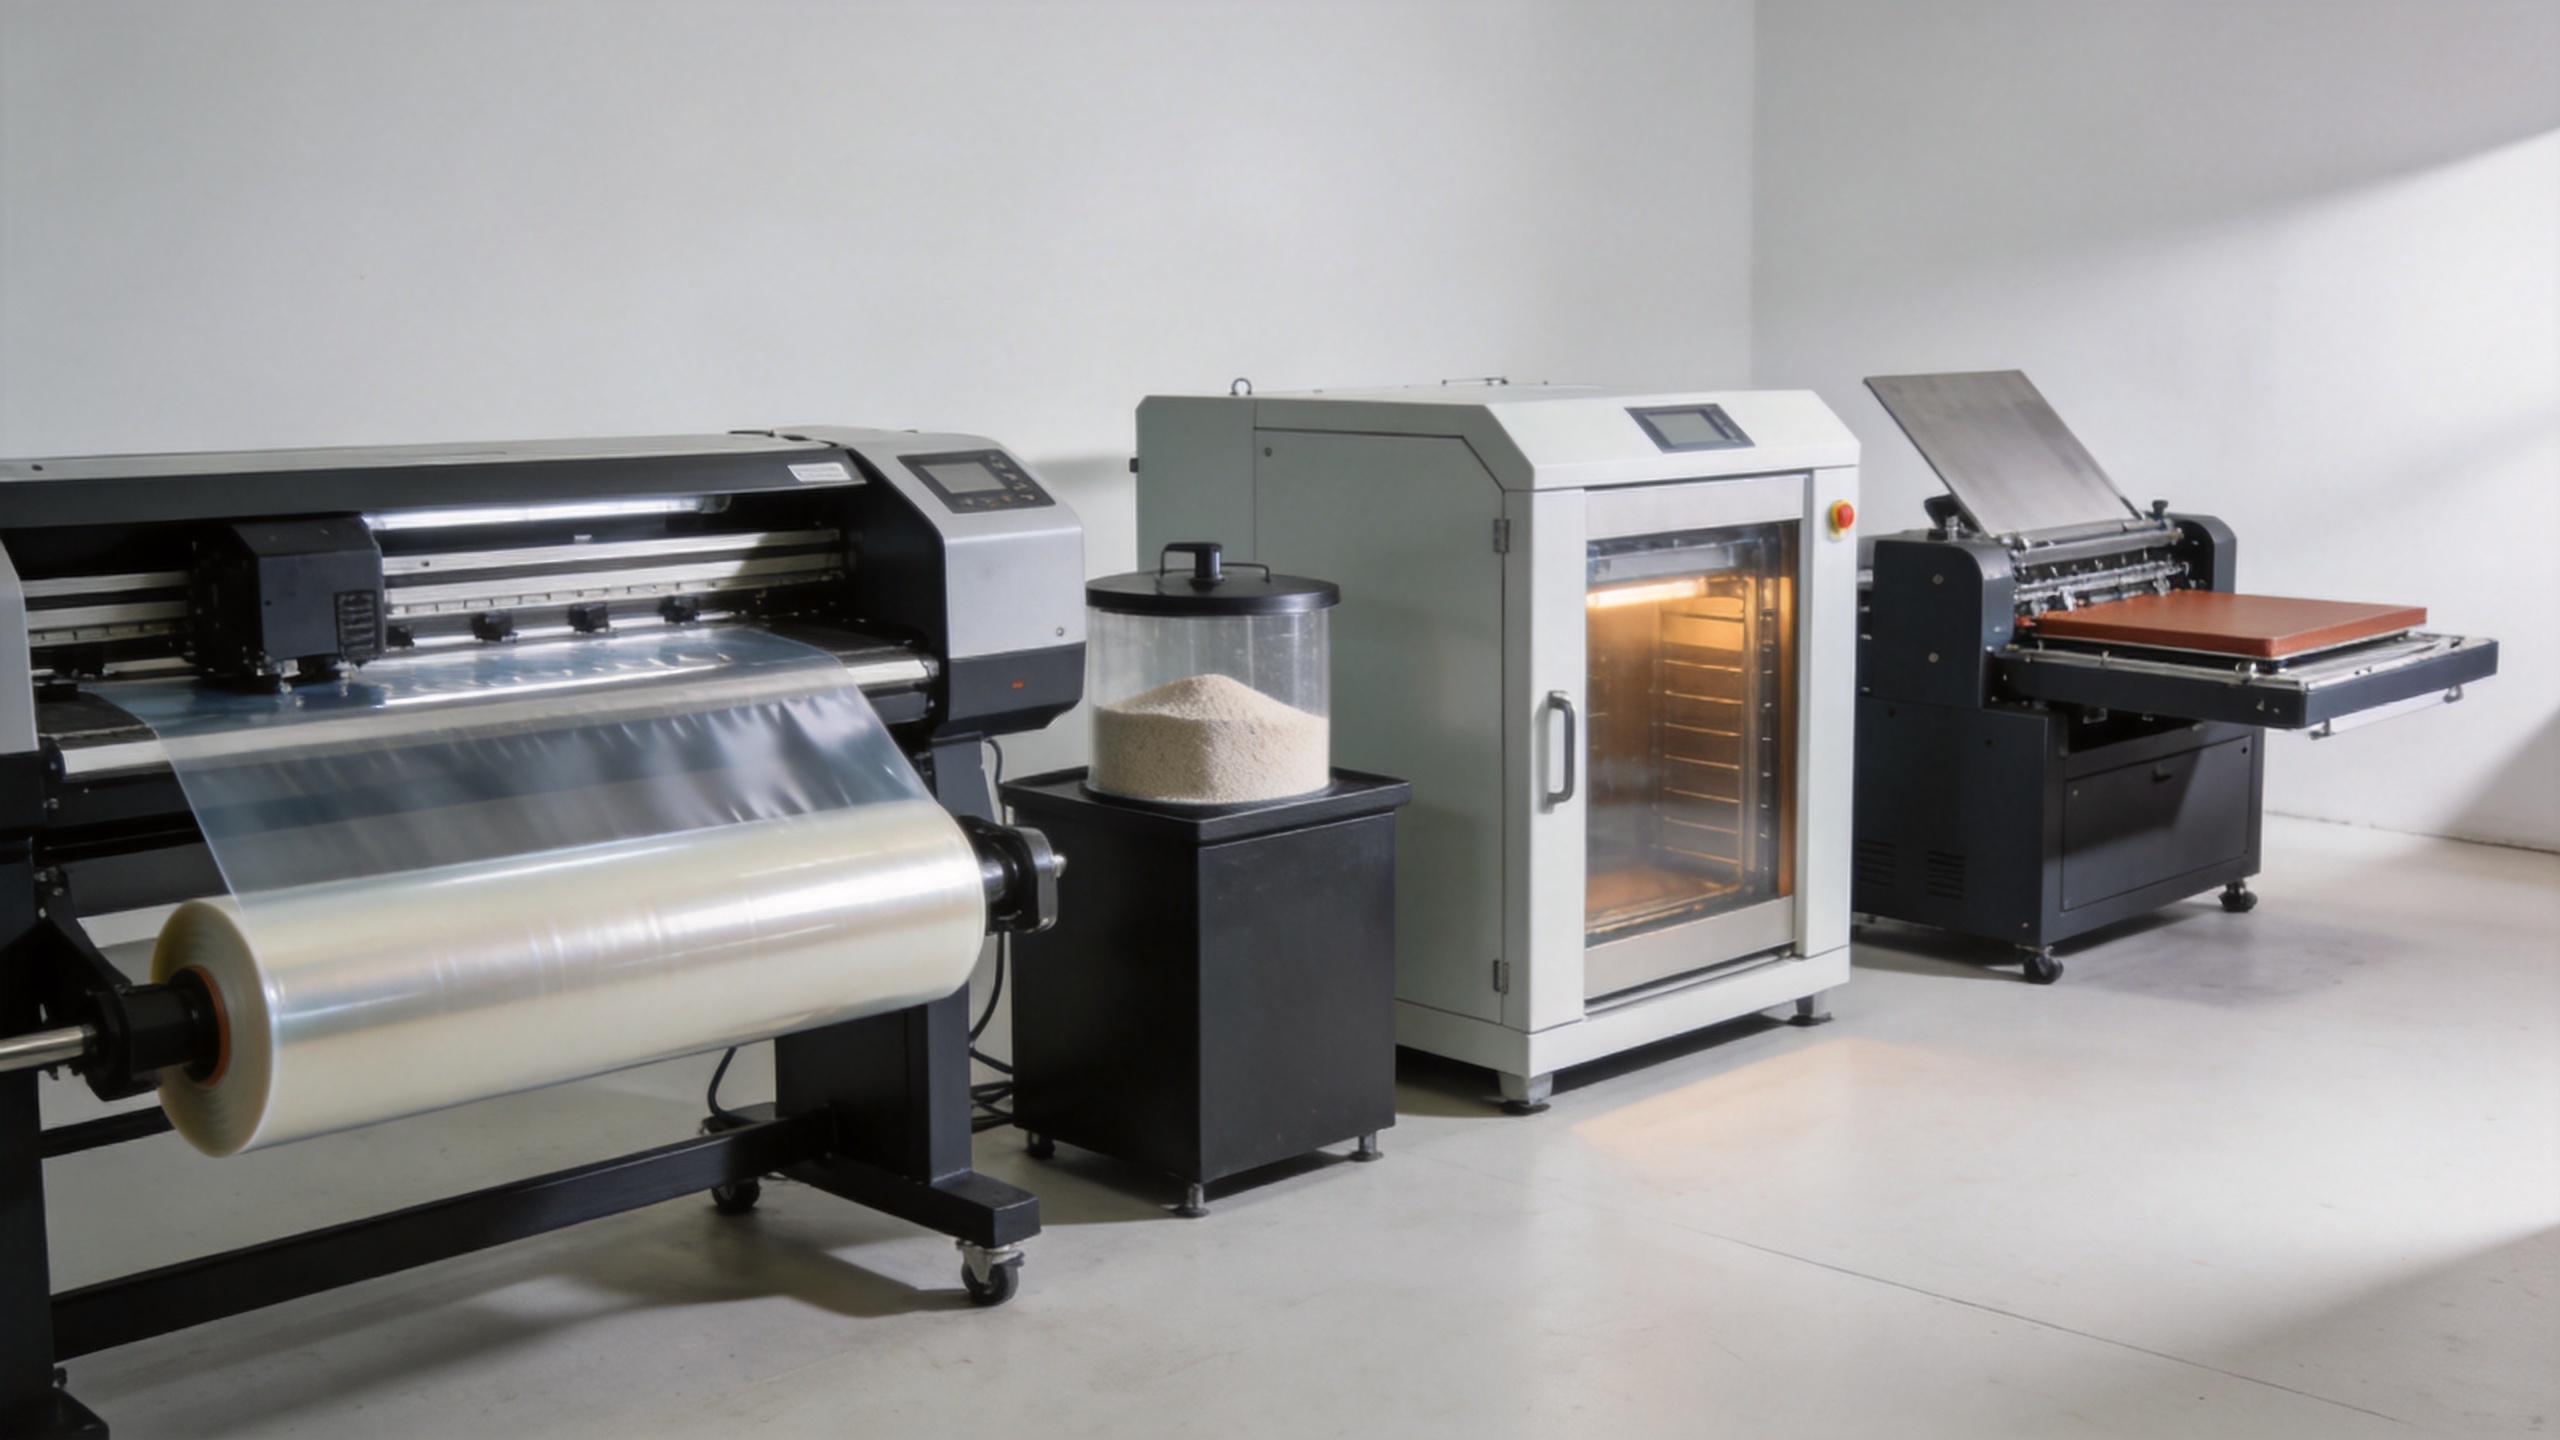
Powder, curing, and heat-transfer essentials
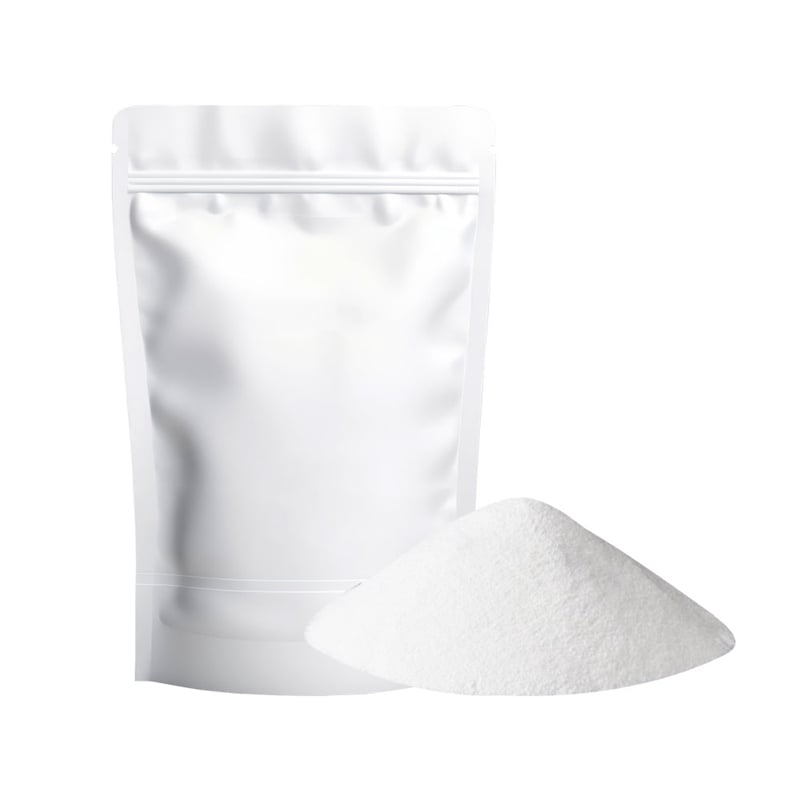
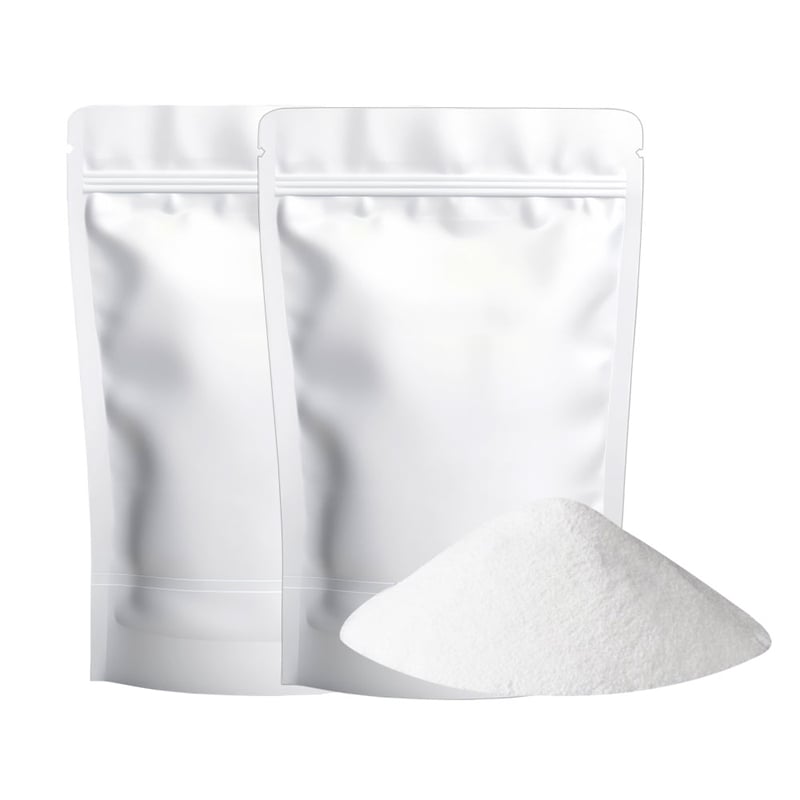
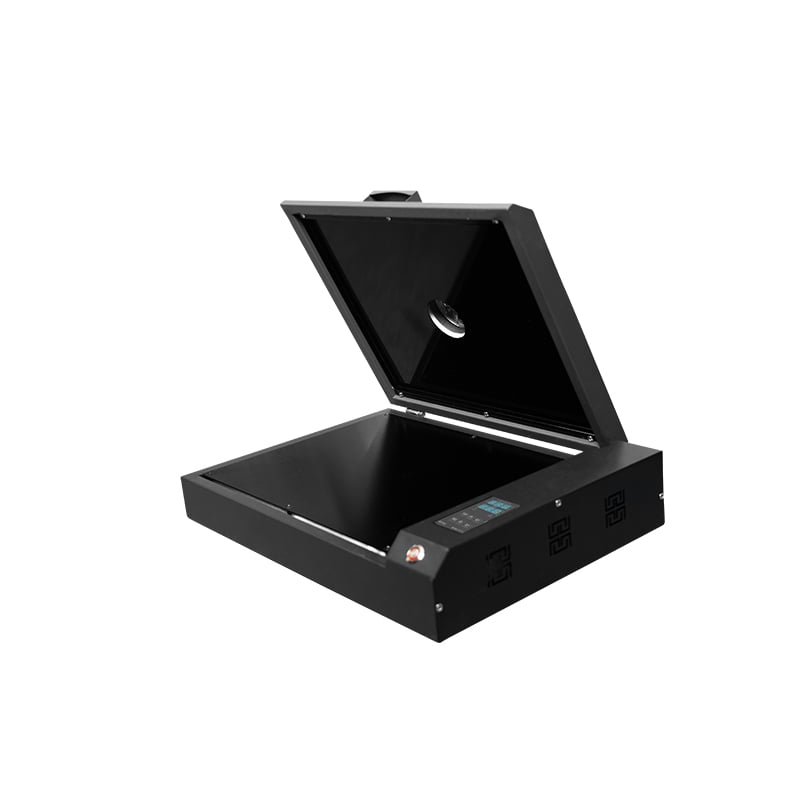
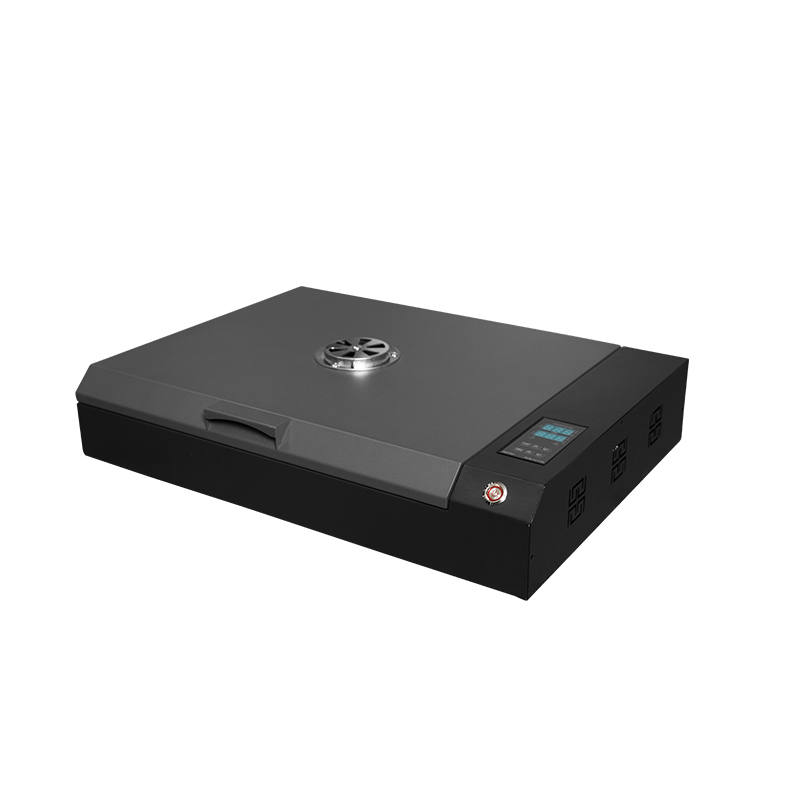
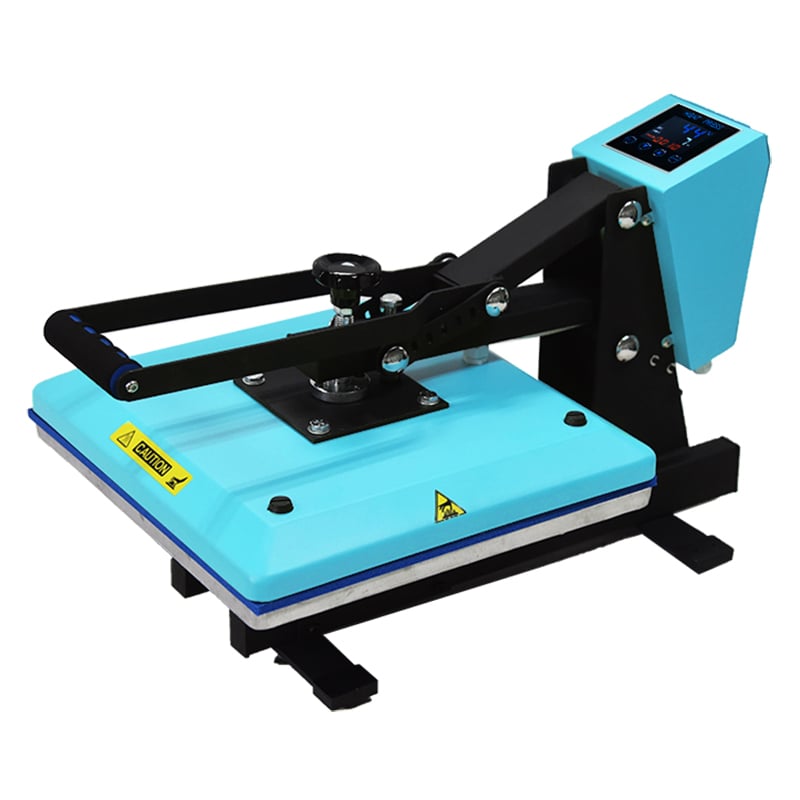
The next group of dtf printing supplies controls adhesion. You need DTF hot-melt adhesive powder, a controlled way to apply and remove excess powder, a curing oven or equivalent curing solution, and a heat press with stable pressure and temperature. Powder should coat the printed area evenly without accumulating in fine unprinted spaces. Uneven application can leave weak edges or unwanted texture.
Settings should come from the consumable supplier and be validated on the actual garment. As a planning reference, one retrieved industry guide describes curing ranges around 149–163°C (300–325°F) and notes that many transfer presses operate around 10–15 seconds. These are not universal production settings: film type, powder chemistry, fabric, and equipment all change the final recipe. Build a test chart for each approved combination instead of copying a generic number onto every job.
| Workflow stage | Essential supply or tool | What to verify |
|---|---|---|
| Powdering | Hot-melt powder and tray/shaker | Even coverage; clean removal from non-image areas |
| Curing | Oven or curing unit | Consistent heat, ventilation, and a documented recipe |
| Transfer | Heat press and protective sheets | Even pressure, platen condition, and correct peel timing |
| Verification | Test garments and wash-test log | Adhesion, color, edge detail, and repeatability |
Plan operating spares before production starts
A startup kit should include more than the consumables that go directly into a transfer. Add spare film rolls, a controlled amount of backup ink and powder, cleaning materials, protective gloves, a waste-management plan, and labels for opened containers. Keep batch, opening date, and storage location visible. This matters because dtf printing supplies are easier to troubleshoot when the team can trace what was used on a given run.
Storage conditions also matter. A retrieved overview suggests that moderate room conditions—roughly 68–77°F and 40–60% relative humidity—can support DTF materials and equipment. Treat this as a starting point for a local operating check, not a replacement for supplier guidance. If your shop experiences seasonal swings, identify a consistent storage area before inventory arrives.
A practical first-order checklist
- Confirm the printer format, production width, and expected daily output.
- Choose one validated ink, film, and powder combination for initial qualification.
- Set up curing and pressing equipment before scheduling customer work.
- Order cleaning and maintenance materials with the first ink purchase.
- Create a test log covering artwork, film, powder, cure settings, press settings, fabric, and result.
- Hold a small reserve of the highest-use dtf printing supplies, then adjust reorder levels from actual consumption.
Build consistency before expanding the supply list
New DTF operations do not need every specialty item on day one. They need a stable, documented combination that the team can reproduce. Start with compatible core dtf printing supplies, train operators around a written workflow, and use test transfers to validate each new film or powder batch. Once the baseline is repeatable, expand into additional film finishes, specialty powders, or higher-volume equipment with much less risk.