EN
EN


DTF Heat Press Settings: Temperature, Time and Pressure Checklist
Reliable DTF heat press settings are less about finding one magic number and more about building a repeatable process. A transfer can look correct on the first peel and still fail after washing if heat, dwell time, or pressure was uneven. For most standard transfers, a useful starting point is about 300–325°F (150–163°C), 10–15 seconds, and medium-to-firm pressure. Treat that range as a controlled starting point—not a replacement for the film or powder supplier’s instructions.
For decorators, dealers, and new DTF operators, the fastest route to consistent output is to document the press, the transfer system, and the garment together. The dtf temperature and time values that work on a cotton tee may not be safe for a thin polyester performance shirt, and a handheld device does not deliver heat and pressure like a full platen press.
Start With the Transfer System, Not a Generic Setting
Before changing a dial, confirm the recommended peel method and press instructions for the transfer you are using. Hot-peel, warm-peel, and cold-peel films can require different handling. Adhesive chemistry, powder cure, ink laydown, and film type all influence the final press window.
When a supplier specification is available, use it as your primary instruction. Generic DTF heat press settings help you create a test plan, but they cannot override the transfer system’s tested requirements. Record the supplier baseline in a job sheet, including units, peel temperature, and whether a finishing press is needed.
Use This DTF Heat Press Settings Baseline Checklist
| Checkpoint | Starting point | What to verify |
|---|---|---|
| Temperature | 300–325°F / 150–163°C | Measure the platen if results vary across positions. |
| Time | 10–15 seconds | Start with the transfer supplier’s dwell-time instruction. |
| Pressure | Medium to firm | Confirm even resistance and full platen contact. |
| Pre-press | Short moisture-removal press | Let the garment cool and smooth the print area. |
| Peel | Follow film specification | Do not rush a cold-peel film or over-cool a hot-peel film. |
| Finishing press | Only if specified | Use a protective sheet and inspect the surface finish. |
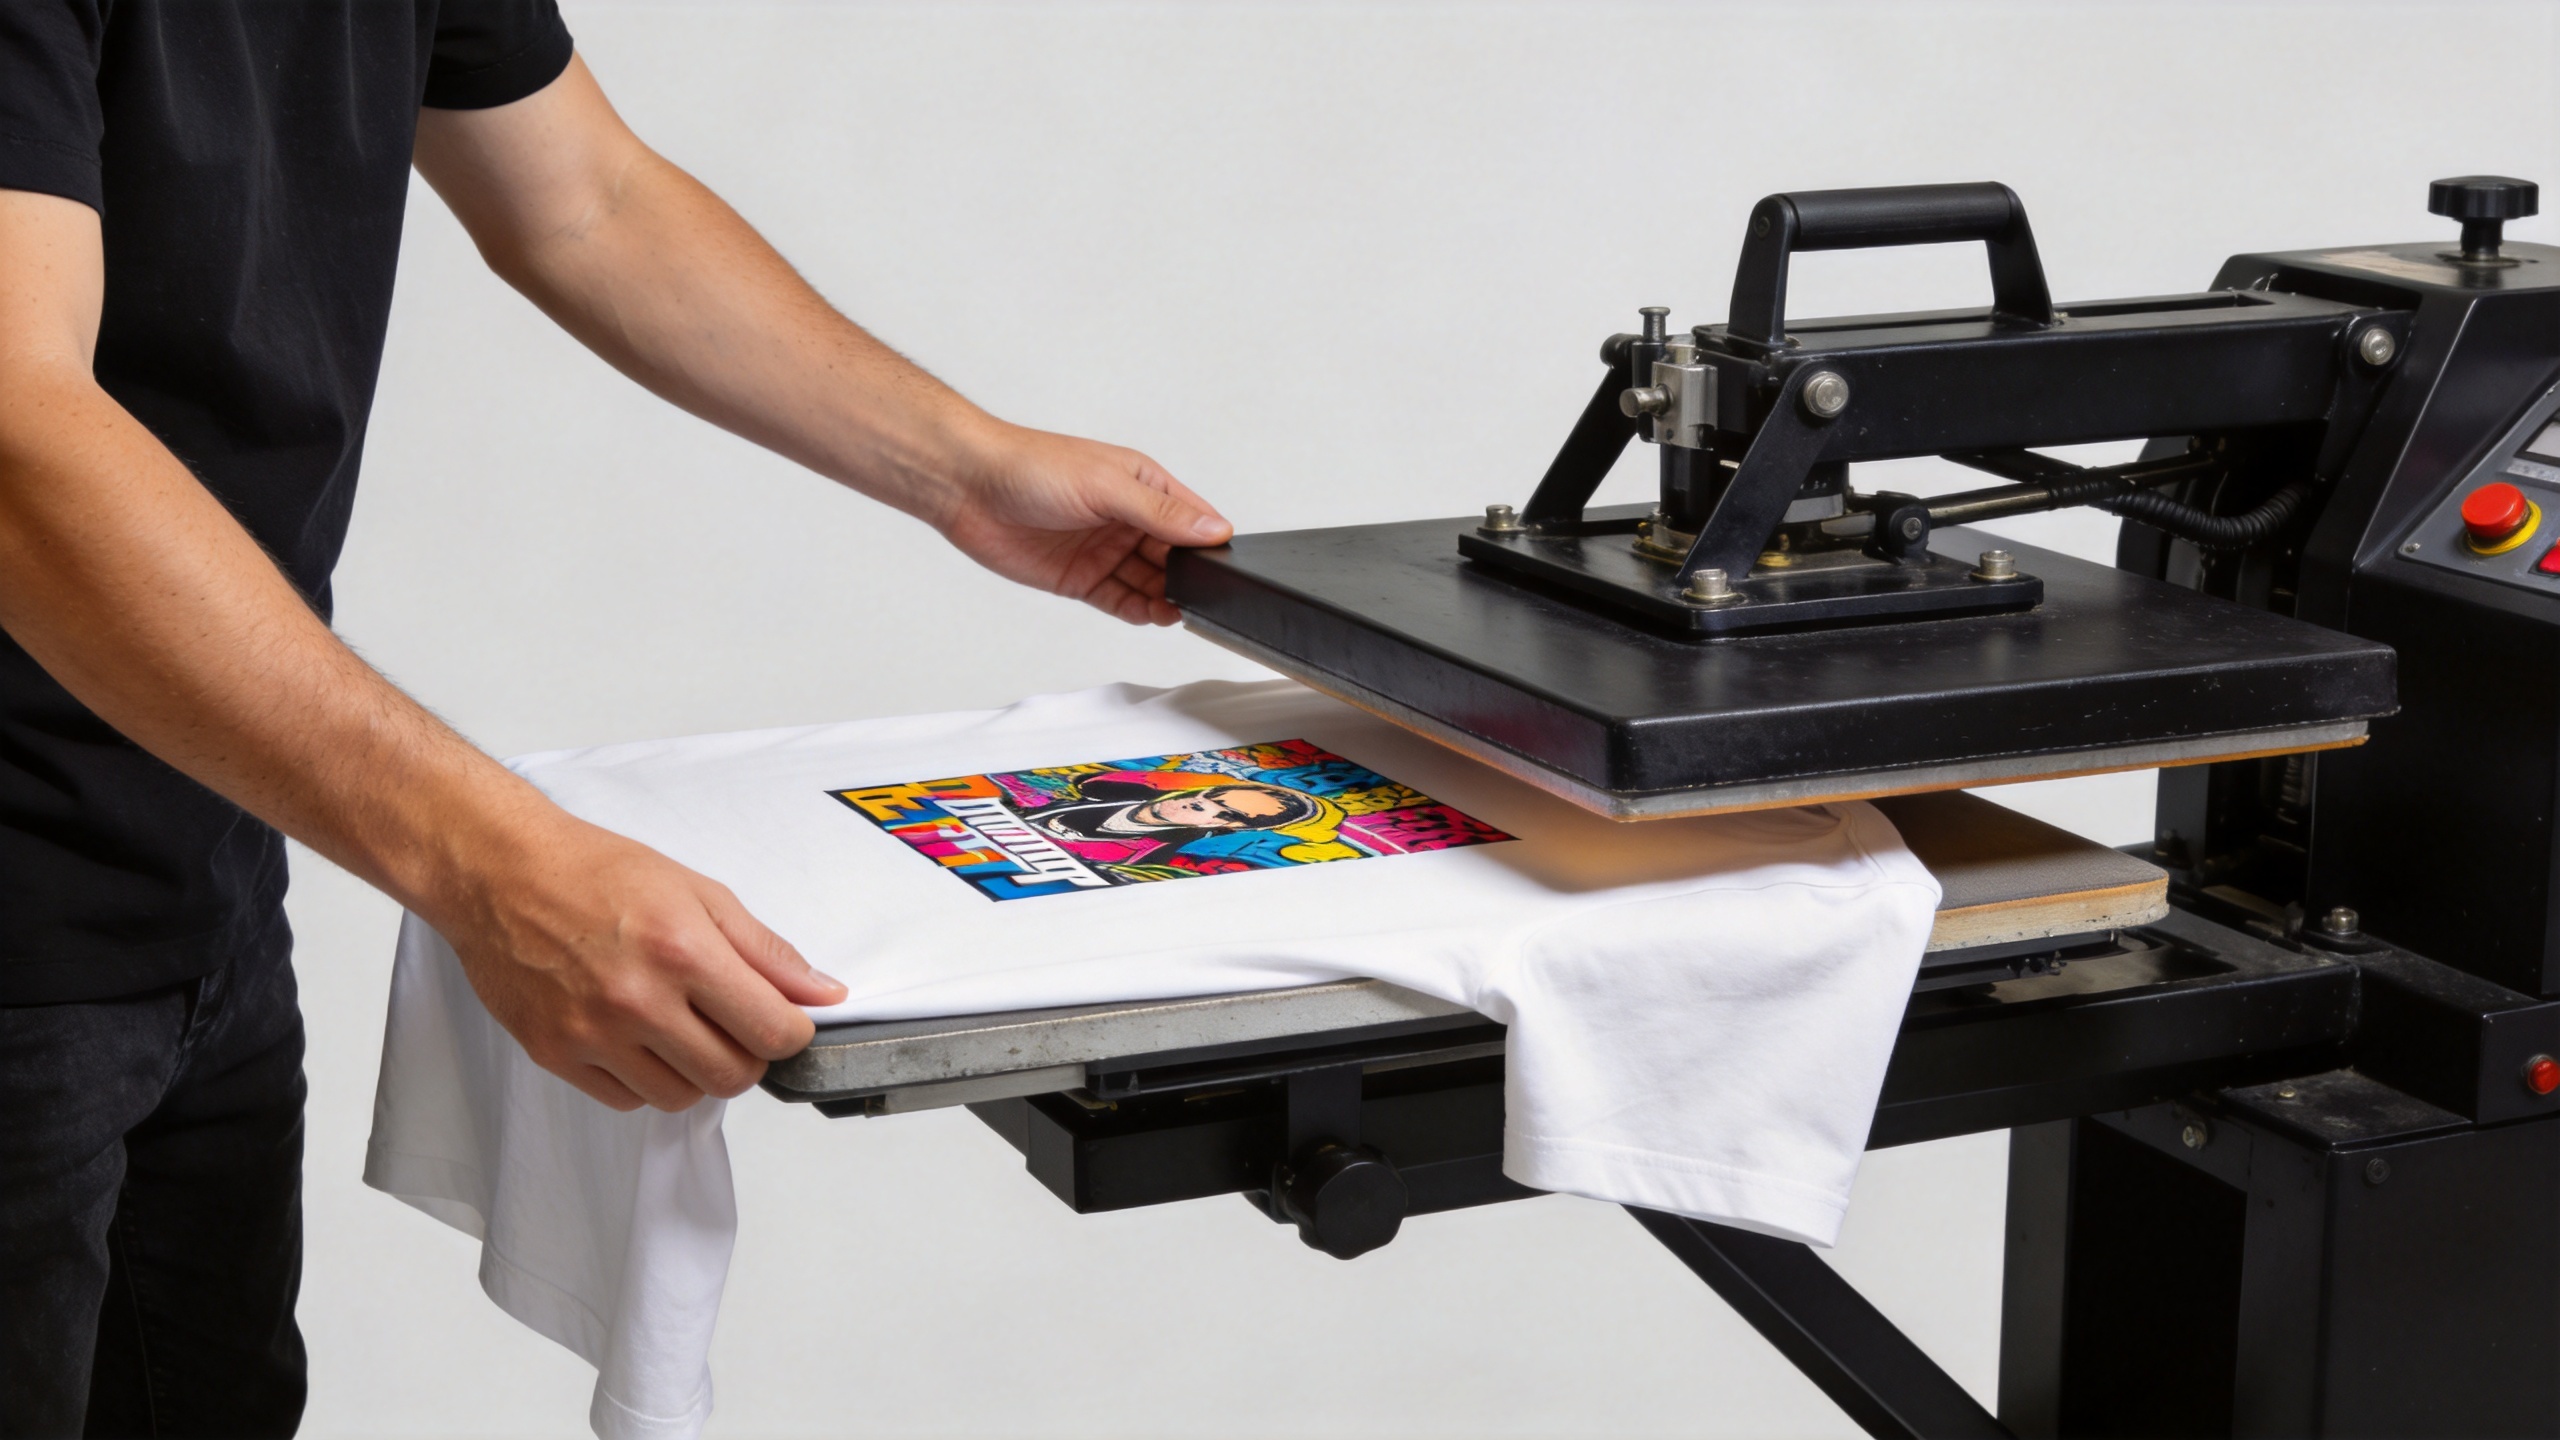
The reason pressure deserves its own check is simple: a temperature reading can be correct while the transfer still receives uneven contact. Once you pay close attention to the heat-press step, pressure uniformity across the platen is often what separates stable transfers from batch-to-batch variation.
Set Temperature for the Garment, Not Just the Transfer
For many cotton and cotton-blend jobs, the common 300–325°F starting range is practical. Synthetic and performance fabrics deserve more caution because excessive heat can create shine, dye migration, or scorching. When the garment is heat-sensitive, begin at the lower end of the approved range and run a small test before committing a production run.
Heavy garments create a different challenge. A hoodie, canvas bag, seam, zipper, or pocket can prevent full contact. Instead of raising temperature immediately, improve support and contact first. A pressing pillow or platen pad may help level the surface. If the supplier allows it, a modest time adjustment is usually safer than a large temperature jump.
Keep the press clean and verify that its displayed temperature matches its working surface. If one side of a gang sheet peels cleanly while another side lifts, do not assume the transfer is defective. Check platen heat distribution, garment thickness, and pressure balance before changing the recipe.
Balance DTF Temperature and Time as a Pair
Think of dtf temperature and time as linked controls. Too little heat or too short a dwell time can leave adhesive insufficiently activated. Too much heat or time can distort color, mark the fabric, or create an overly stiff hand. Change one variable at a time so the result tells you what actually improved.
- Choose the supplier’s recommended baseline.
- Press a spare piece of the actual garment material.
- Peel at the specified stage and inspect edges, fine detail, and solid color areas.
- Perform any required finishing press.
- Record temperature, time, pressure, peel behavior, and result.
It is a small thing, but a disciplined test log prevents costly trial-and-error later. Looking back on any setup process, the better practice is to run a substrate test series before accepting the first production order; edge-case fabrics are much easier to tune before a deadline.
Set Pressure by Contact Quality, Not by a Vague Label
“Medium pressure” is not a universal measurement. Different press designs, platen sizes, and garments feel different at the same adjustment position. Your goal is even, confident contact across the full transfer without crushing textured garments or leaving a deep platen outline.
Run a simple pressure check with a representative transfer size. If corners lift while the center adheres, inspect whether the garment has seams, pockets, uneven fleece, or a warped platen. If the whole image lifts, verify temperature and cure before simply tightening the press. Firm pressure cannot compensate for an unapproved temperature or a transfer that was not cured correctly upstream.
Troubleshoot in a Controlled Order
Edges lift after peeling
First confirm the correct peel method. Then check whether the press actually reached the target temperature and whether pressure was even. If the transfer supplier permits it, make a small, single-variable adjustment to time or pressure and retest on the same substrate.
The garment looks shiny or scorched
Reduce heat within the approved operating window, shorten dwell time if allowed, and use a protective sheet for any finishing press. For synthetics, validate on a spare garment because dye and surface finishes can respond differently by brand and color.
The transfer feels too stiff
Check that you are not over-pressing or using an unnecessary finishing pass. A heavy transfer feel can also originate earlier in the workflow, including ink and powder application. Avoid diagnosing every symptom as a heat-press problem.
Build a Repeatable Production Routine
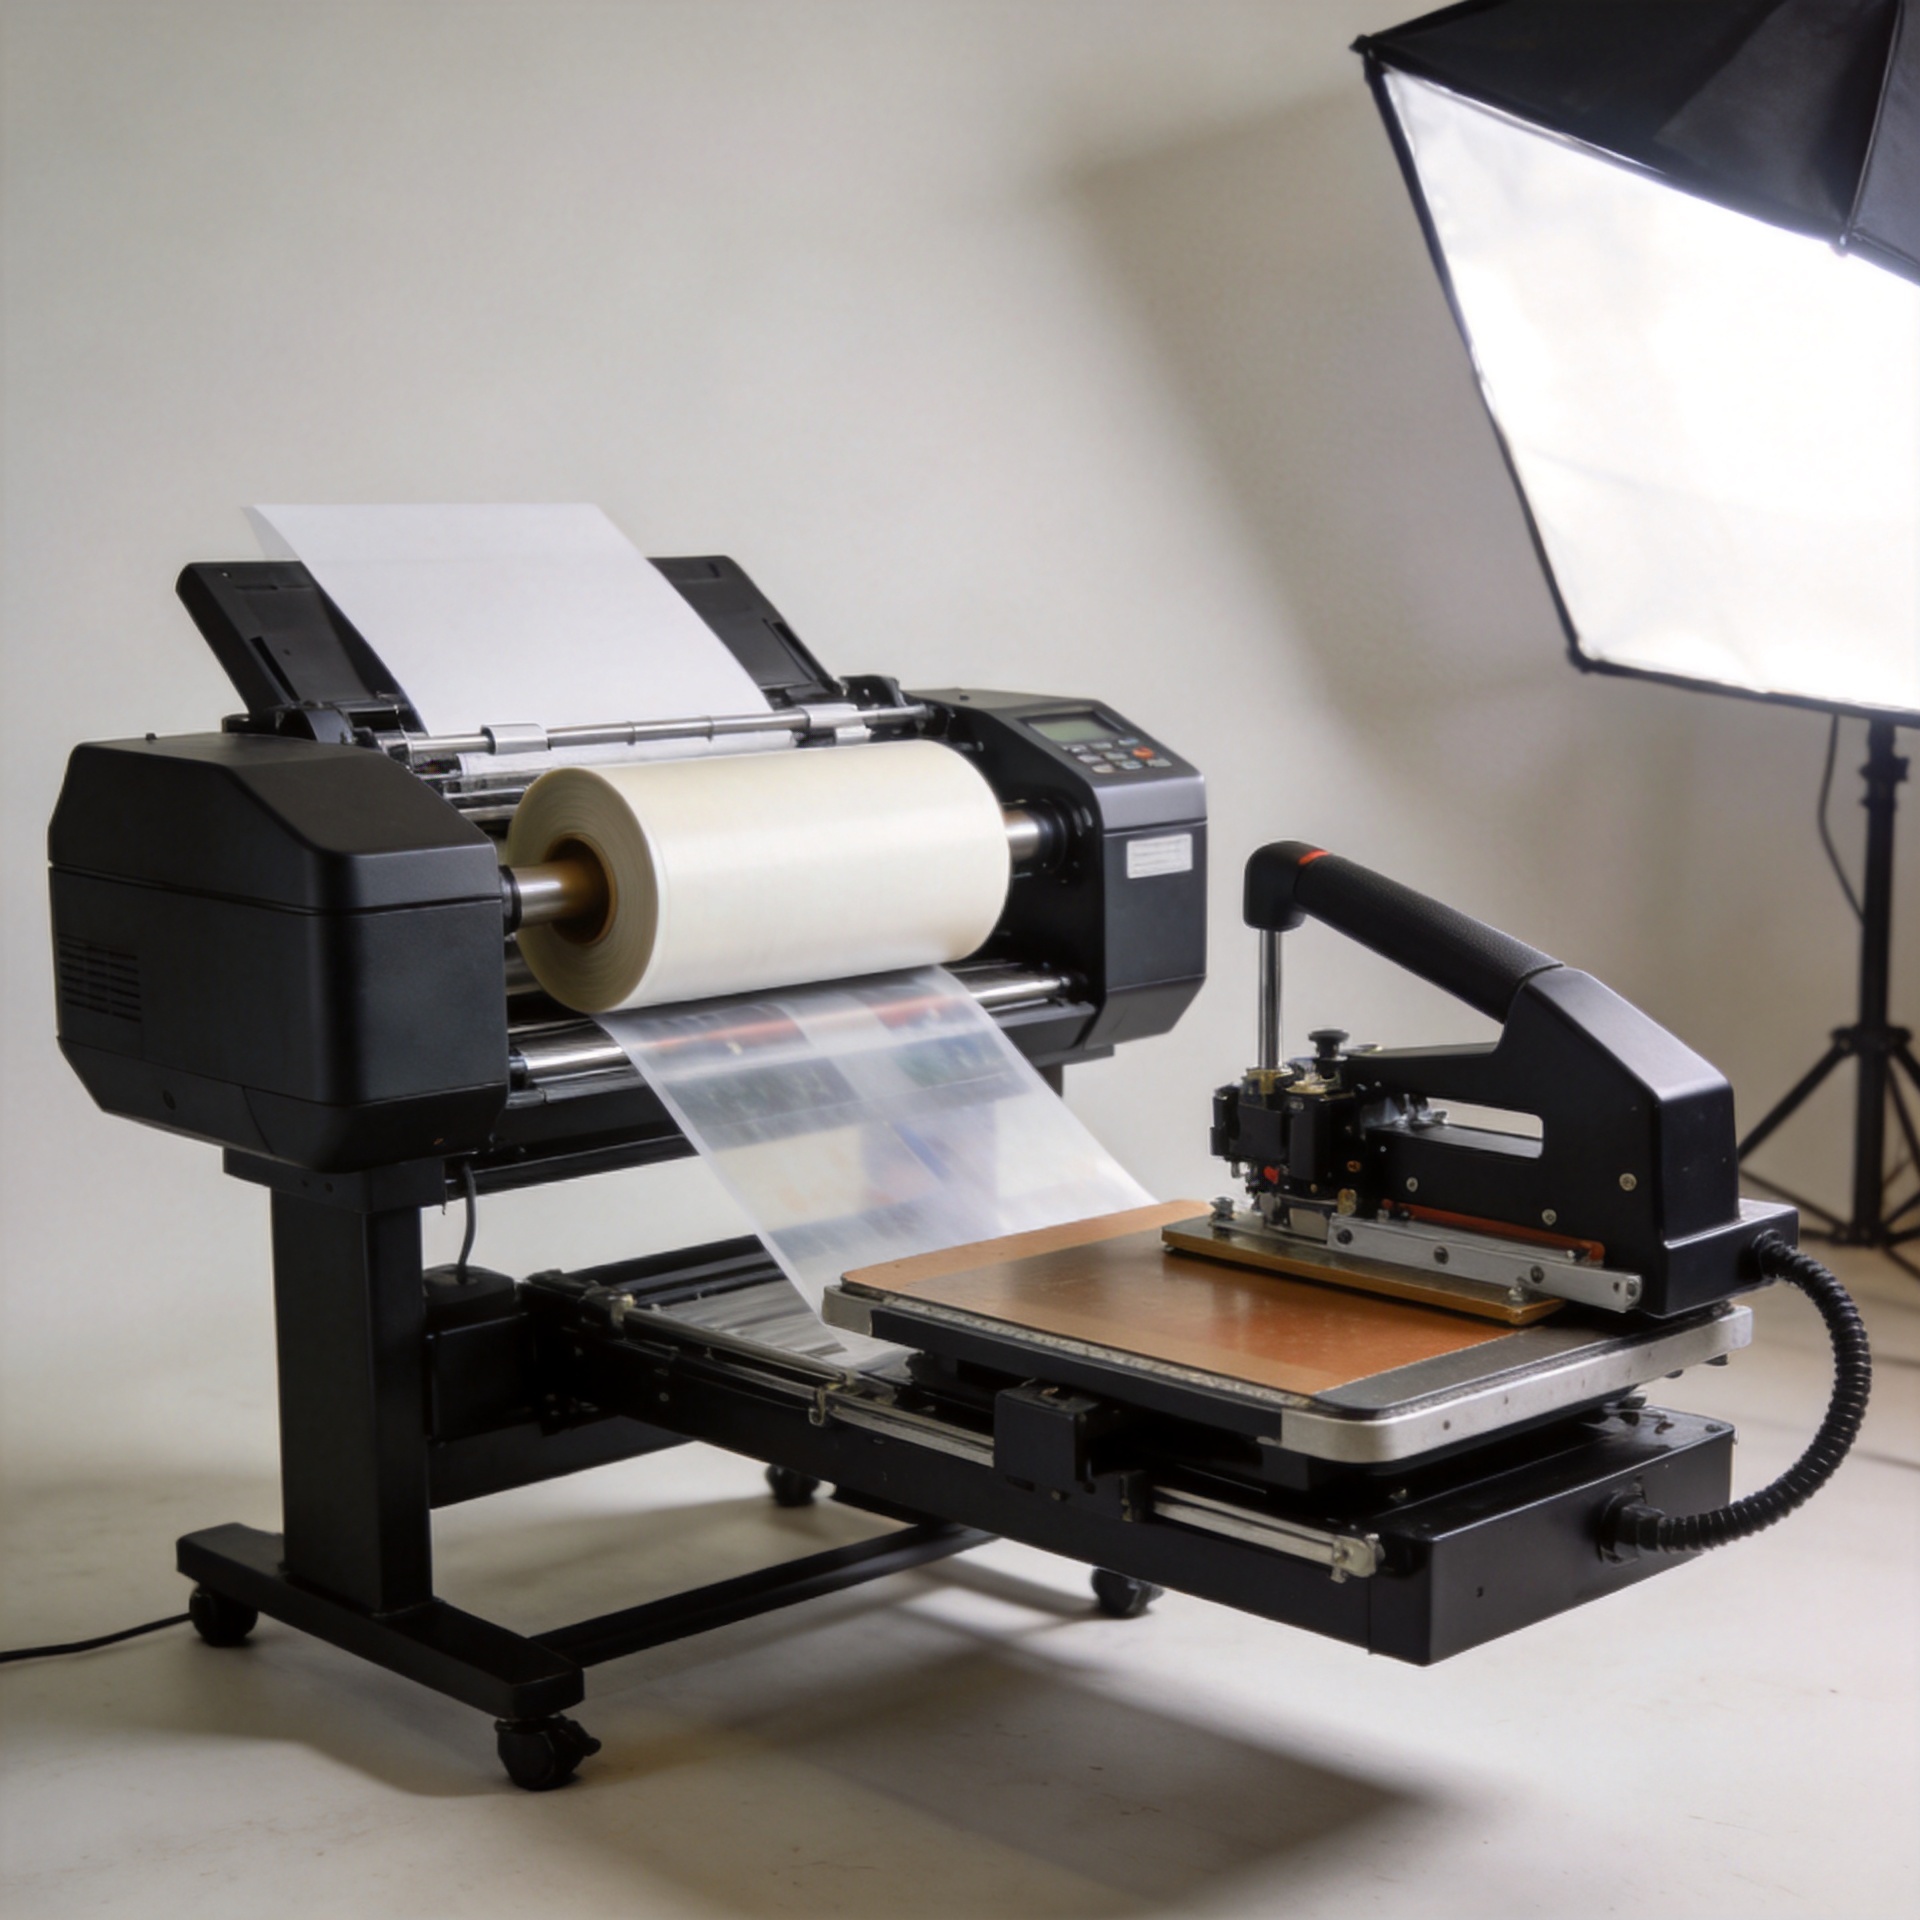
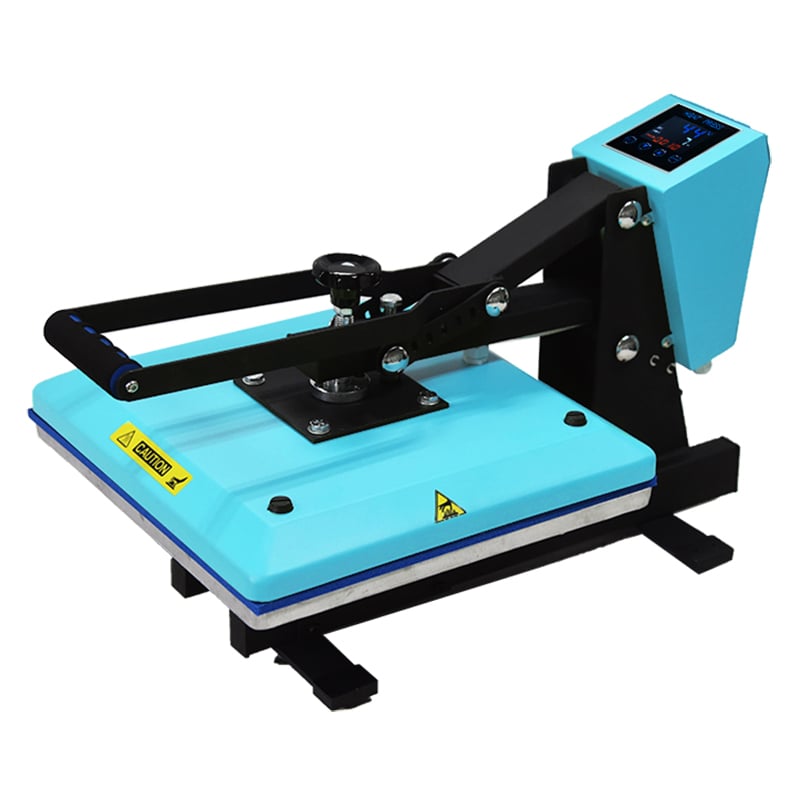
A dedicated platen press helps create a stable workflow because it makes temperature, time, and contact easier to repeat. If you are comparing equipment for DTF production, review whether a Sunika High-Pressure Flat Heat Press Machine For DTF Printer fits your transfer size, garment mix, and daily workflow. Equipment selection should support testing and consistency; it should not replace it.
For a production team, keep one checklist at the press: confirmed transfer specification, actual platen temperature, pressure setting, garment type, peel method, finishing instruction, and test result. When a new film, powder, or fabric enters the workflow, create a new entry instead of assuming the old recipe will transfer unchanged.
Final Checklist Before You Press
- Confirm the transfer supplier’s temperature, time, pressure, and peel instructions.
- Verify the press has reached temperature and the platen is clean.
- Pre-press the garment if moisture removal is appropriate for the material.
- Place the transfer on a flat, level area with no seam or zipper interference.
- Use even, medium-to-firm contact rather than guessing at pressure.
- Peel at the correct stage, then inspect edges before moving to full production.
- Record the proven settings for that transfer-and-garment combination.
The most reliable DTF heat press settings are the settings you can verify and repeat. Start with the approved transfer specification, test on the actual substrate, adjust one variable at a time, and save the winning recipe. That approach produces a more dependable workflow than chasing a universal setting online.