EN

Digital Printing on Glass: Common Applications for Custom Decor Projects
For a retail, hospitality, or residential decor brief, digital glass printing turns a clear panel into a graphic surface without asking the designer to abandon the light, depth, or clean edges that made glass attractive in the first place. It is useful for small-batch displays, branded interior details, art panels, and coordinated wall features. It works more smoothly when the project team decides what the panel must do before artwork is approved.
In practice, digital glass printing is less about choosing an image and more about matching the image, glass, viewing direction, mounting method, and expected handling conditions. That is especially important for custom projects, where a design can look compelling in a proof yet require adjustments once white layers, reverse printing, edge coverage, or lighting enter the conversation.
What digital glass printing can add to a decor project
Digital glass printing applies artwork directly to glass using a digital workflow. For custom decor, the value is flexibility: teams can adapt graphics to a panel size, repeat a pattern across a feature wall, personalize a small run, or prepare different versions for a collection of spaces. The finished visual can range from a full-color illustration to a subtle translucent pattern, depending on the artwork and the print-plan decisions.
Because glass is smooth and non-porous, the substrate deserves attention early. Surface preparation and ink-adhesion planning should be part of the production discussion, rather than a detail added after the design file is signed off. A project brief should also state whether the printed face will be protected, exposed, backlit, cleaned often, or viewed from both sides.
Common applications for custom glass decor
1. Feature walls and framed glass art
Glass prints wall art can give an illustration, photograph, brand pattern, or abstract design a polished presentation for reception areas, showrooms, restaurants, and homes. A framed panel is often a straightforward starting point because the team can define the viewing side, border treatment, and lighting conditions. For a set of pieces, digital glass printing also makes it easier to keep a visual language consistent while changing the artwork from panel to panel.
2. Retail displays and point-of-sale accents
Retailers can use printed glass for counter features, shelf backdrops, display partitions, and product-story panels. Here, the graphic should support wayfinding or merchandising rather than compete with the items being shown. Before moving forward, specify sightlines, the distance from which visitors will read the graphic, and whether a white underbase is needed to preserve color on transparent glass.
3. Hospitality and restaurant interiors
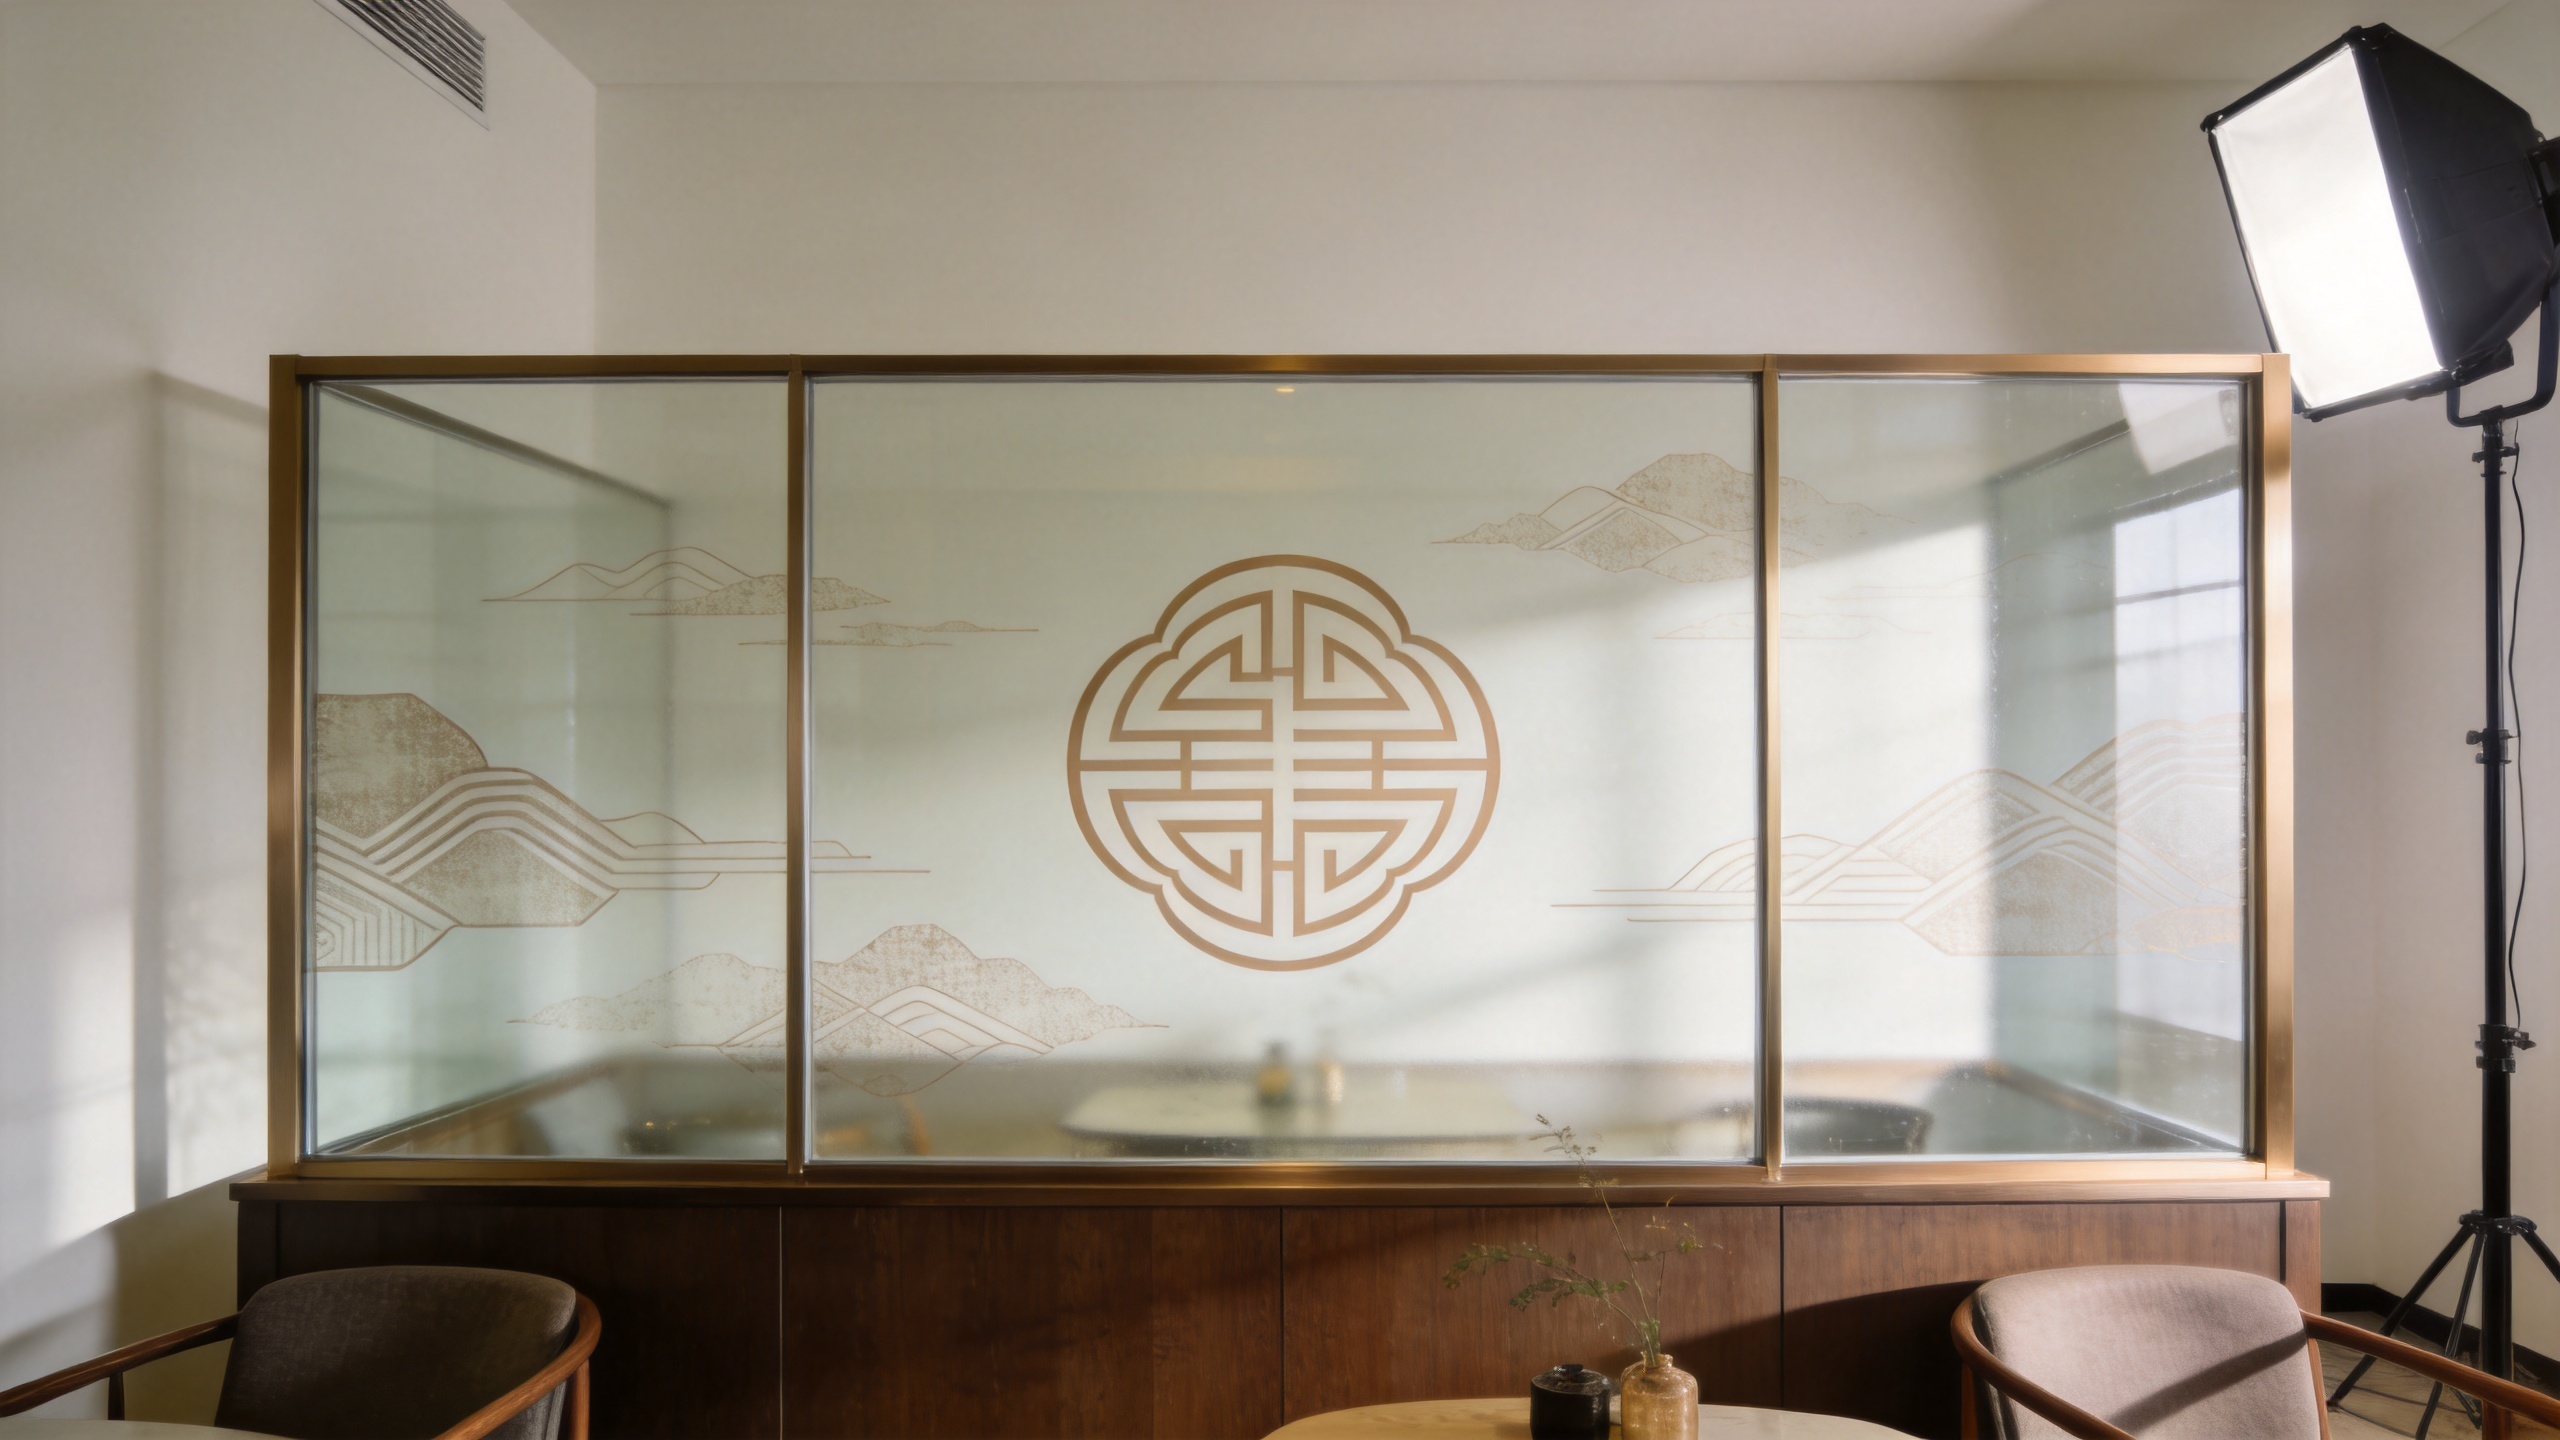
Decorative partitions, menu-adjacent wall panels, bar backdrops, and private-dining accents are common candidates for digital glass printing. These spaces often combine ambient lighting, reflections, and frequent cleaning, so an early sample is more useful than relying on a screen proof alone. Consider the final lighting temperature, where reflections will fall, and whether the design is meant to be seen from one side or both.
4. Office branding and privacy details
Meeting-room dividers, entrance panels, and interior windows can carry brand graphics while still allowing daylight through. A partial pattern may provide a sense of separation without closing off the room visually. When planning these pieces, clarify whether the priority is privacy, branding, navigation, or a balance of all three; that decision affects graphic density and placement.
5. Event, gallery, and short-run installations
For exhibitions, pop-ups, or limited-run displays, digital glass printing offers a route to custom graphics without designing a long-term standard product line. These projects benefit from a clear installation plan: panel dimensions, edge protection, transport, replacement quantities, and the expected lifetime of the display should be documented before production begins.
Early decisions that make the process smoother
A practical planning checklist helps avoid treating the print file as the whole specification:
- Choose the glass and viewing side: Confirm glass type, thickness, transparency, and whether the image will be viewed through the panel or from the printed face.
- Map the artwork to the environment: Check panel dimensions, seam positions, hardware, lighting, and the viewer’s typical distance.
- Discuss color and opacity: Transparent artwork, white layers, and backlit conditions can change how a graphic reads. A physical sample gives the team a more reliable basis for approval.
- Plan handling and cleaning: Note where the glass will be touched, cleaned, or exposed to movement so the production method and installation details can be evaluated appropriately.
- Build in file checks: Confirm resolution, bleed, safety margins, fonts, and image rights before final output.
These choices are not merely production details. They shape whether digital glass printing supports the intended decor experience once the panel is installed.
Where a UV flatbed workflow may fit
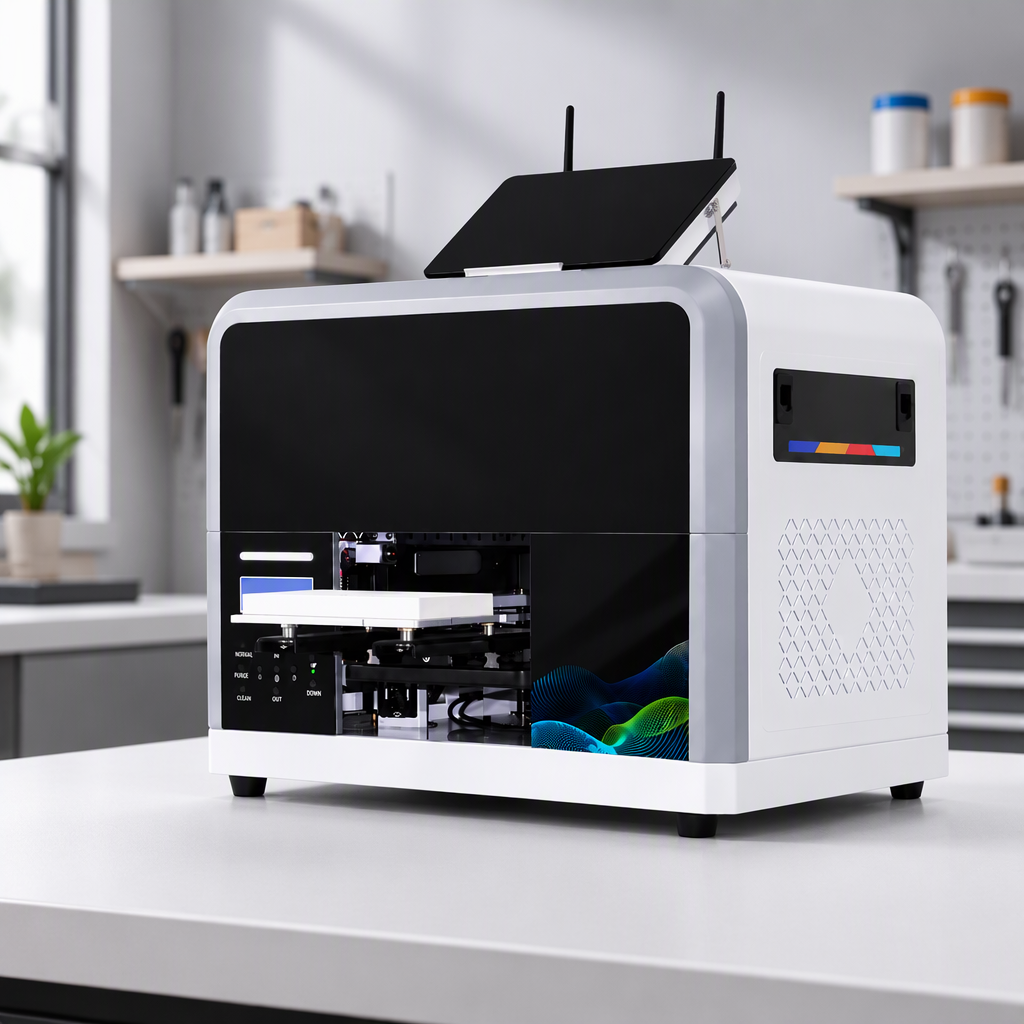
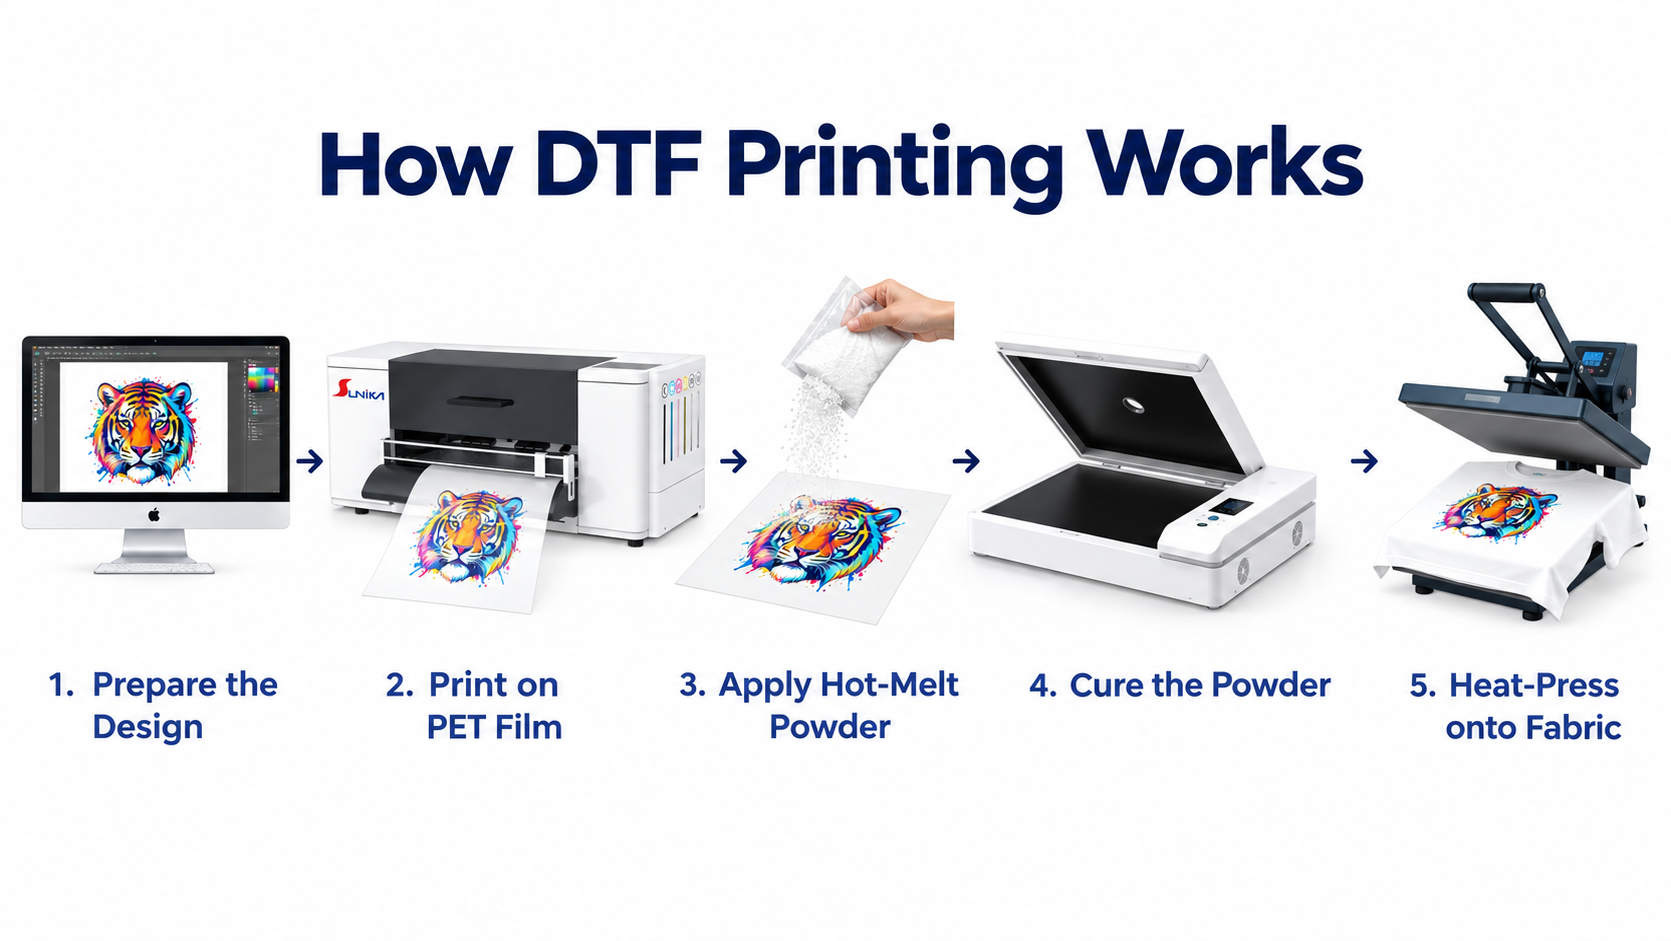
For teams exploring small to medium custom pieces, a UV flatbed workflow can be relevant because it is designed for direct-to-substrate printing. The right equipment still depends on panel format, artwork requirements, production volume, workflow, and the testing needed for the intended application. Rather than assuming one setup fits every job, compare capabilities against the project brief and run representative samples.
For example, businesses researching compact UV equipment can review the Sunika Sk-A3UV Printer Single I3200 UV Flatbed Printer as one product reference when evaluating a direct-print workflow. For projects involving glass phone-case decoration or related small-format applications, the SK-U301 30cm UV DTF printer for glass phonecase is another on-site reference to review. Product suitability should be confirmed against the actual substrate, artwork, and process requirements.
Start with a project sample, not a final assumption
The most useful first step in digital glass printing is a focused sample that mirrors the real project: the intended glass, artwork scale, color treatment, viewing direction, and lighting. It gives the designer, fabricator, and print team a common object to assess before the full run is committed.
Whether the goal is glass prints wall art, a retail backdrop, or an office partition, a short planning conversation can protect the original design intent. Define the environment, identify the visual priority, and test the choices that are hardest to judge on screen. That approach keeps digital glass printing grounded in the needs of the decor project rather than in unverified claims about a process.