EN
EN

UV DTF Printing Basics: How It Works and What You Can Make
This transfer-printing method is a practical way to create full-color decorative transfers for many rigid items. If you have seen a logo on a tumbler, a name on a glass jar, or a colorful graphic on a phone case, you may have seen the result of this process. Unlike garment DTF, UV DTF printing is designed primarily for hard, smooth surfaces. The finished design is transferred from a film rather than printed directly onto the final object.
For a first-time operator, the value of UV DTF printing is not just the color. It is the workflow: print a design, prepare the transfer, apply it carefully, and reveal a clean decal without setting up a separate jig for every product shape. That makes UV DTF print workflows useful for custom-gift businesses, small-batch branding, and shops that decorate varied objects.
What Is UV DTF Printing?
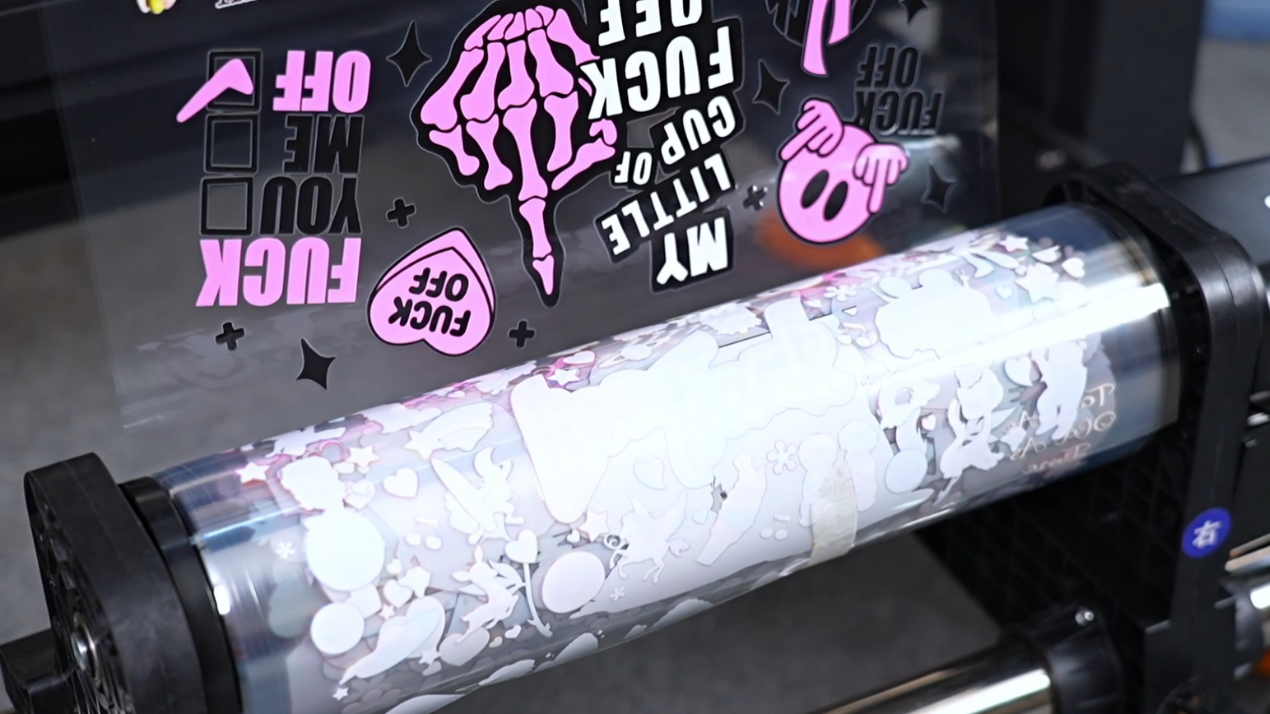
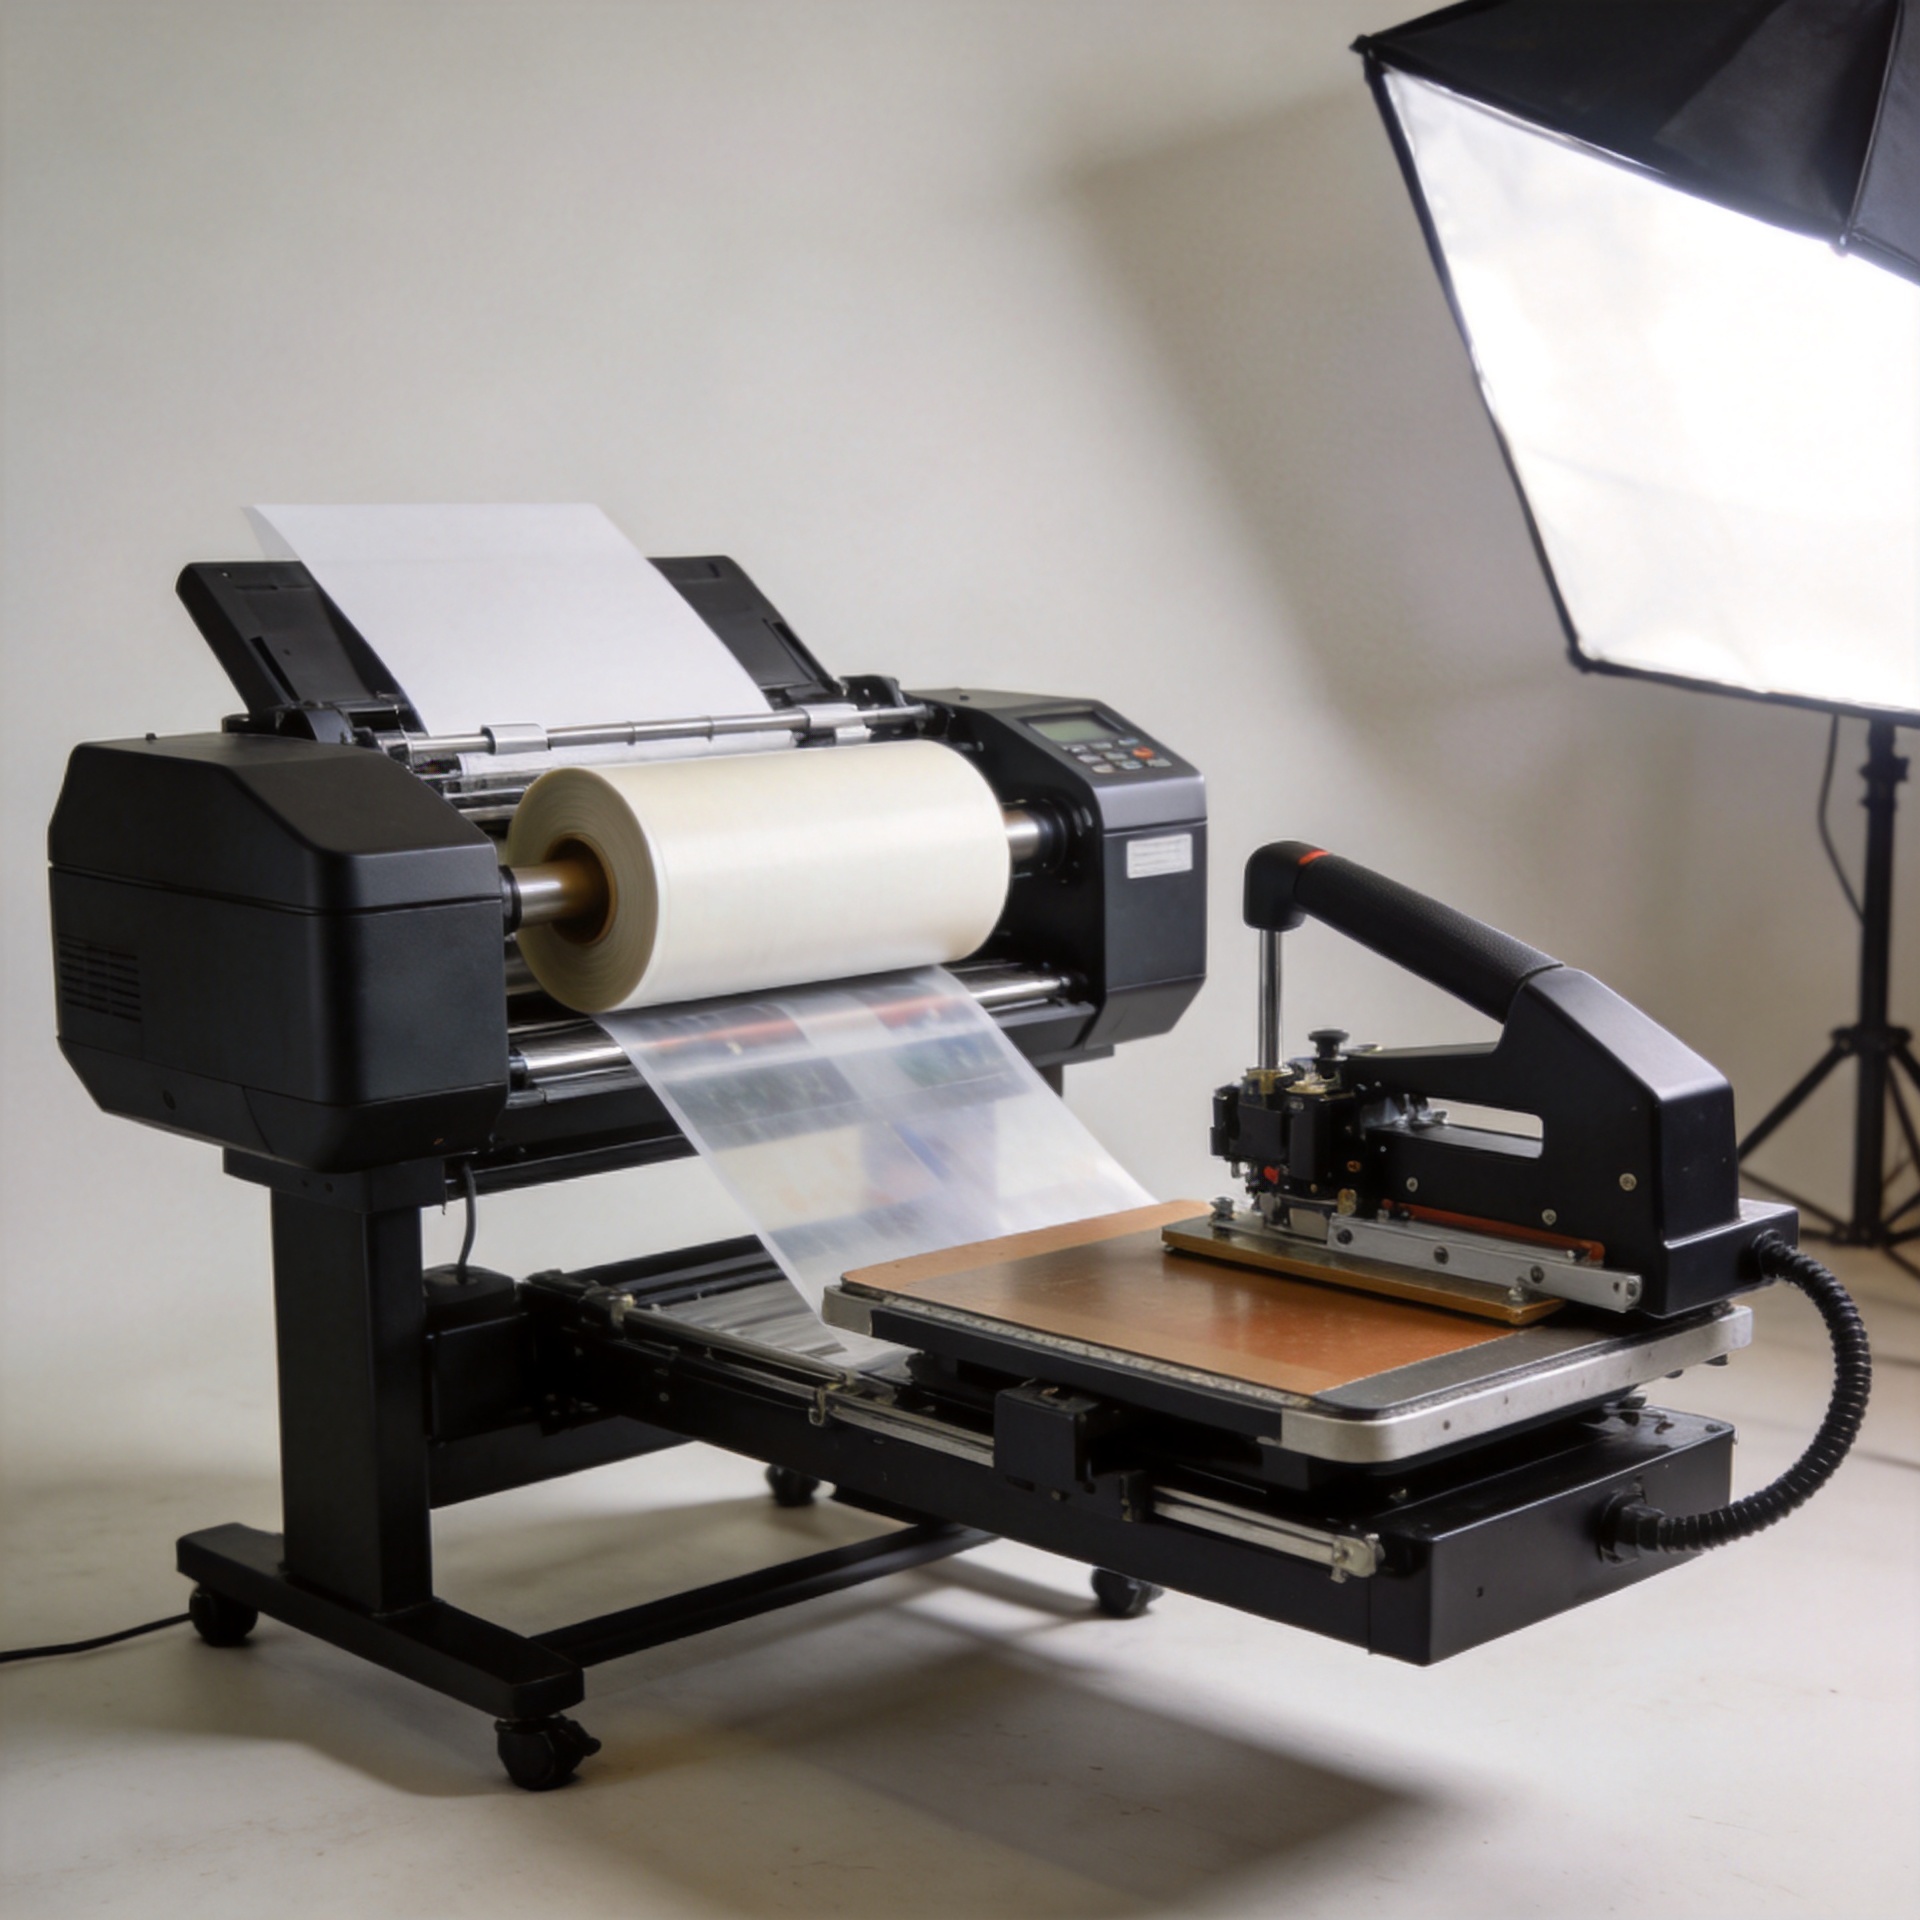
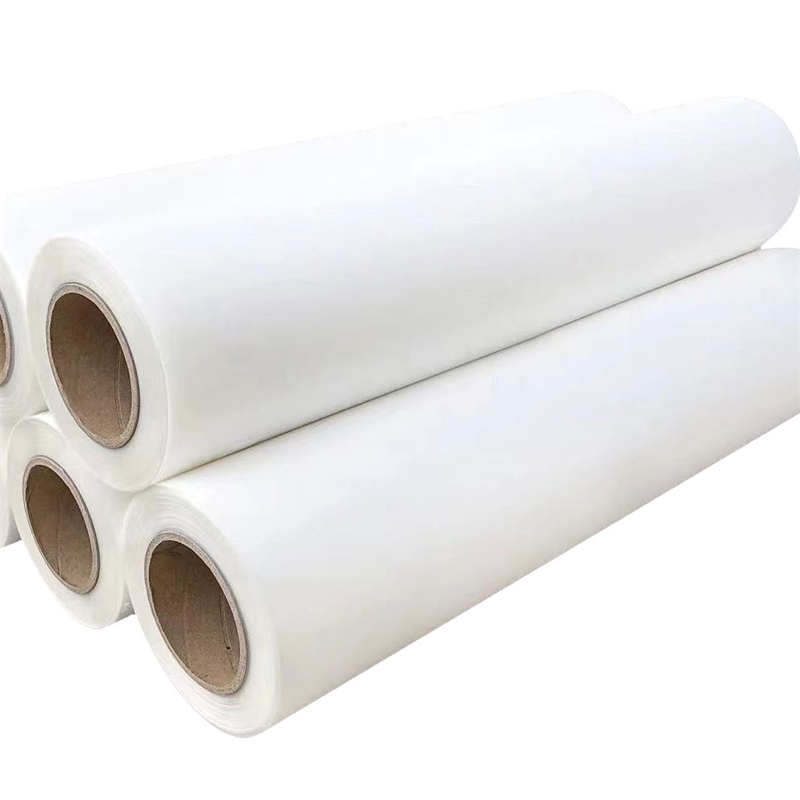
UV DTF printing combines UV-curable ink with a transfer-film system. The printer lays down the image on a release film, typically called Film A. White ink is commonly used as part of the printed layer so colors can stay visible on darker or transparent objects. UV light cures the ink quickly during printing, creating a stable printed image on the film.
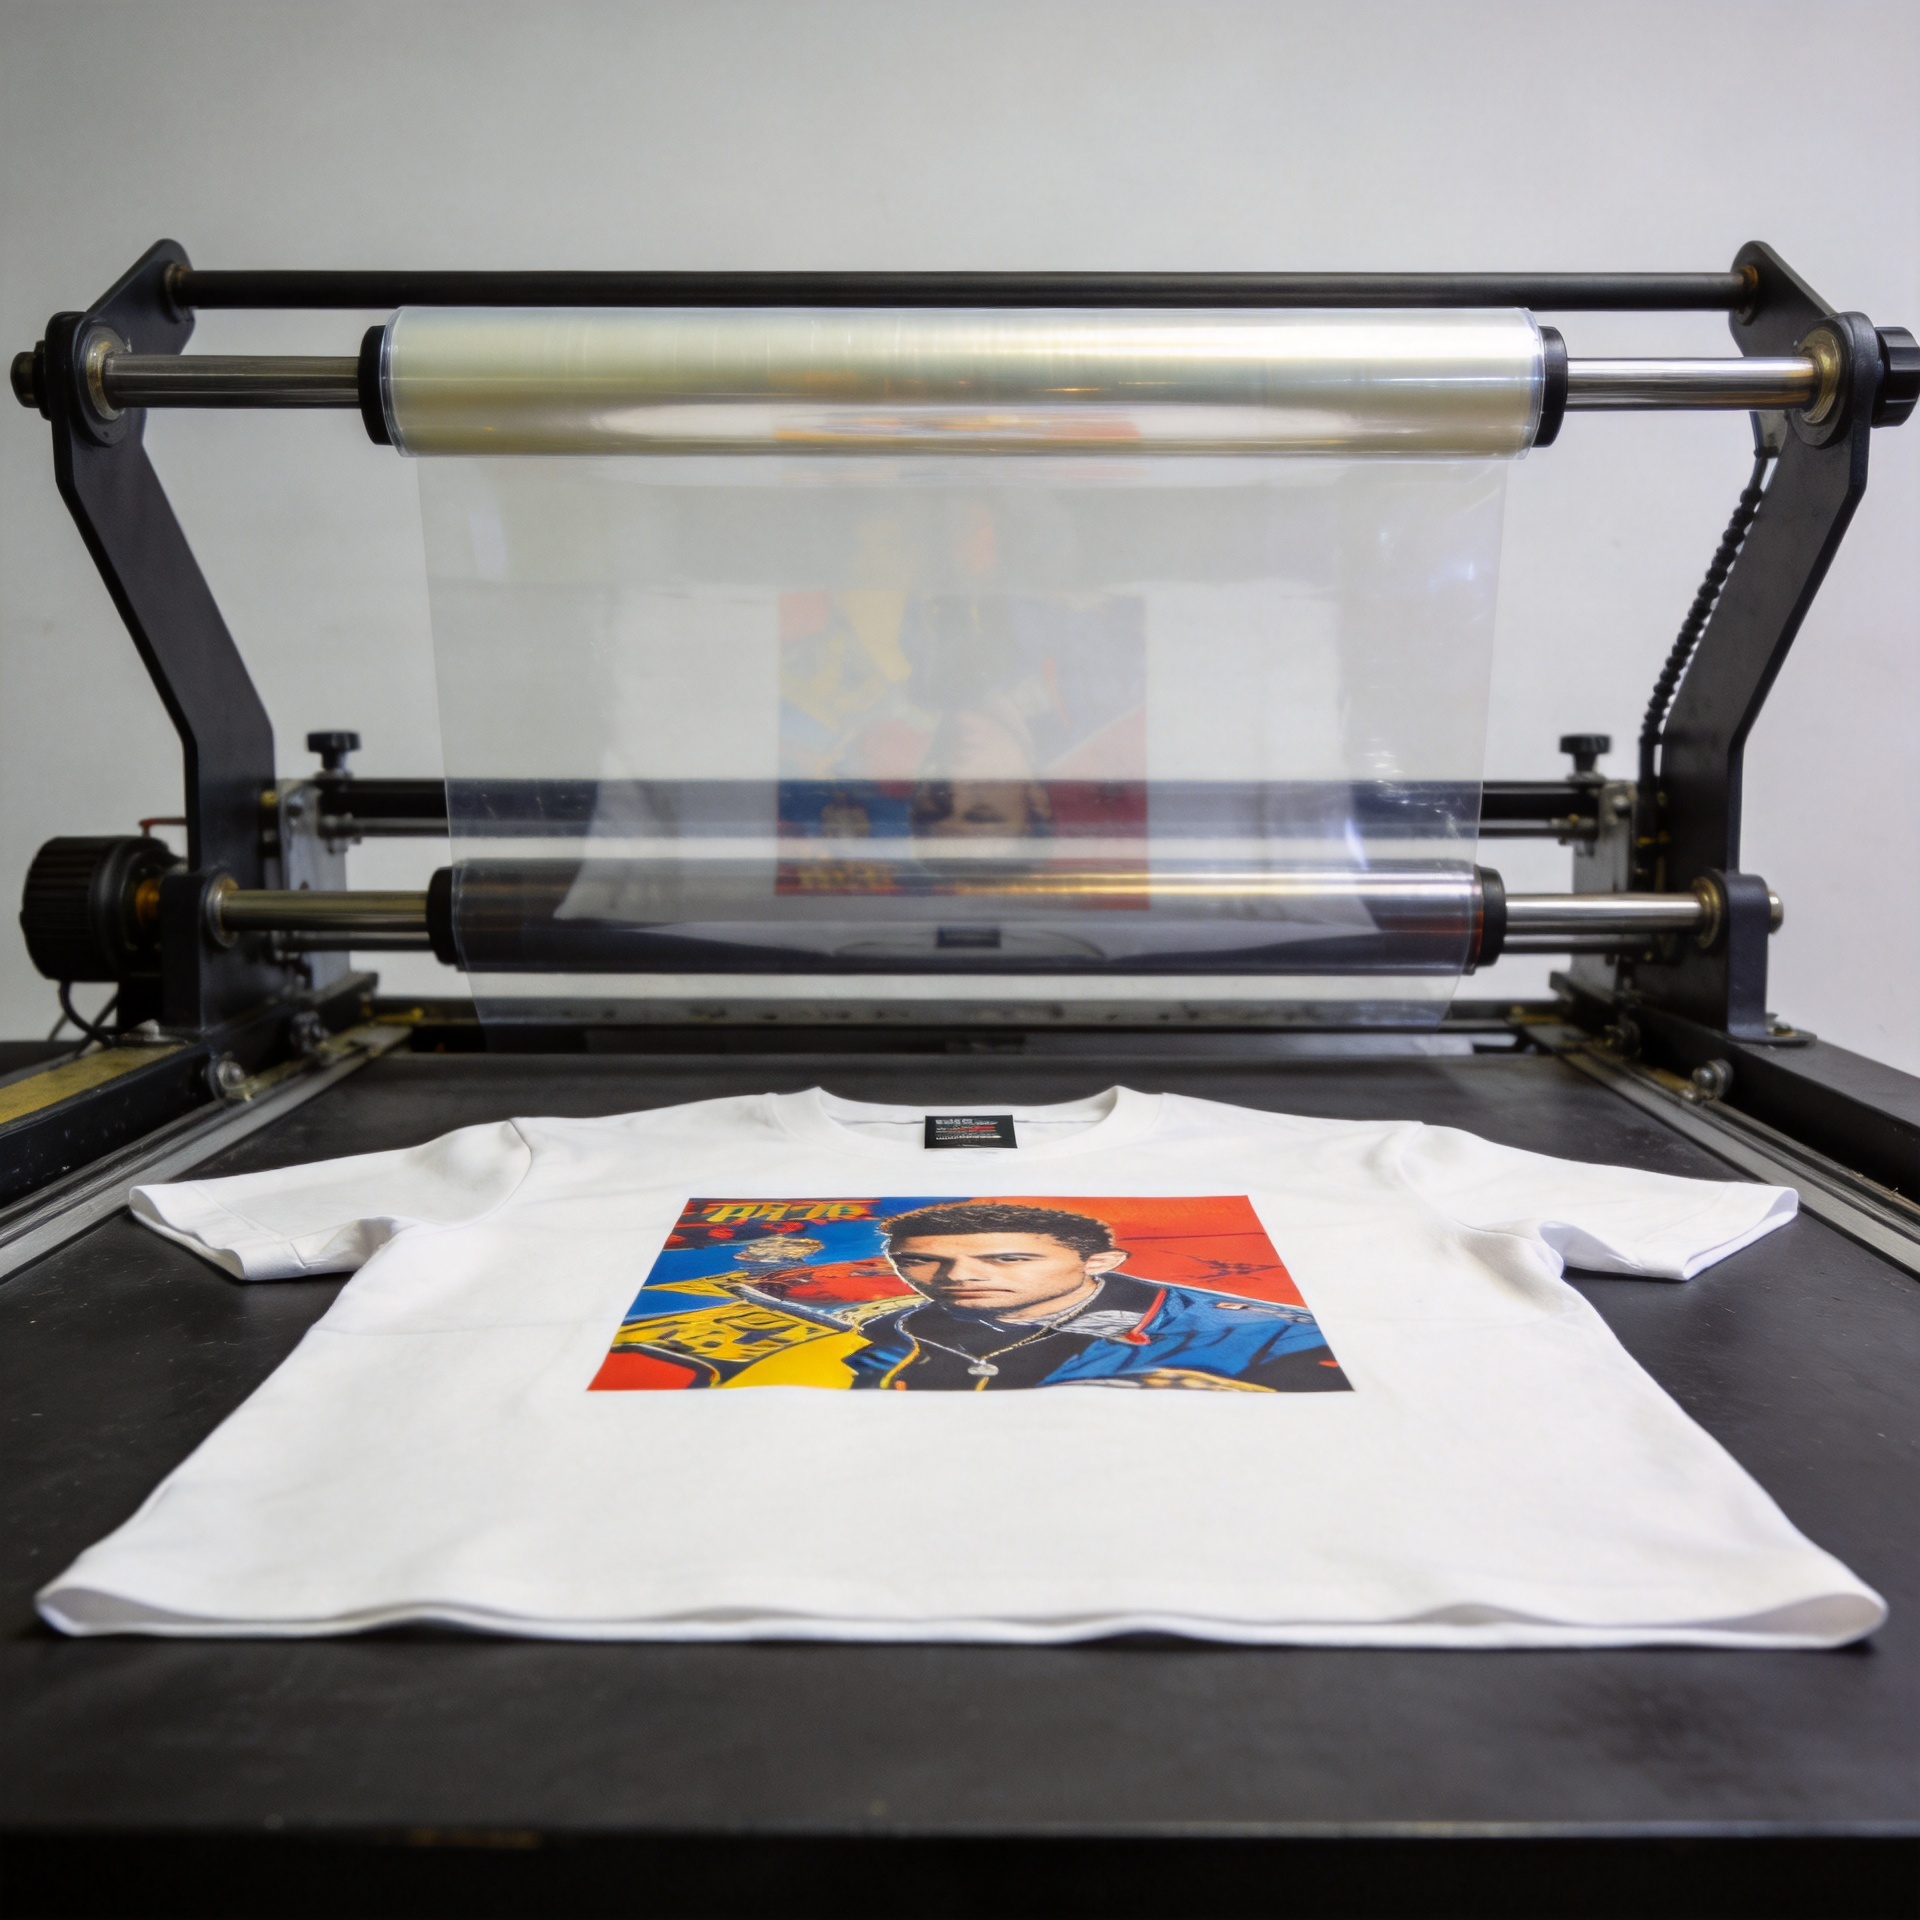
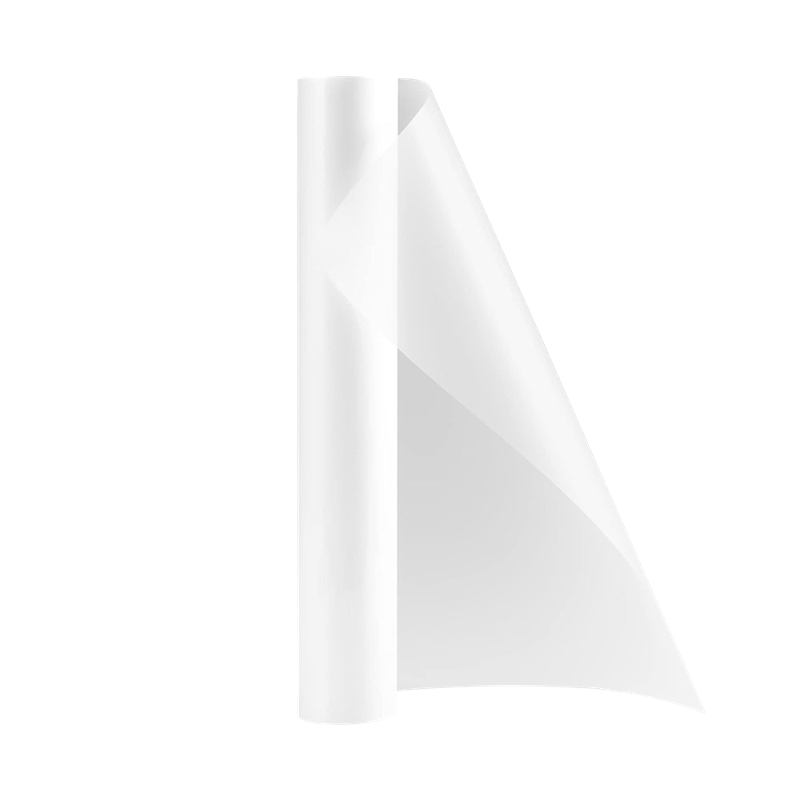
The printed design is then paired with an adhesive carrier film, often called Film B. Together, the two films hold the design until it is ready to be transferred. After the design is placed on a clean object and pressed down, the carrier film is peeled away slowly. What remains is the cured, adhesive-backed graphic on the product surface.
This distinction matters. UV DTF printing is not a heat-transfer method for fabric, and it is not the same as directly printing on a flat board. It is a film-transfer approach for decorating objects that may be curved, narrow, or awkward to place under a conventional flatbed printer.
How the AB Film Transfer Process Works
A reliable UV DTF printing routine starts before the printer runs. Prepare a high-resolution design with clear edges, suitable color separation, and the correct size for the finished item. Small text, fine outlines, and dense color areas should be reviewed at production scale rather than only on screen.
- Print on Film A. The UV DTF printer prints the image layers on the release film and cures them with UV light.
- Laminate with Film B. The adhesive carrier film is applied over the printed image. Smooth lamination helps reduce bubbles and incomplete contact.
- Trim and position. Cut the transfer with enough margin to handle it accurately, then align it on the target item before committing.
- Press evenly. Apply firm, even pressure across the design. Curved items need extra attention at edges and around tight radii.
- Peel the carrier slowly. Remove Film A at a low angle. If a detail lifts, lay the film back down, press again, and continue more gradually.
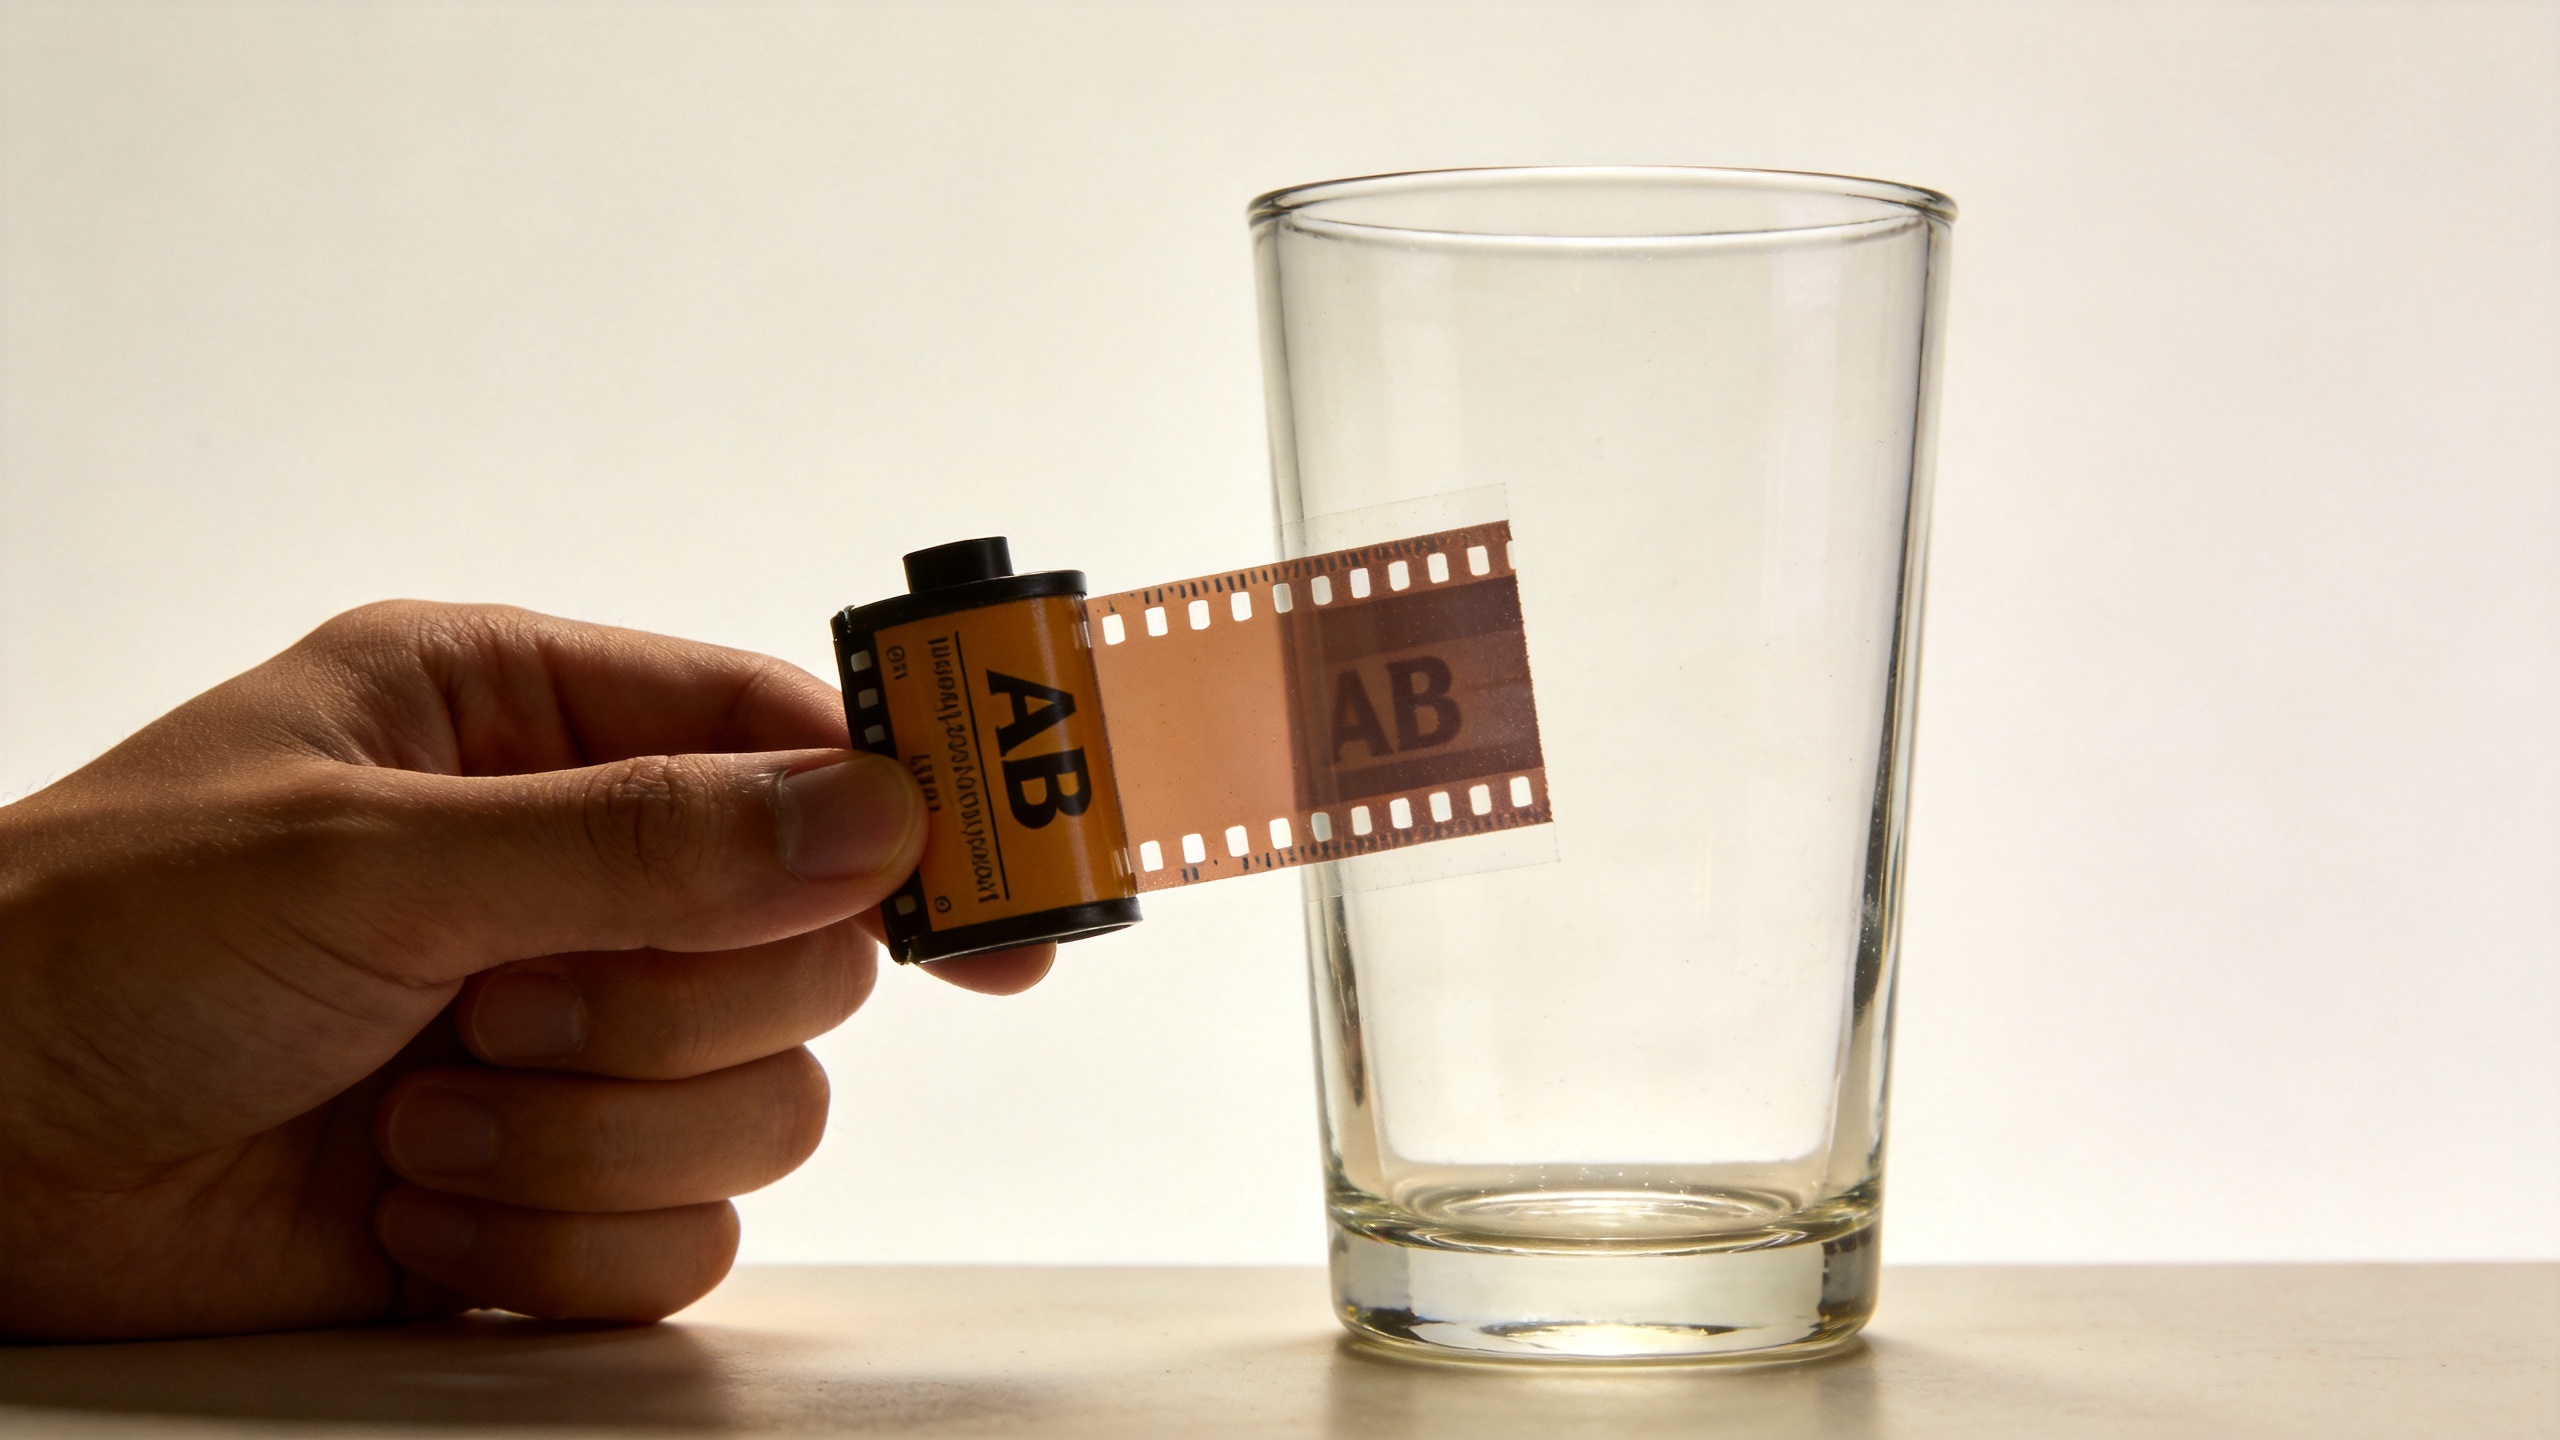
The process is straightforward, but the application step determines much of the visible quality. Rushing the peel can distort delicate details; applying a transfer to dust, oil, or textured material can weaken the result. In day-to-day production, good handling habits are often as important as a vivid print.
What Can You Make With UV DTF Print Transfers?
UV DTF print transfers are well suited to smooth, rigid, or lightly curved surfaces. Common finished products include glass cups and jars, stainless tumblers, acrylic blanks, plastic storage containers, coated metal items, ceramic pieces, packaging sleeves, notebooks with smooth covers, and selected phone cases. A small logo, label, character graphic, or personalized name can all be produced as a UV DTF transfer.
That range makes this workflow especially useful when an order includes multiple item shapes. A gift shop may use one artwork style across a glass bottle, a metal mug, and an acrylic keychain. A promotional-products supplier may create branded decals for sample kits or event merchandise. The transfer can be made first and applied later as production schedules require.
Surface choice still matters. Smooth, clean, non-porous surfaces generally give the most predictable application. Deep texture, loose coatings, dusty finishes, silicone-like materials, or flexible surfaces may require testing before production. It is better to run a small adhesion test than to promise that every material will perform the same way.
UV DTF Printing vs. Fabric DTF
Both processes use a transfer concept, but they serve different products. Fabric DTF is intended for textiles and normally uses heat and pressure to bond a transfer to a garment. UV DTF printing uses UV-cured inks and adhesive films to decorate hard objects, typically without a heat press. If the end product is a T-shirt, tote bag, or other fabric, garment DTF is usually the more relevant workflow. If the end product is a tumbler, glass, rigid case, or promotional item, this hard-surface transfer method may be the better fit.
Choosing the right method early prevents common production problems. It also helps businesses plan the right artwork, consumables, curing setup, and quality checks for the products they actually sell.
Practical Checks Before You Produce
- Clean the target surface thoroughly and allow it to dry before application.
- Test artwork at actual size, especially for fine lettering and narrow gaps.
- Check that Film A and Film B are aligned smoothly, without trapped debris or wrinkles.
- Use consistent pressure during application, including edges on curved products.
- Make a sample on the real substrate before committing to a larger run.
For businesses that want to explore the equipment side of the workflow, the Sunika Sk30-3 UV DTF printer is a relevant product page to review alongside your output size, ink workflow, and finishing requirements. Equipment choice should follow the jobs you need to make, not only the appearance of a sample transfer.
Start With a Repeatable UV DTF Printing Workflow
This approach gives decorators a flexible route to vivid, custom graphics on many hard-surface products. The core idea is simple: UV-cure the design on Film A, pair it with Film B, apply it to a prepared object, and peel carefully. Once that AB-film sequence becomes repeatable, you can build product lines around labels, giftware, drinkware, packaging, and branded accessories.
Start with a small set of tested materials, keep your artwork and application checks consistent, and expand only after your samples meet the finish you expect. That approach makes the workflow easier to manage and helps each UV DTF print look intentional rather than improvised.