EN
EN


DTF Transfer Printing Explained: From Design to Finished Garment
DTF transfer printing—short for direct-to-film transfer printing—moves a printed design from coated film to a garment with adhesive powder, heat, and pressure. For custom apparel shops, decorators, and first-time operators, its appeal is straightforward: a single transfer workflow can support detailed full-color artwork across many common fabrics without cutting or weeding vinyl.
The reliable result is not created at the heat press alone. It comes from treating the workflow as a connected chain: prepare artwork, print in the correct layer order, coat the wet image evenly, cure the adhesive, then press and release according to the film and consumables in use. This guide walks through those checkpoints from design to finished garment.
What happens during DTF transfer printing?
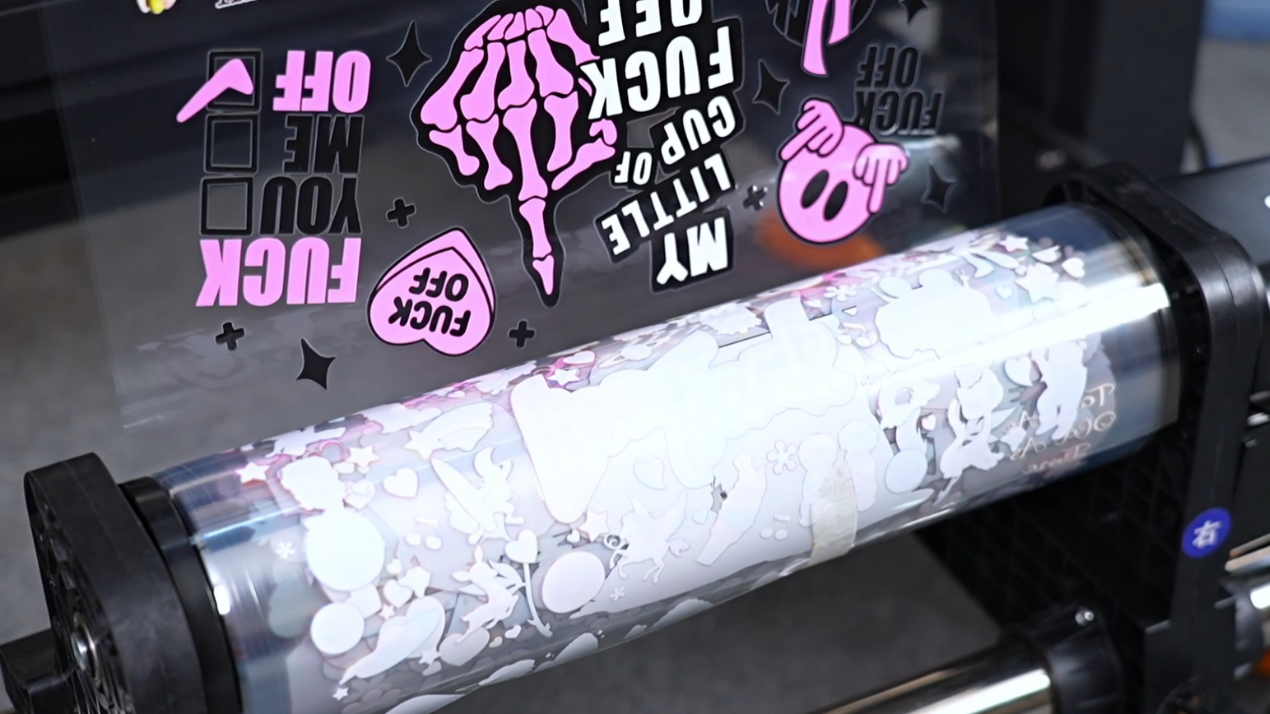
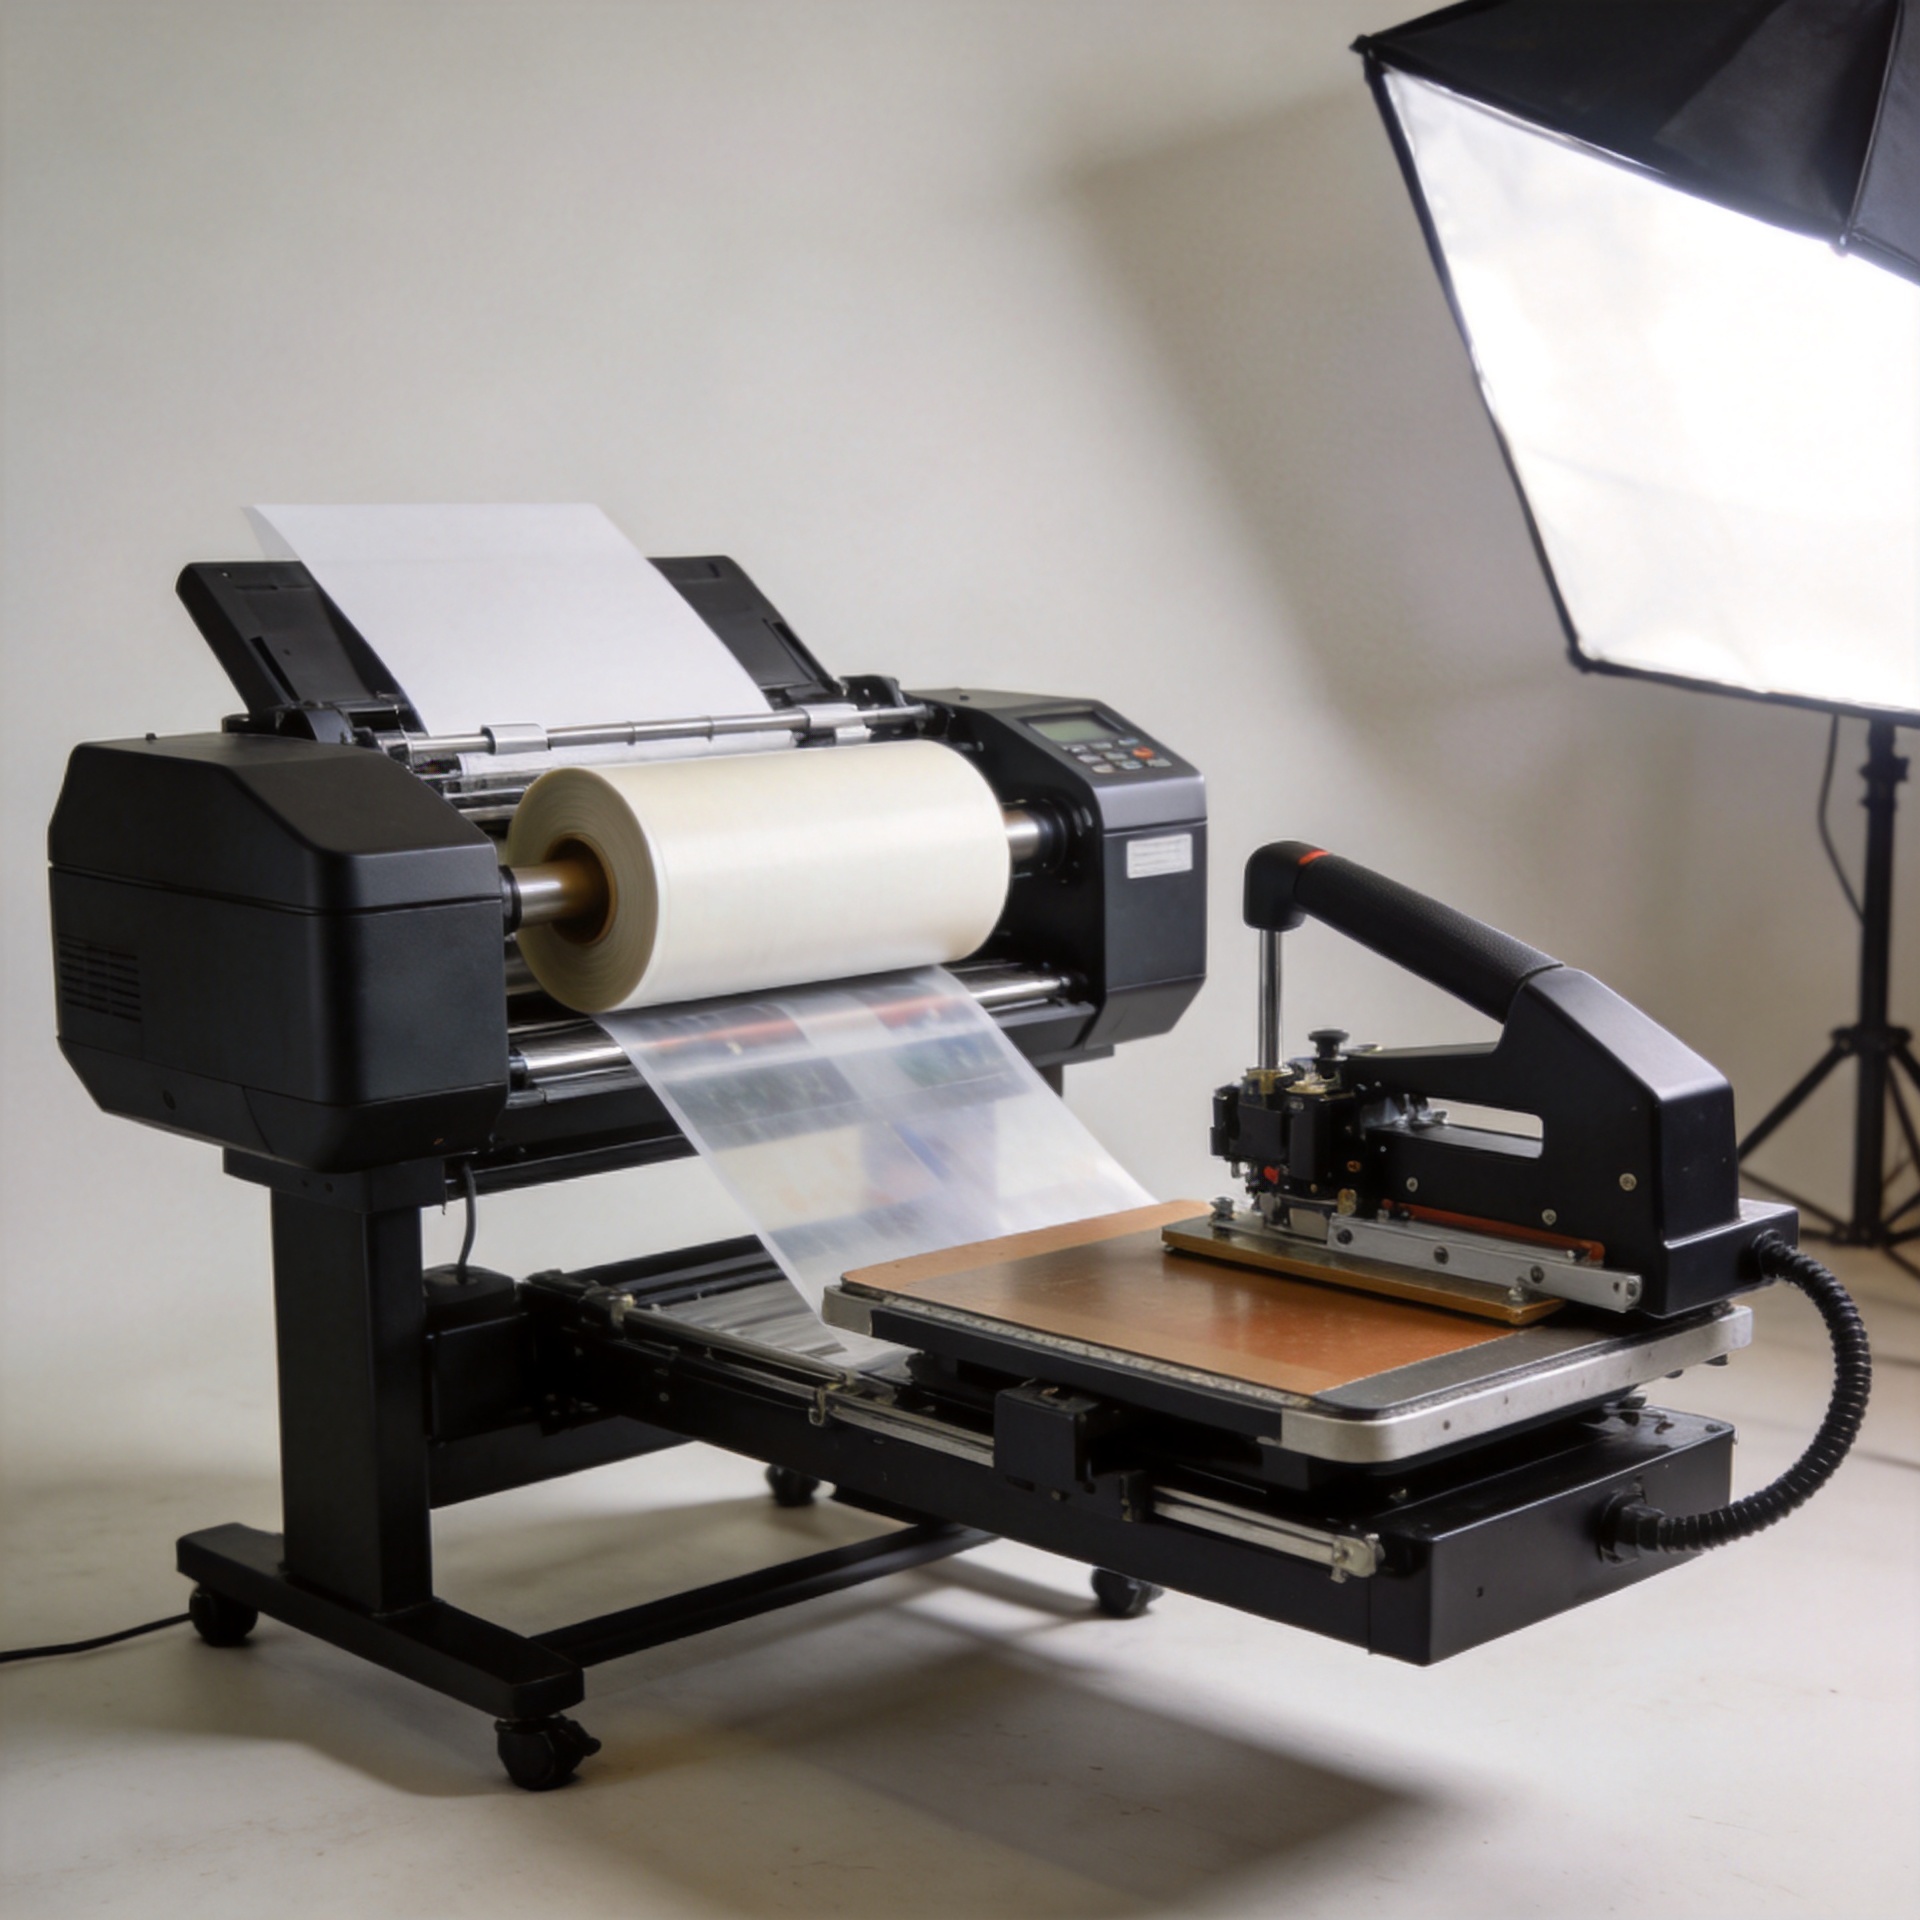
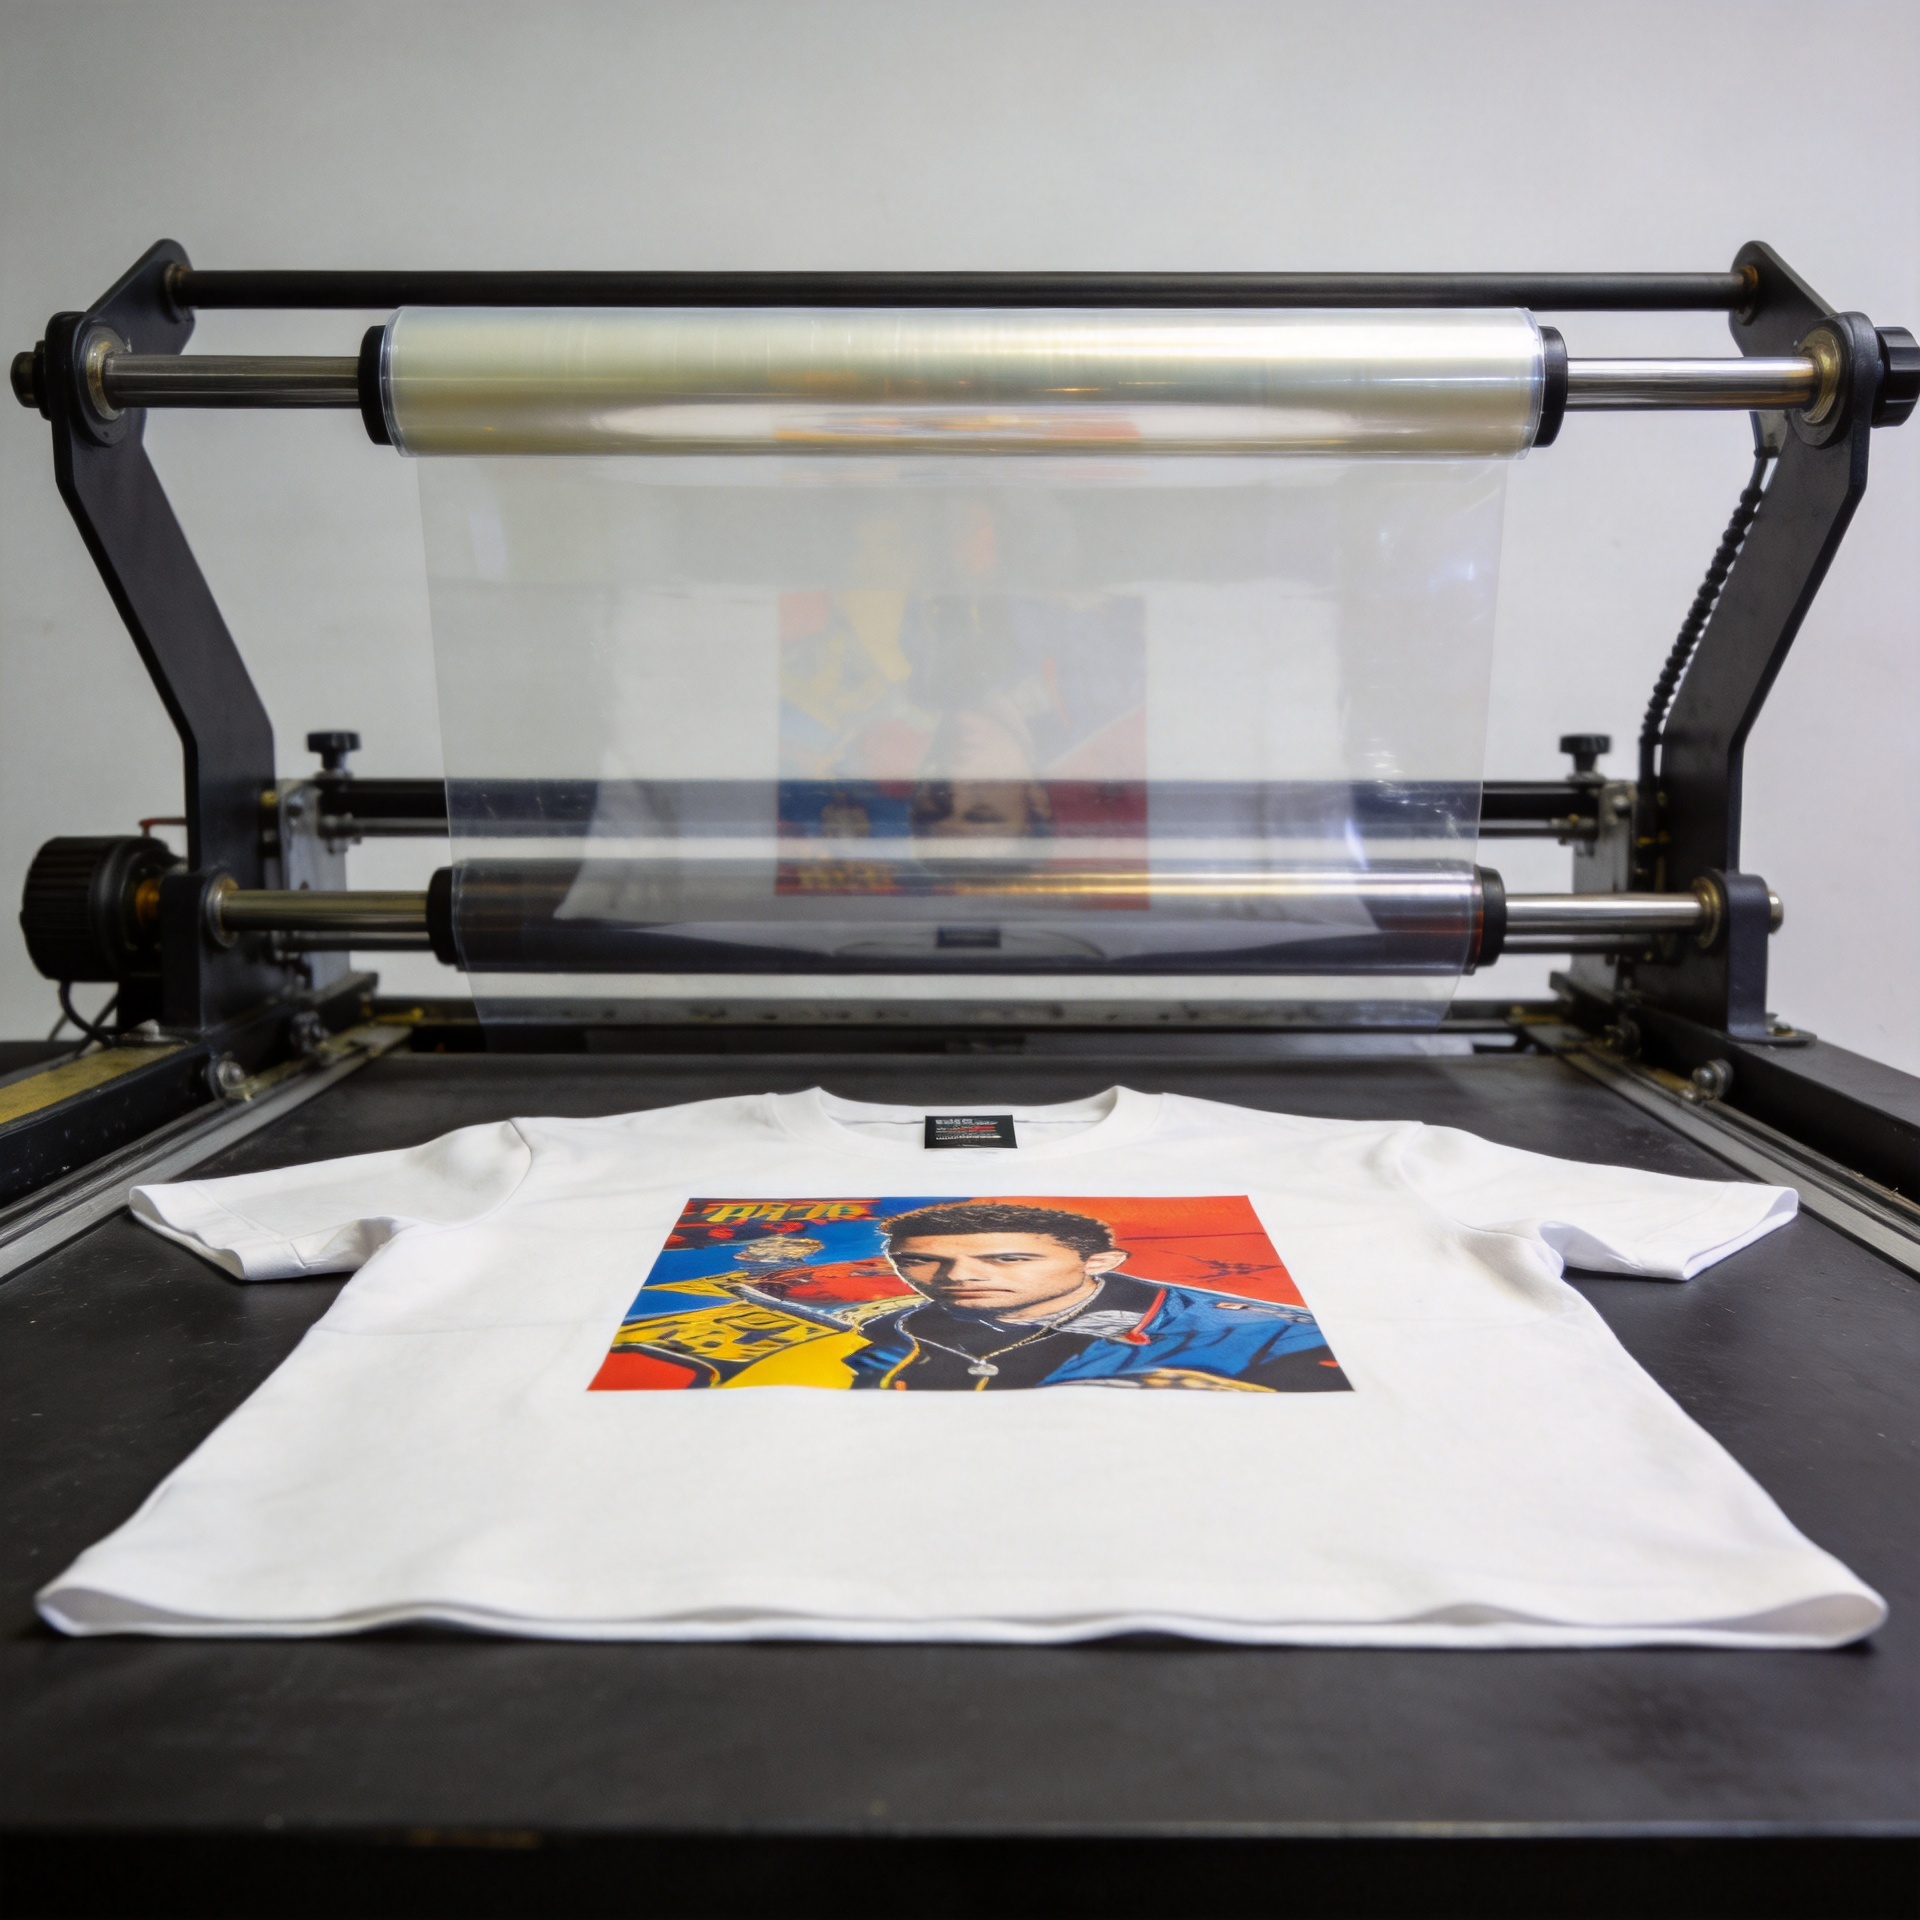
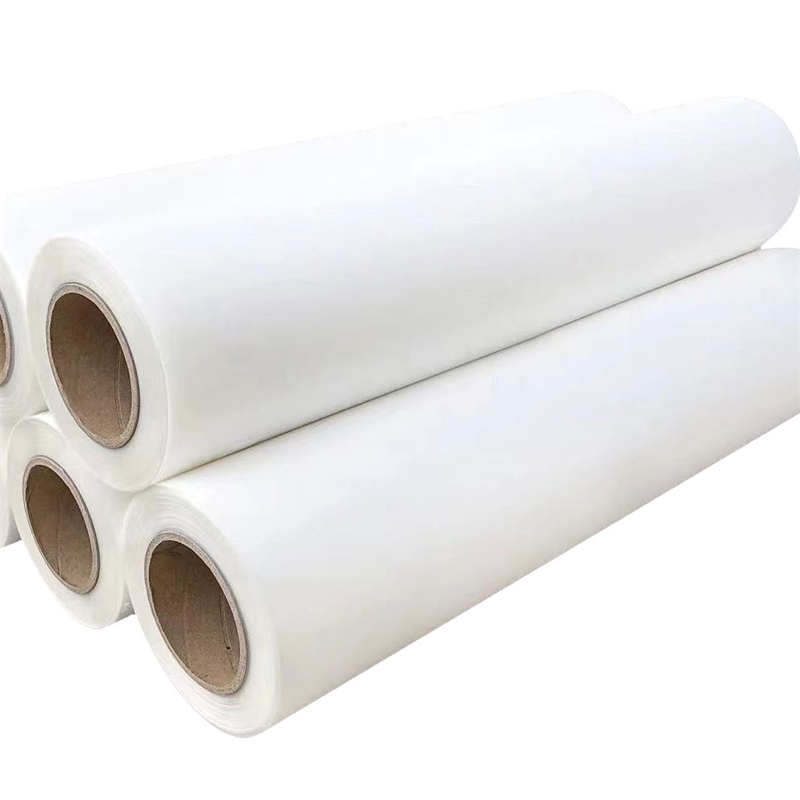
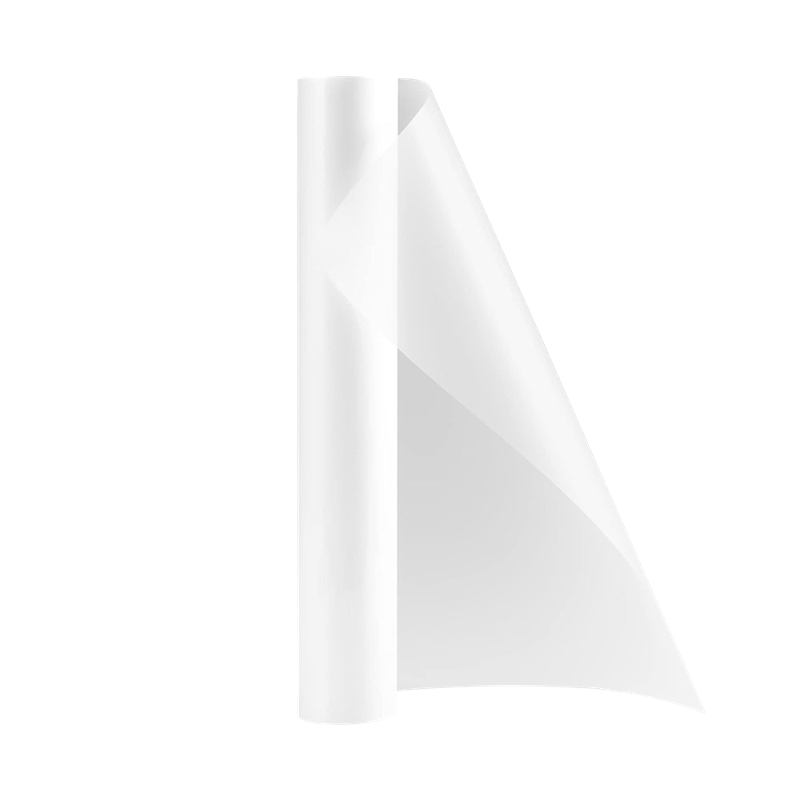
In a typical dtf transfer printing workflow, a compatible printer places color and white ink on a coated PET film. While the ink is still wet, hot-melt powder is applied to the printed area. The powder is cured so it forms the adhesive layer that later bonds the image to fabric. After the transfer cools or reaches the handling condition specified for the film, it is positioned on a garment and applied with a heat press.
This sequence is why process control matters. A problem that appears after pressing—such as incomplete adhesion, a rough edge, or unwanted residue—may have started earlier in the artwork, print, powder, or curing stage. Keeping a simple job sheet with the film type, powder, fabric, and tested press settings makes troubleshooting far easier than changing several variables at once.
Step 1: Prepare artwork for the film
Start with the intended garment and print size, not only the design file. PNG artwork with transparency is a common DTF-ready option because a white or colored background that remains in the file may print as an unwanted rectangular area. Use a clean transparent background, check that fine lines are strong enough to survive printing and transfer, and inspect small gaps in lettering or distressed effects at final output size.
- Confirm the artwork dimensions at the final garment size.
- Check transparent areas and remove unintended background pixels.
- Review thin positive lines, tiny islands, and narrow negative spaces.
- Use the RIP workflow required by the printer so color and white layers are generated correctly.
For repeat orders, save the approved artwork version and the production notes together. That simple habit helps a shop reproduce a successful dtf printing job without relying on memory.
Step 2: Print the design and protect consistency
Film orientation, nozzle condition, ink circulation, and the white-ink layer all influence the transfer before it reaches the powder station. Run the printer’s normal maintenance checks before a production batch, especially if white ink has been idle. A nozzle check can reveal missing lines before they become visible defects in a garment graphic.
Use the film and ink combination approved for the equipment, and avoid mixing unverified consumables in the middle of a job. If you are evaluating an A3-format workflow, the Sunika SK-A3 DTF Printer F1080 330mm A3 Direct to Film Printer is one confirmed product option to review alongside your required media width and throughput. Select equipment based on your actual job mix rather than assuming a larger setup automatically improves every small-run workflow.
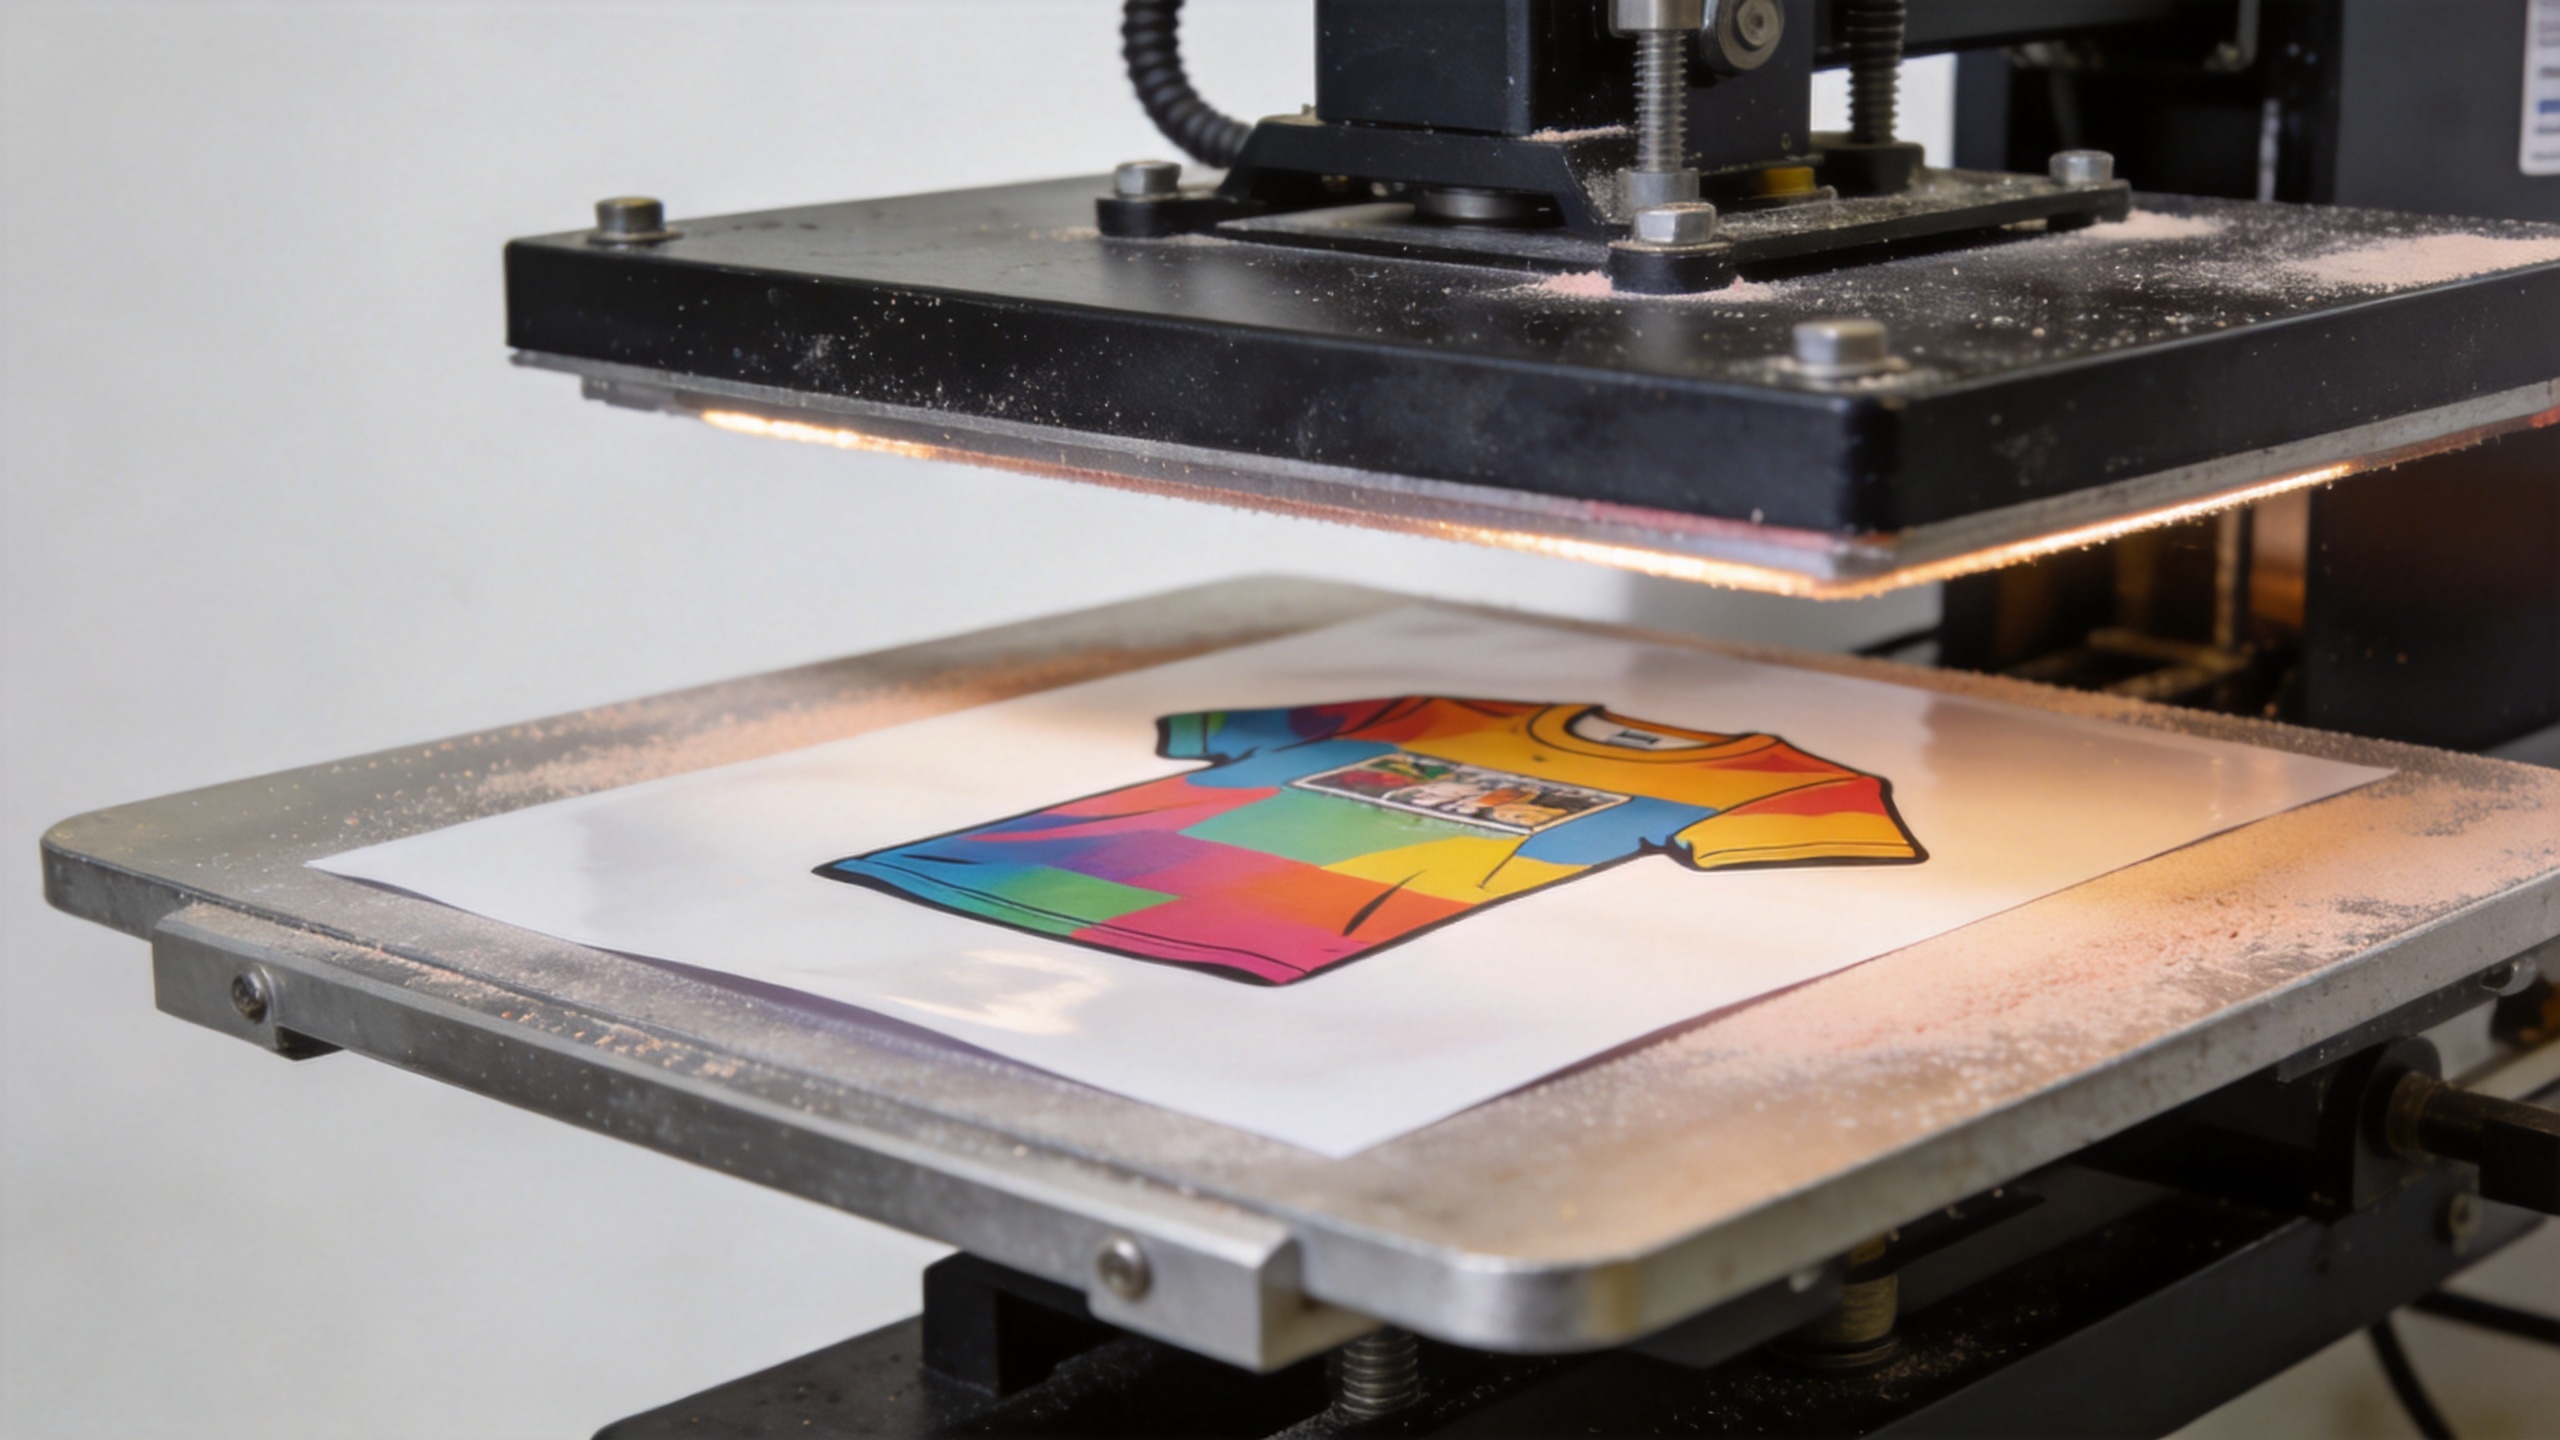
Step 3: Apply powder while the ink is wet
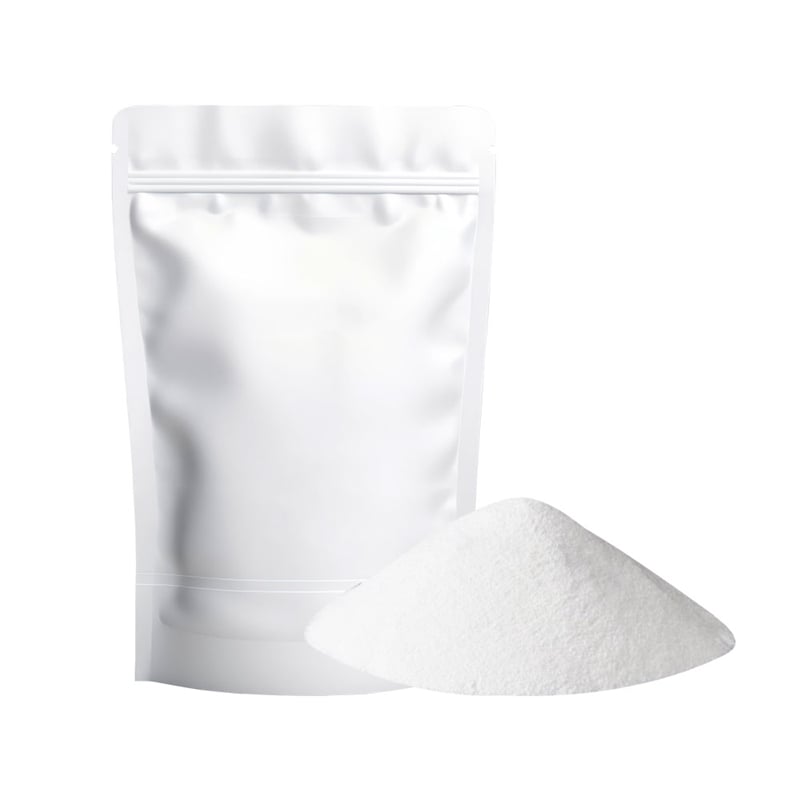
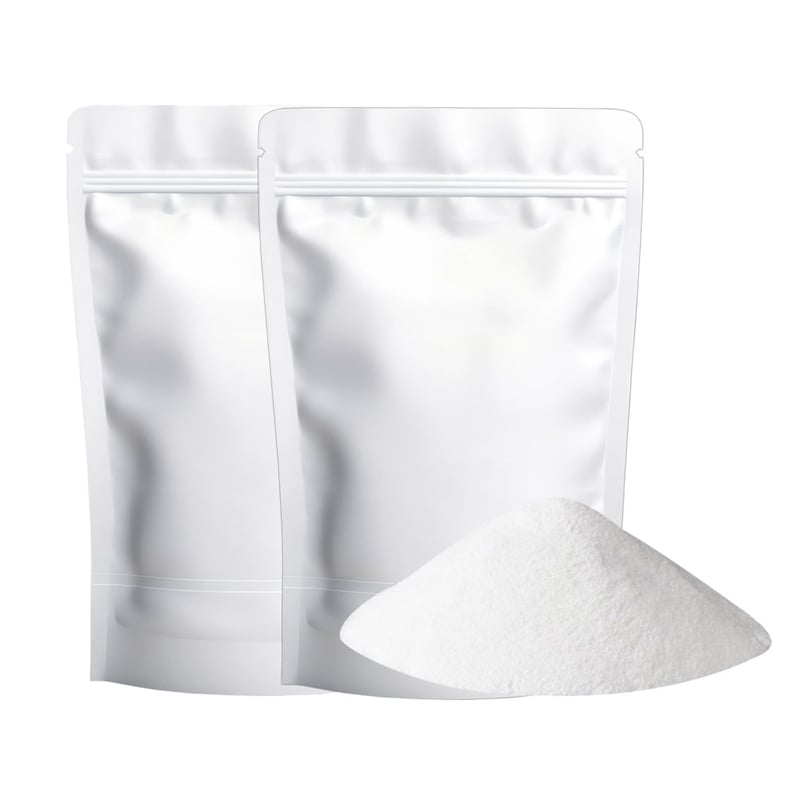
Powdering is a coverage-control task. The adhesive powder should reach every printed area that needs to bond to the garment, while loose powder should be removed from unprinted film. Excess powder can show up as specks or haze around the graphic; thin coverage can lead to weak adhesion or lost detail after pressing.
Work in a clean, well-managed area and follow the consumable supplier’s handling guidance. Shake or distribute powder evenly, then remove loose material consistently. When a design includes fine text or delicate detail, inspect the film before curing under good light. It is much faster to correct coverage at this point than to discover the issue on a finished shirt.
Step 4: Cure the adhesive without overprocessing it
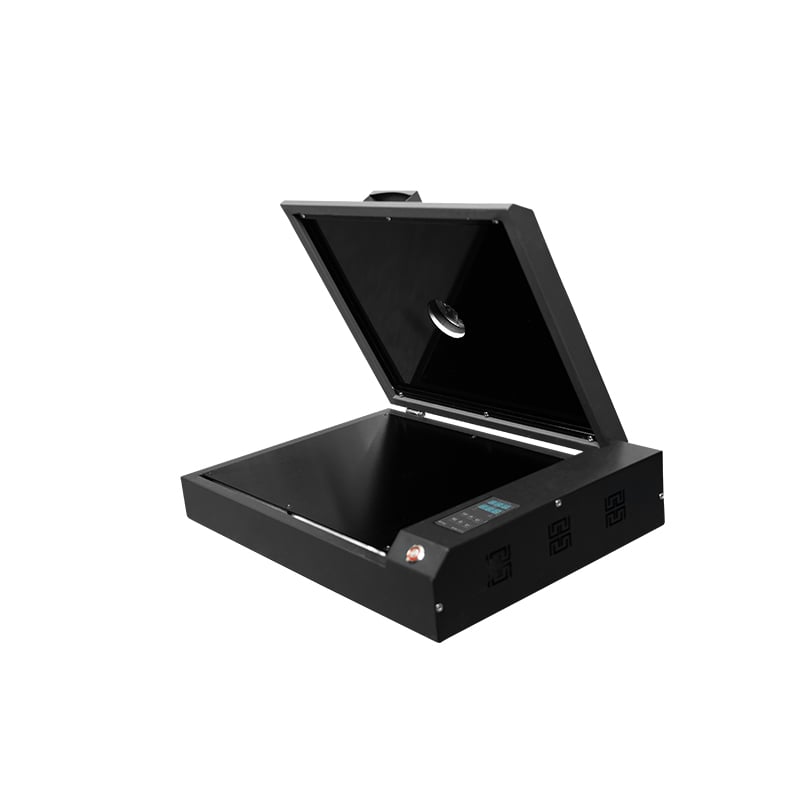
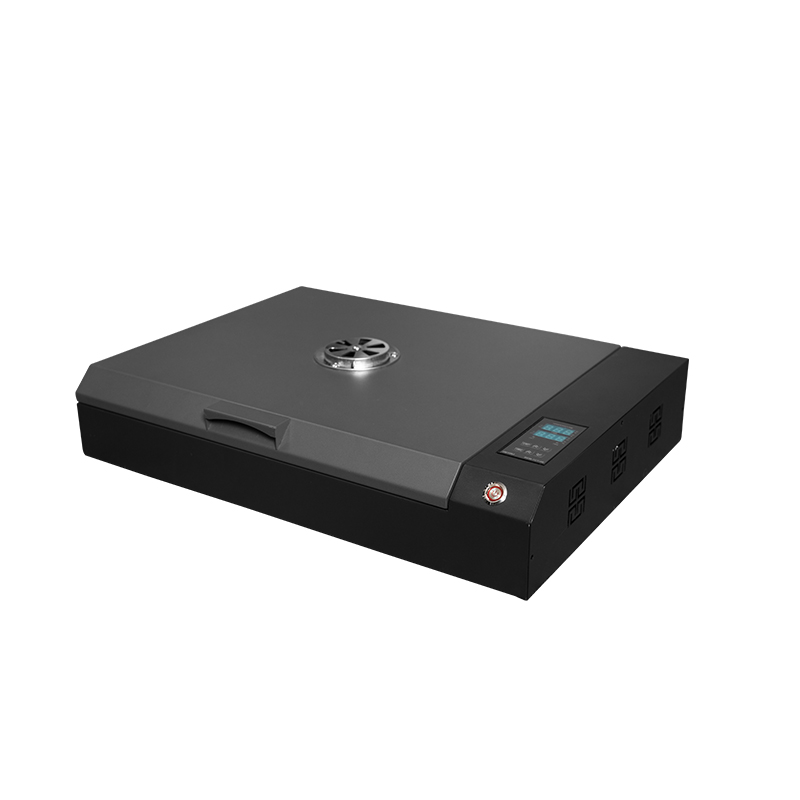
Curing melts or activates the powder layer so it can become the bonding surface during pressing. The correct temperature and dwell time depend on the powder, film, equipment, and supplier instructions. Rather than treating one temperature as universal, begin with the consumables’ recommended settings and validate them on a small test transfer.
Look for a uniform cured appearance across large solid areas and fine details. If the adhesive appears uneven, revisit powder coverage and heat distribution. If the transfer becomes brittle, scorched, or distorted, reduce the chance of repeating the problem by checking whether the dwell time, temperature reading, or film handling is outside the tested range. Record the successful recipe for that material set.
Step 5: Heat press the transfer onto the garment
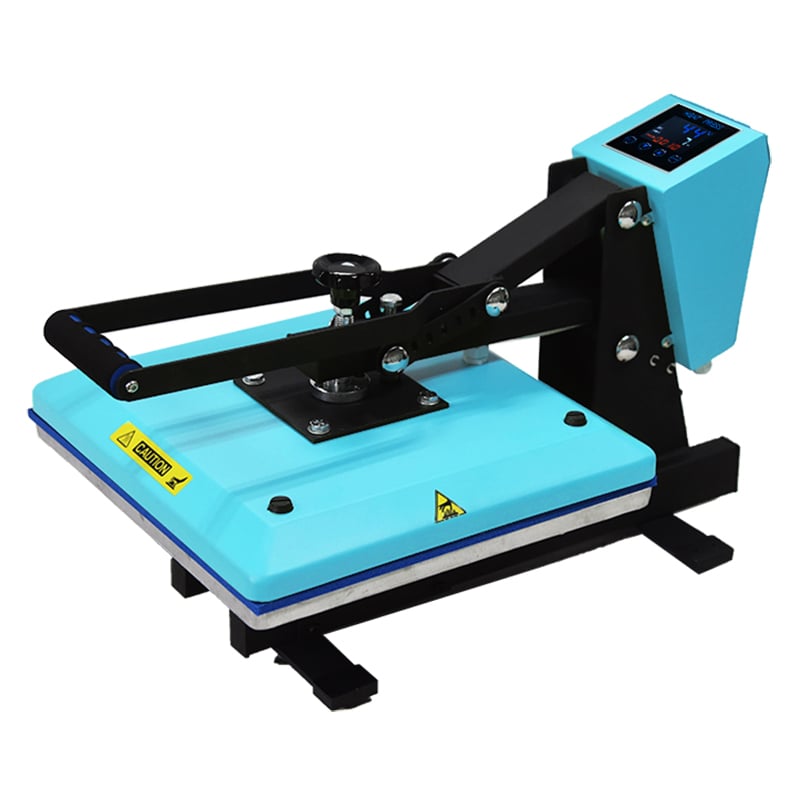
Place the cured transfer on a clean, flat garment surface. Pre-pressing can help remove moisture and wrinkles when appropriate for the fabric, but use a test piece to confirm the garment’s heat tolerance. Apply the temperature, pressure, and dwell time specified for the film system; then peel according to its hot-, warm-, or cold-peel guidance. A final press with protective sheet material may improve the desired finish when recommended by the consumable supplier.
| Checkpoint | What to verify | Why it matters |
|---|---|---|
| Garment preparation | Flat surface, no lint, fabric heat tolerance checked | Supports even contact and reduces avoidable marks. |
| Transfer placement | Alignment, position, and film orientation | Prevents costly placement errors. |
| Press cycle | Tested temperature, pressure, and dwell time | Creates a repeatable bond instead of a one-off result. |
| Peel and finish | Correct peel condition and optional finishing press | Protects detail and helps achieve the intended surface feel. |
Common DTF transfer printing issues and practical checks
Transfer does not adhere evenly
Check whether powder coverage was complete, curing was uniform, the garment was pressed flat, and the press delivered consistent pressure. Change one variable at a time on a test swatch so the source of improvement is clear.
Fine details lift or look broken
Review artwork at output size, inspect nozzle performance, and confirm that powder reached small printed elements. Delicate design features may need stronger minimum line widths or simplified gaps for the chosen production setup.
Color or surface finish is inconsistent
Use a controlled color workflow, maintain the printer, and document the media and curing settings. Consistency comes from repeatable inputs, not from adjusting every order by eye.
A simple production routine for better repeatability
The most useful DTF transfer printing improvement is a disciplined test-and-record loop. Approve one sample for each common garment type, keep the artwork version and consumable batch identifiable, and note the press recipe that produced the approved result. For shops scaling from samples to regular orders, this turns process knowledge into a practical operating standard.
DTF printing can be flexible, but flexibility is strongest when every handoff is checked. Prepare clean artwork, verify the print, control powder and curing, test the press cycle, and inspect the finished garment before repeating the job. That sequence gives decorators a clearer path from creative file to wearable result.
DTF transfer printing FAQ
Is DTF transfer printing suitable for small orders? DTF transfer printing can suit short runs when the workflow is tested and the operator can manage setup consistently. For a small order, DTF transfer printing still benefits from a nozzle check and a press test.
Does DTF transfer printing require transparent artwork? For many jobs, DTF transfer printing starts more cleanly with transparent artwork because unwanted backgrounds can become part of the printed transfer. Before production, review the DTF transfer printing file at final size.
Why is powder important in DTF transfer printing? In DTF transfer printing, the powder creates the adhesive layer after curing. Even powder coverage gives DTF transfer printing a better chance of bonding consistently across details and solid color areas.
What should be tested before a full DTF transfer printing run? Test fabric response, transfer placement, peel condition, and finish. A test press makes DTF transfer printing settings traceable instead of relying on a generic recipe.
Can one press recipe work for every DTF transfer printing job? No. DTF transfer printing results vary with film, powder, garment, and press behavior. Keep a documented DTF transfer printing recipe for each validated material combination.
How can operators troubleshoot a DTF transfer printing defect? Work backward through DTF transfer printing: inspect the finished print, press cycle, cure, powder coverage, and original artwork. This keeps DTF transfer printing troubleshooting focused on one variable at a time.
What quality habit supports DTF transfer printing? Record the approved sample, consumables, and settings. In repeat production, DTF transfer printing is more dependable when the proven workflow can be reproduced.