EN
EN

DTF Transfer Film Guide: Types, Specs and How to Choose the Right PET Film
Choosing DTF film can look simple until a transfer starts lifting at the edge, color looks uneven, or a busy press line loses time waiting for a cold peel. The film is not just a carrier. Its PET base, release coating, surface finish, peel behavior, width, and storage condition all influence how reliably a design moves from printer to garment. This guide explains how to compare DTF film for real production decisions rather than buying by a label alone.
As a DTF equipment specialist, I usually begin with the workflow: fabric mix, printer format, press routine, and order pattern. A film that works smoothly for one shop can be a poor match for another. The goal is to choose a repeatable process, not chase a universal DTF film choice.
What DTF Film Is and Why the Coating Matters
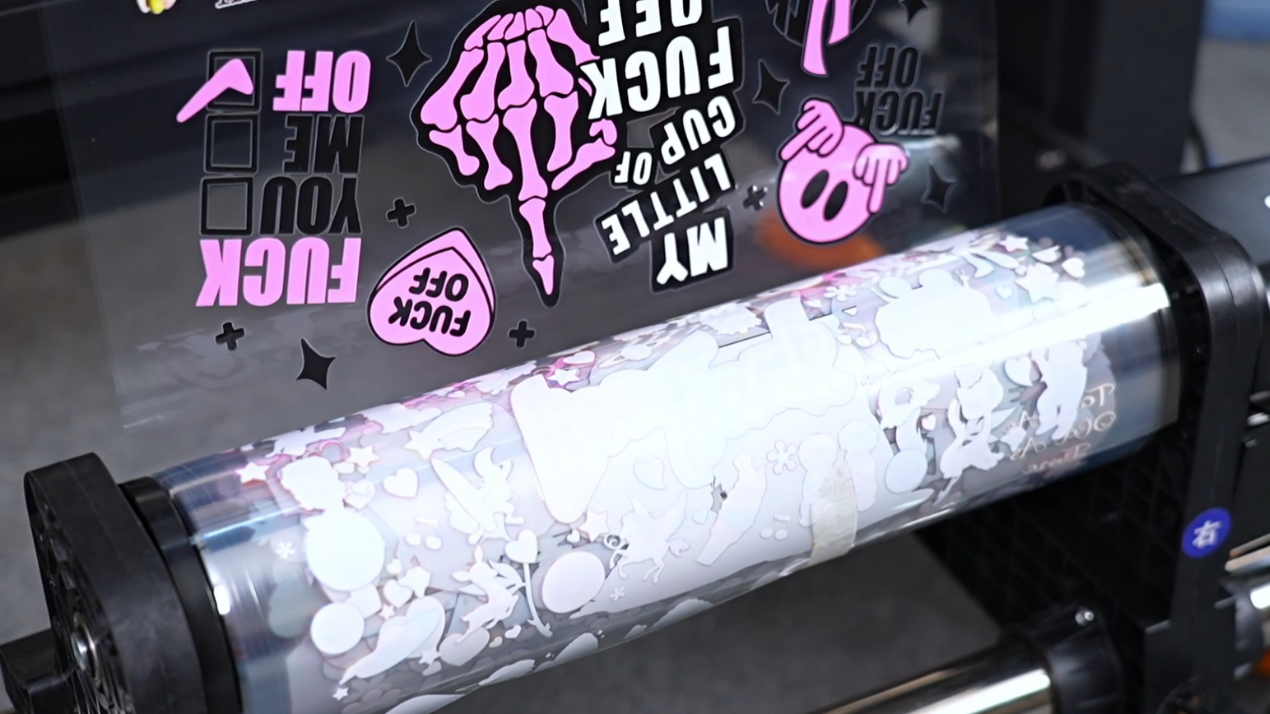
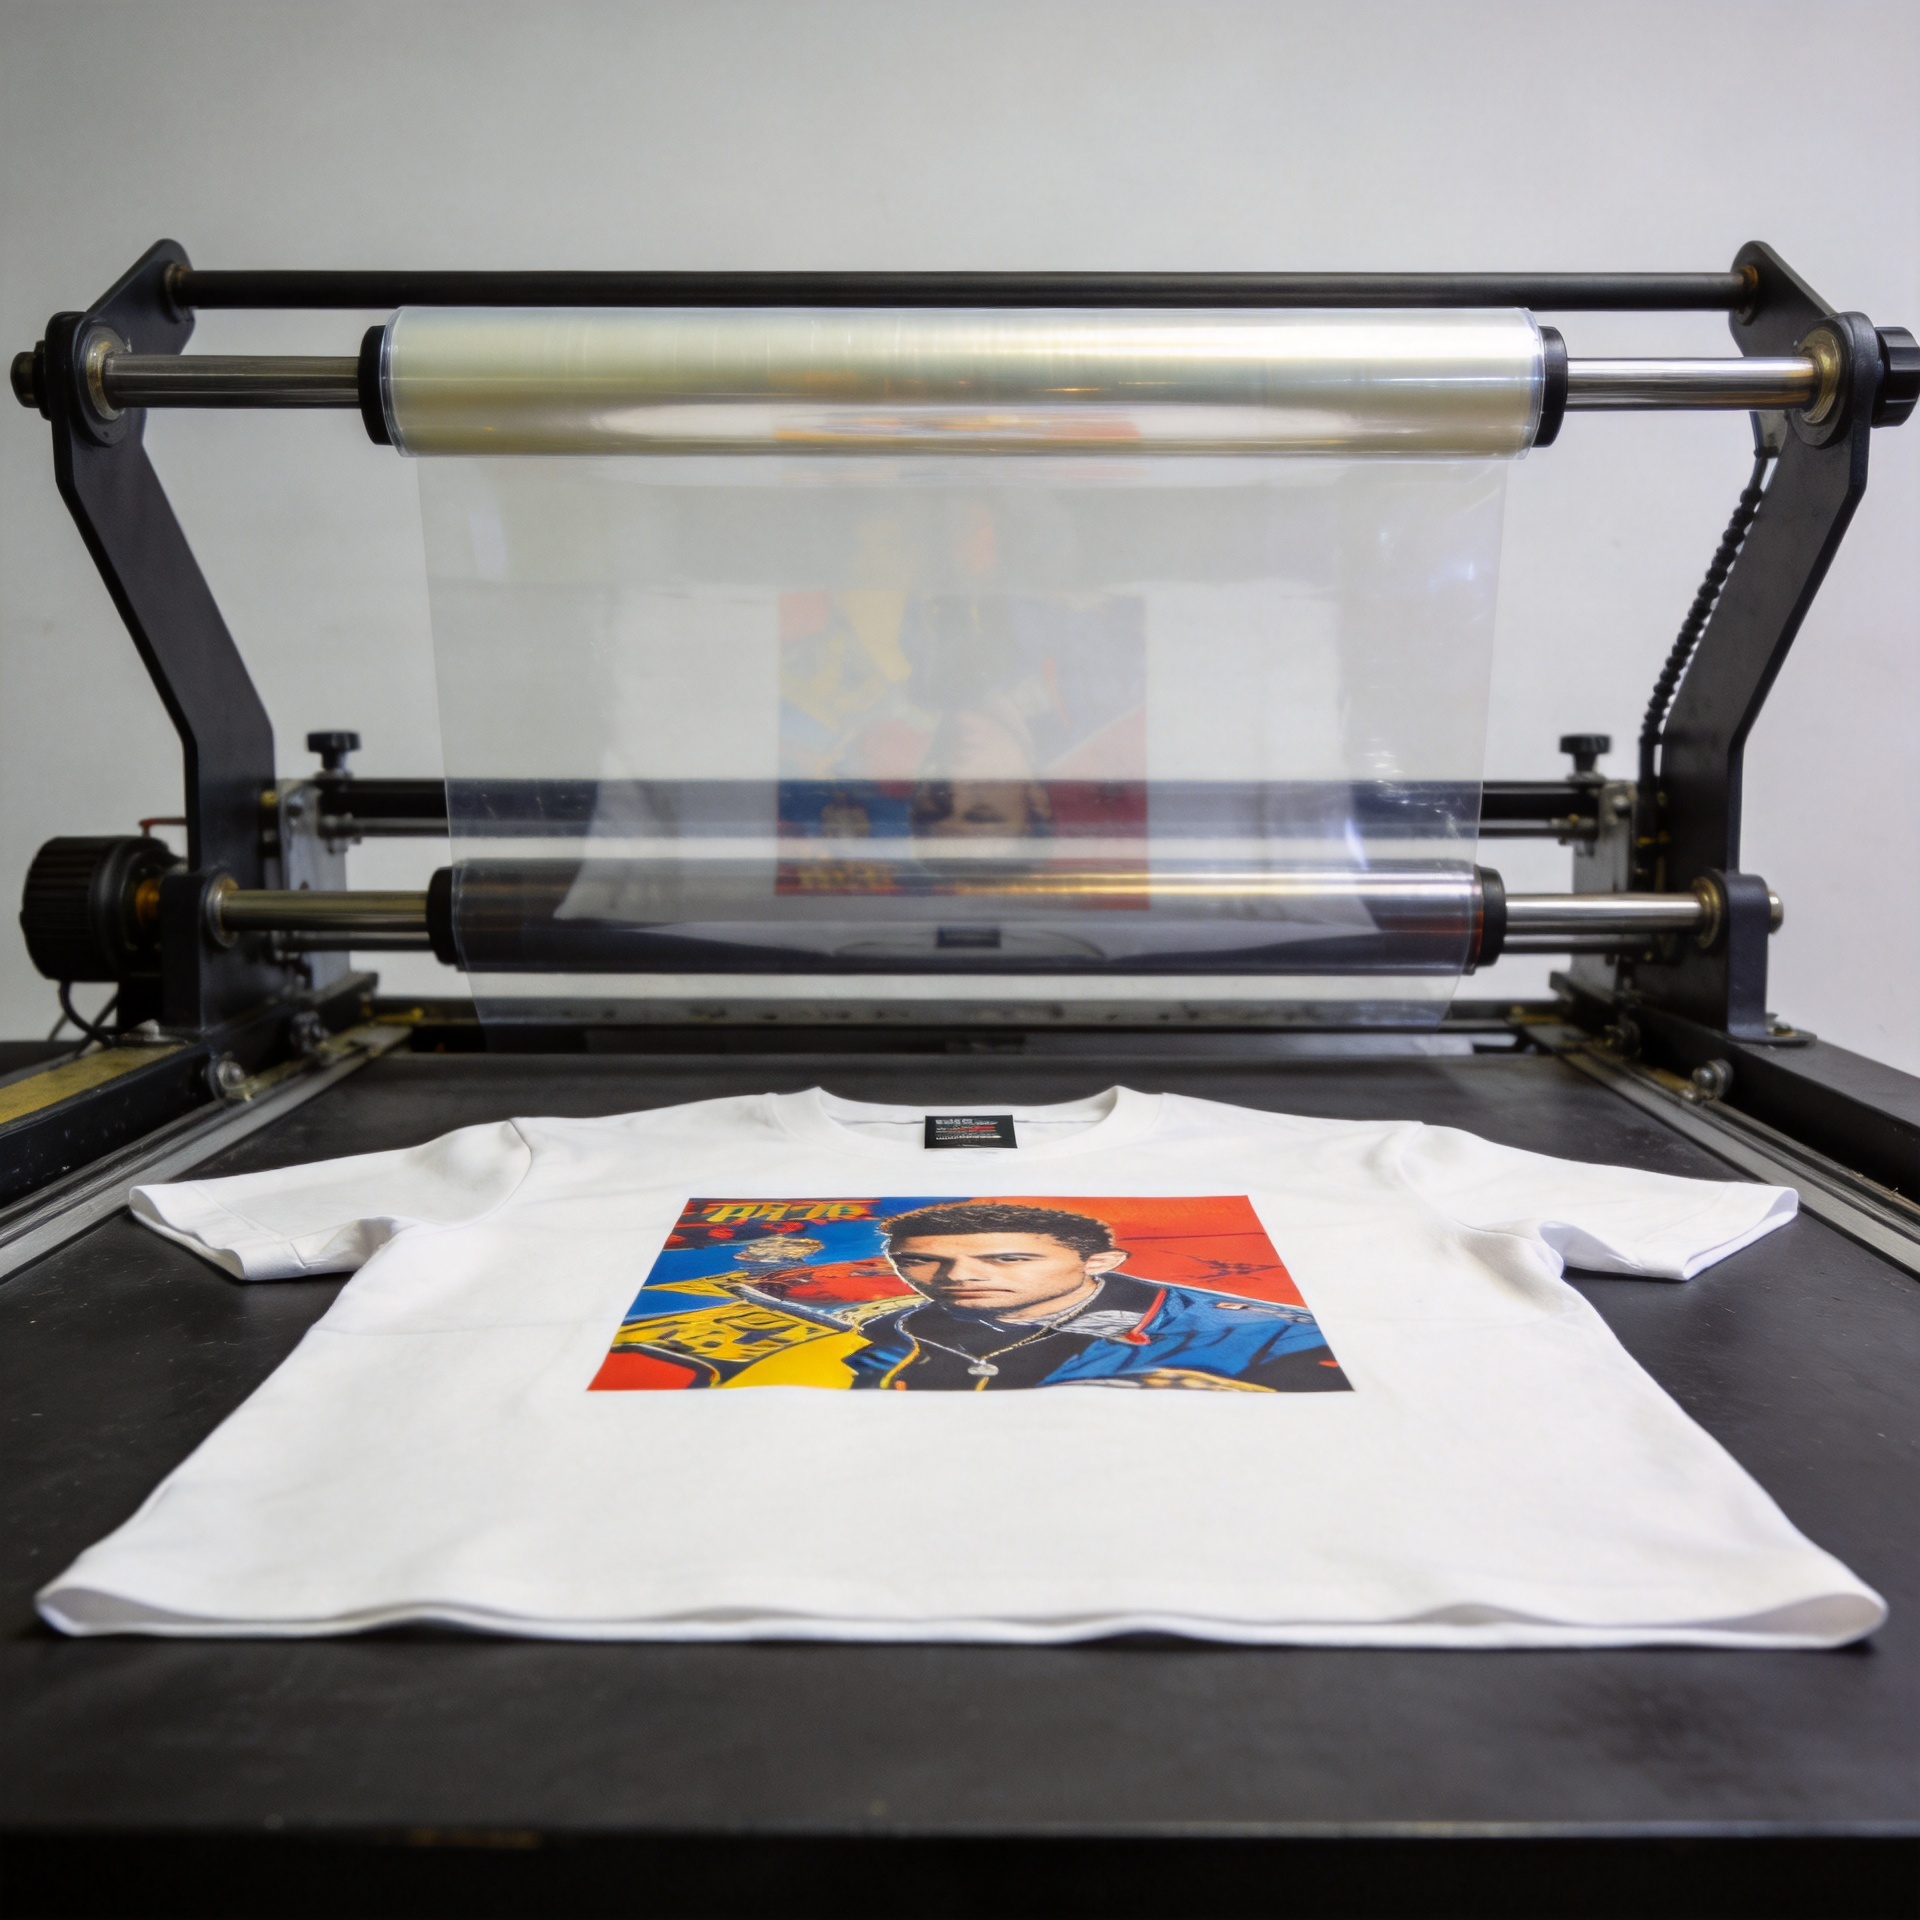
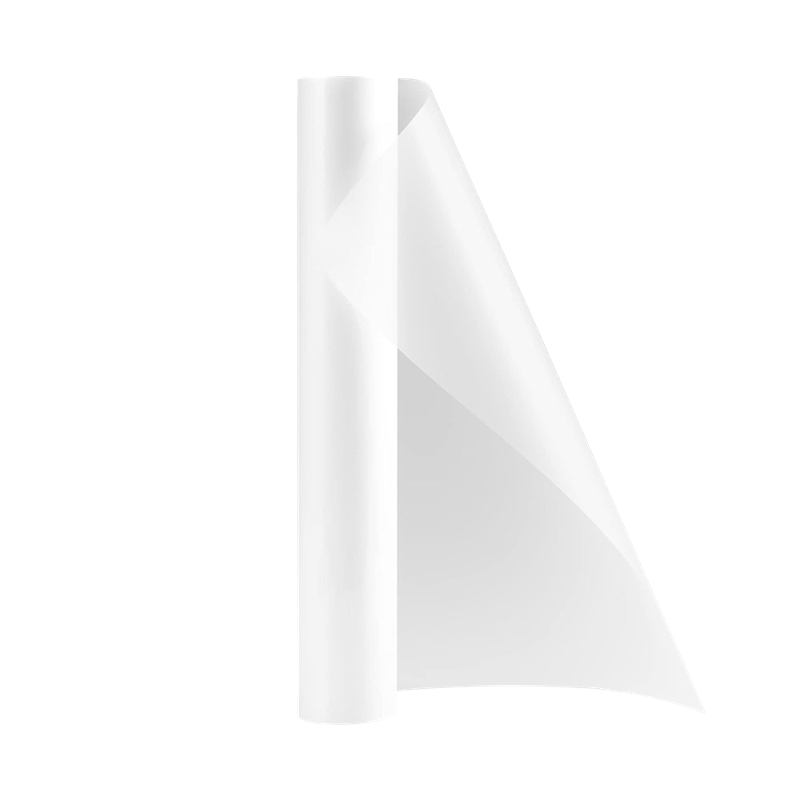
DTF film is generally a coated PET sheet or roll used to receive a printed image before adhesive powder is applied, cured, and heat pressed onto the final item. PET provides the stable base; the coating controls how ink sits on the surface and how the finished transfer releases. That coating is why two films with a similar appearance can behave very differently in printing and peeling.
For DTF transfer sheets, inspect the printable side and the back side before loading. Many products use a matte printable surface, while some have a more obvious difference between sides. If a roll is loaded incorrectly, the symptom may look like an ink, powder, or press problem when the actual issue is film orientation. It is worth making a clearly labeled sample at the start of each new batch.
Do not treat a specification list as a guarantee. Coating consistency, how the film lies flat, and compatibility with your ink, powder, RIP settings, curing routine, and heat press all matter. Higher resolution does not automatically mean a better transfer—what often changes the result is how consistently the coating receives the ink and releases after pressing.
Hot Peel, Cold Peel, and Warm Peel: Match the Film to Your Pace
The most visible DTF film choice is peel type. Hot-peel film is removed soon after pressing, so it can support a quicker production rhythm when the press operator has a stable, repeatable routine. Cold-peel film stays in place until the transfer cools. That waiting step can slow a line, but it can also suit workflows where the operator wants more time before release. Warm-peel products sit between those two approaches and should be judged by their supplier instructions and test results.
| Film type | Typical workflow fit | What to test first |
|---|---|---|
| Hot peel | Faster, repeatable pressing cycles | Whether edges release cleanly at the specified peel timing |
| Cold peel | Jobs where cooling fits the workflow or fabric response needs more caution | Adhesion and finish after full cooling |
| Warm peel | Teams seeking a middle-ground process | Exact temperature window and operator consistency |
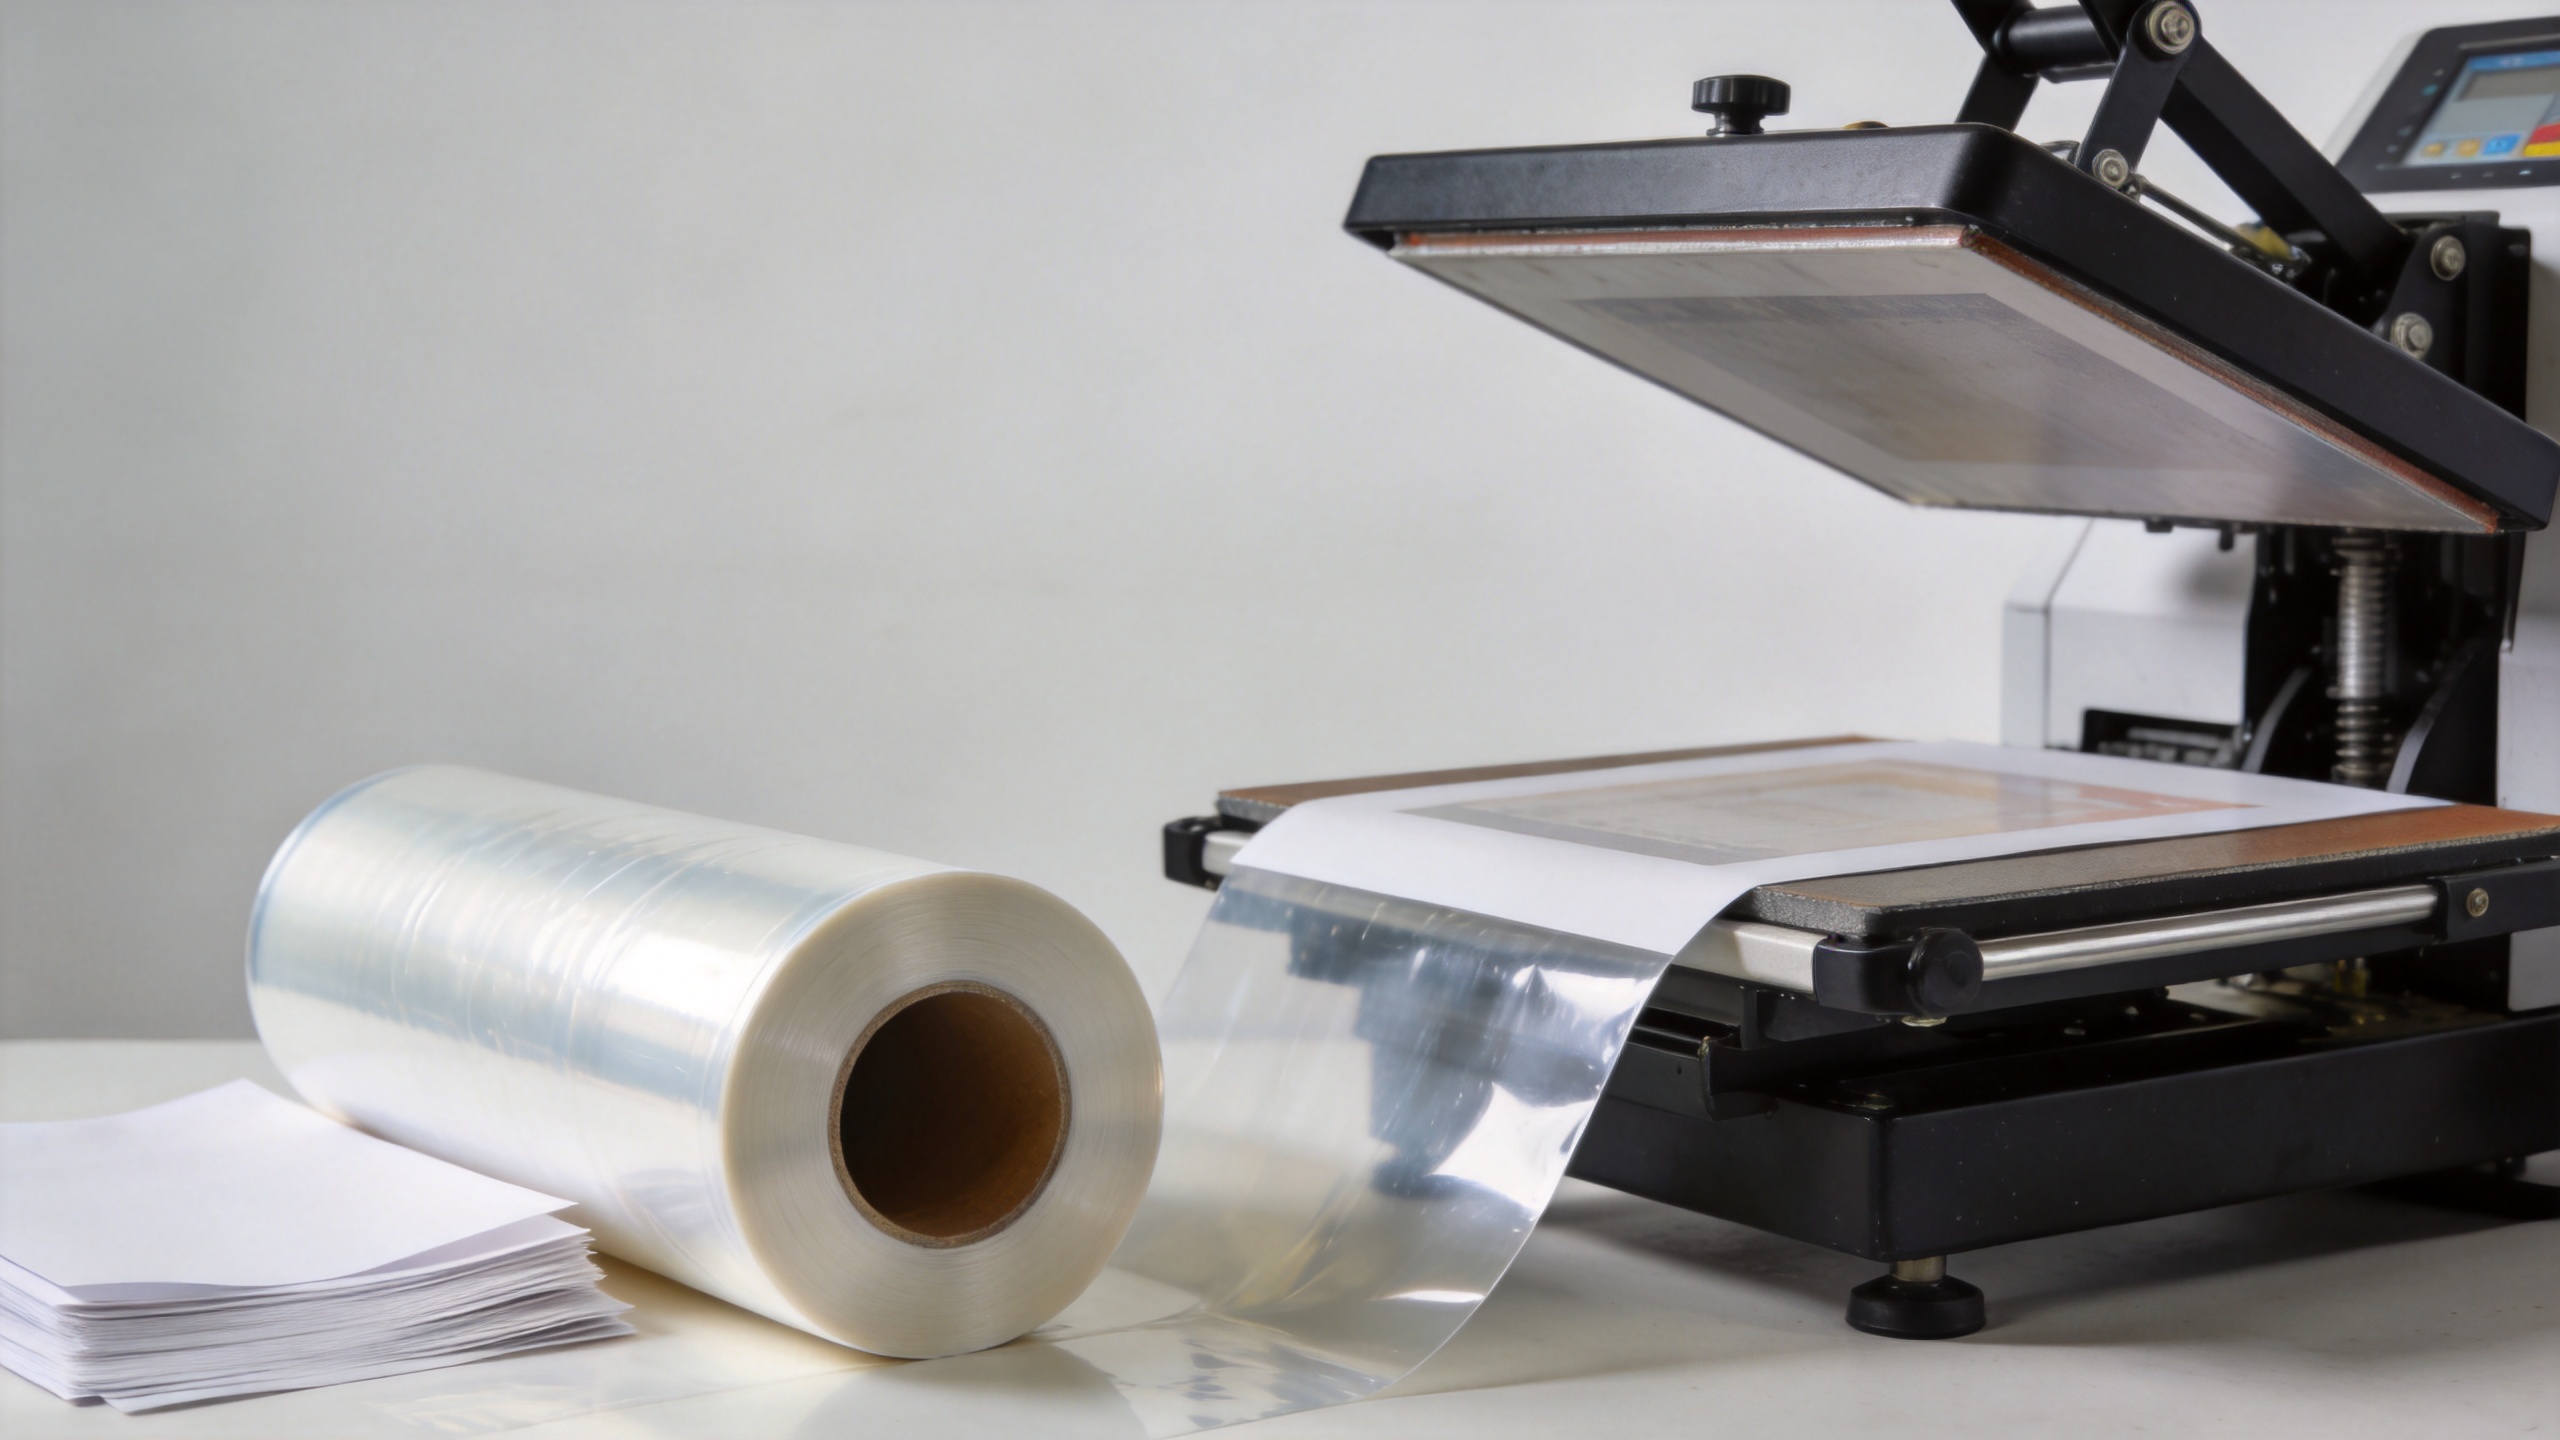
The key point is that peel type is a process decision. A fast line may benefit from hot-peel DTF film, while a shop handling varied garments may prefer the control of a cold-peel routine. Avoid choosing solely from a marketplace keyword such as “instant peel.” Run the same artwork on the fabrics you actually sell, then inspect fine text, solid-color areas, stretch, and the transfer edge.
Choose PET Film Format and Width for the Printer You Own
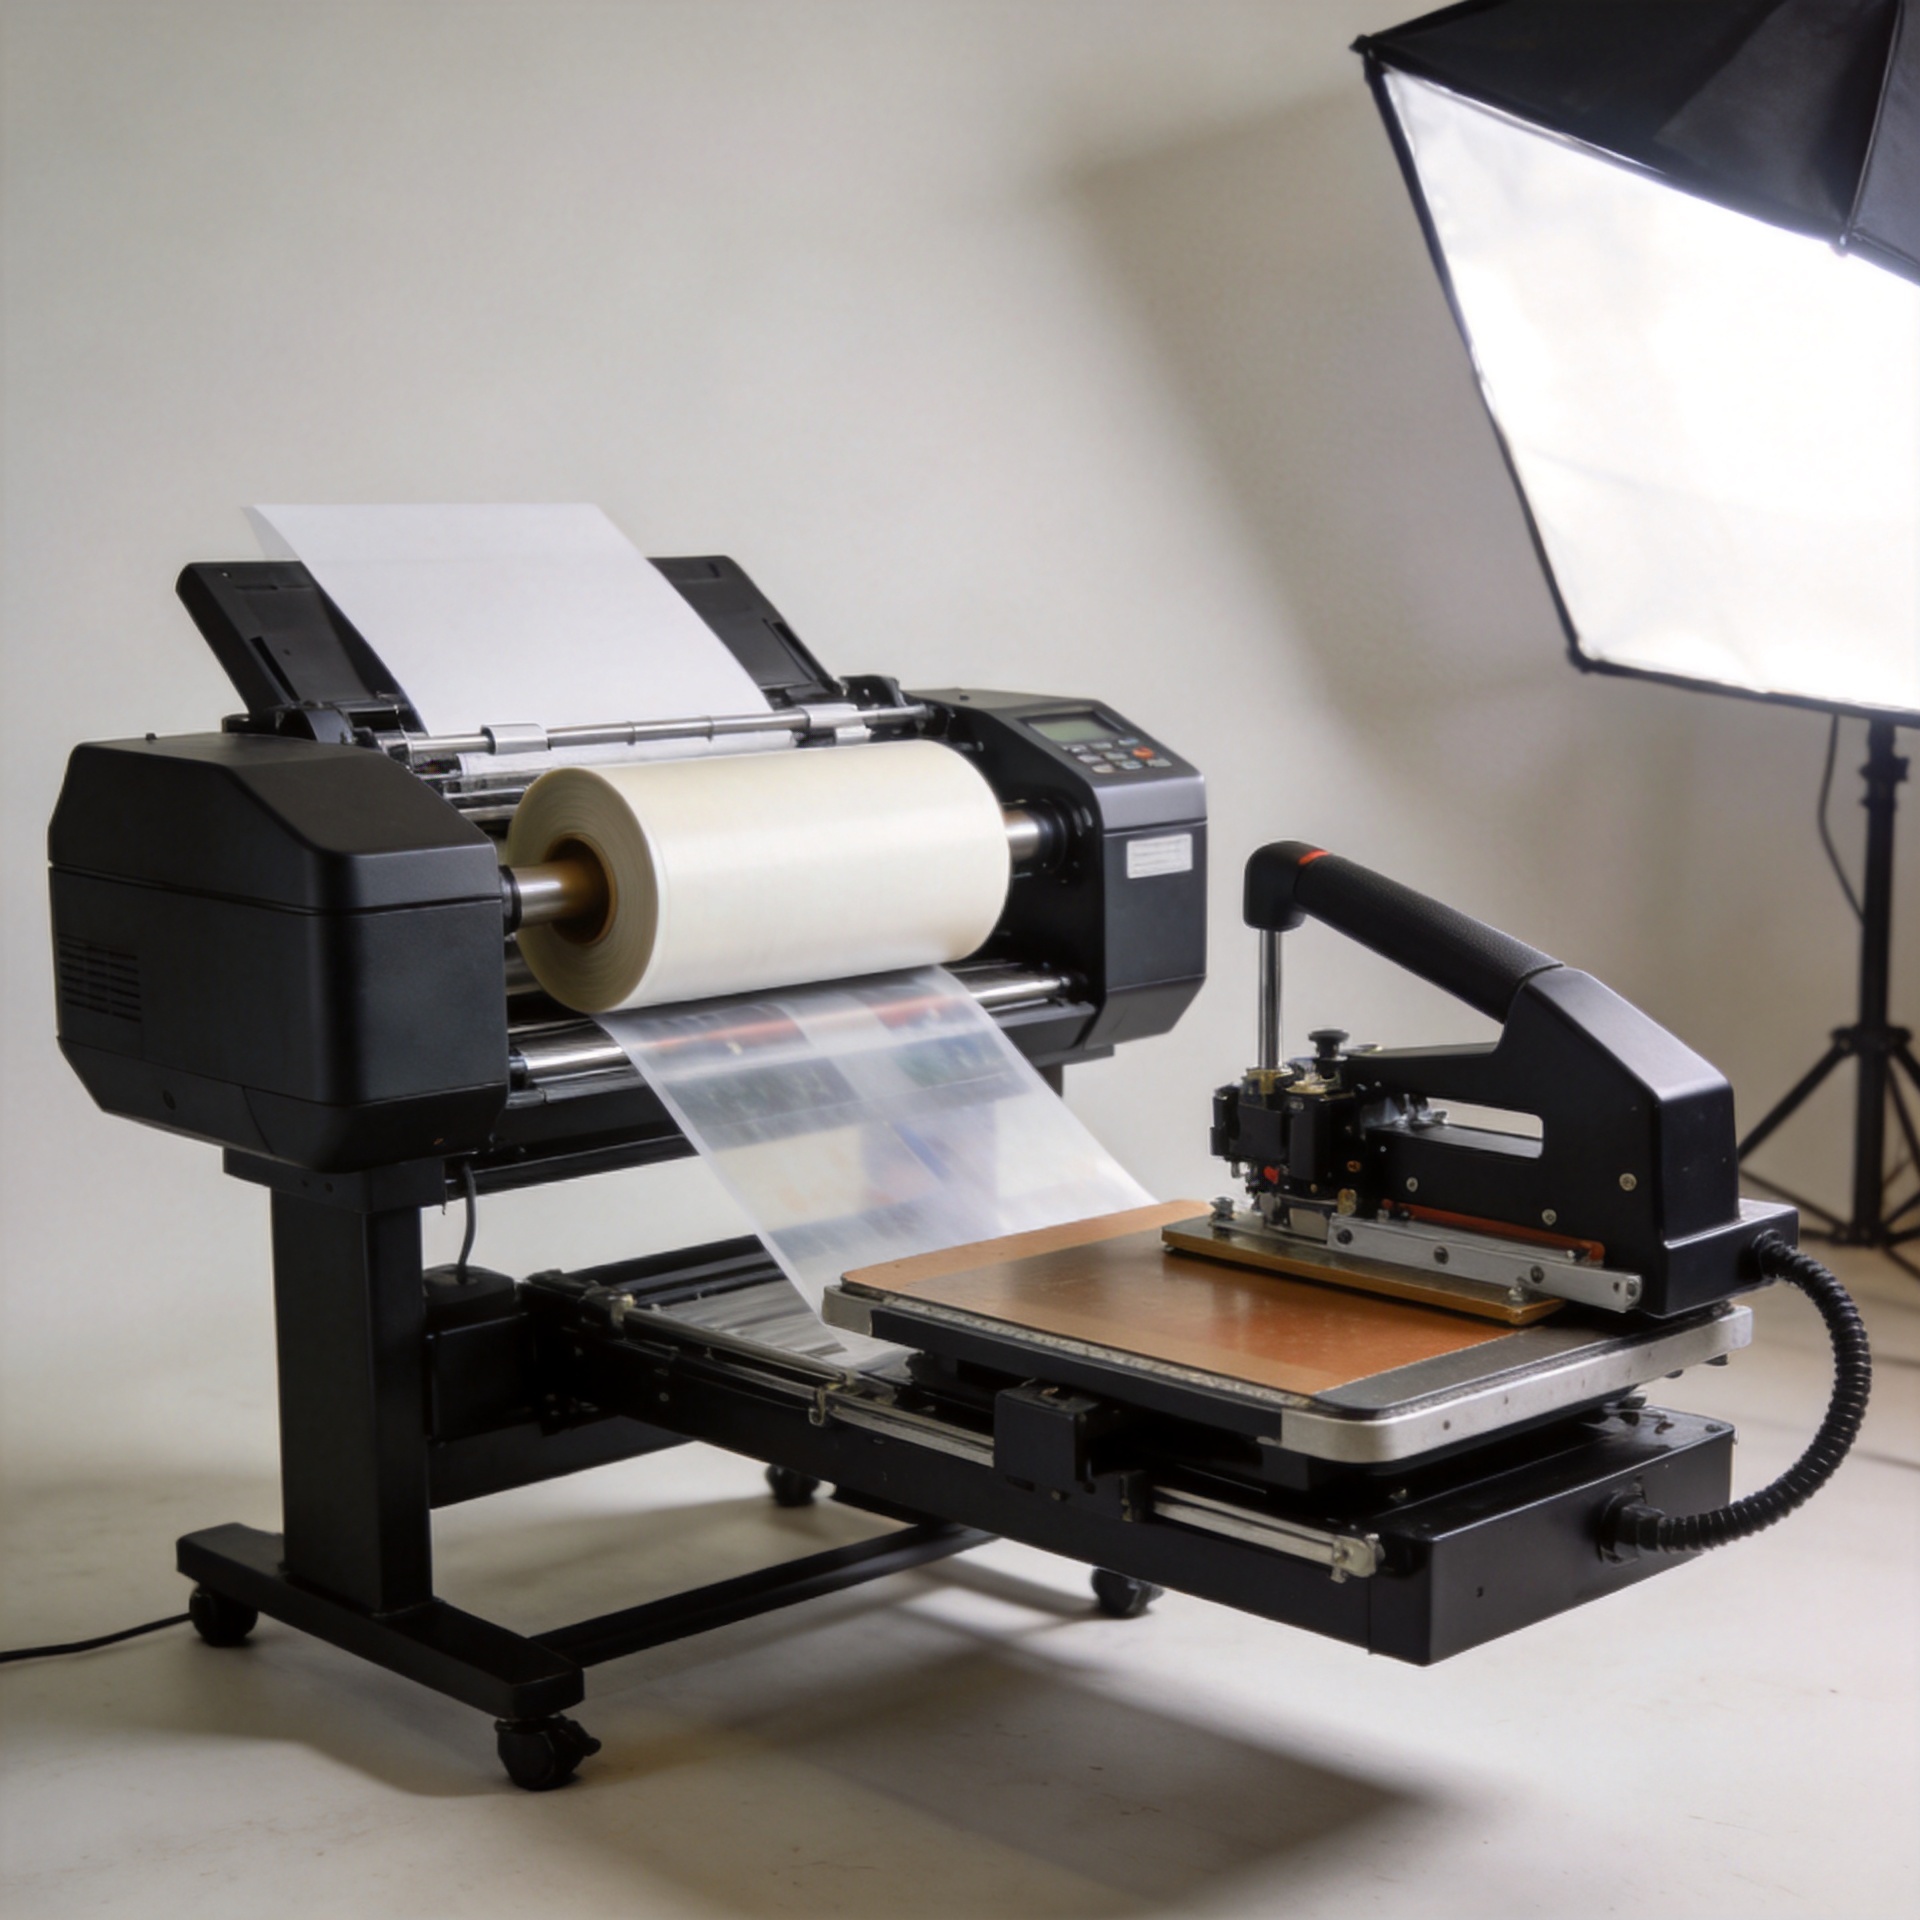
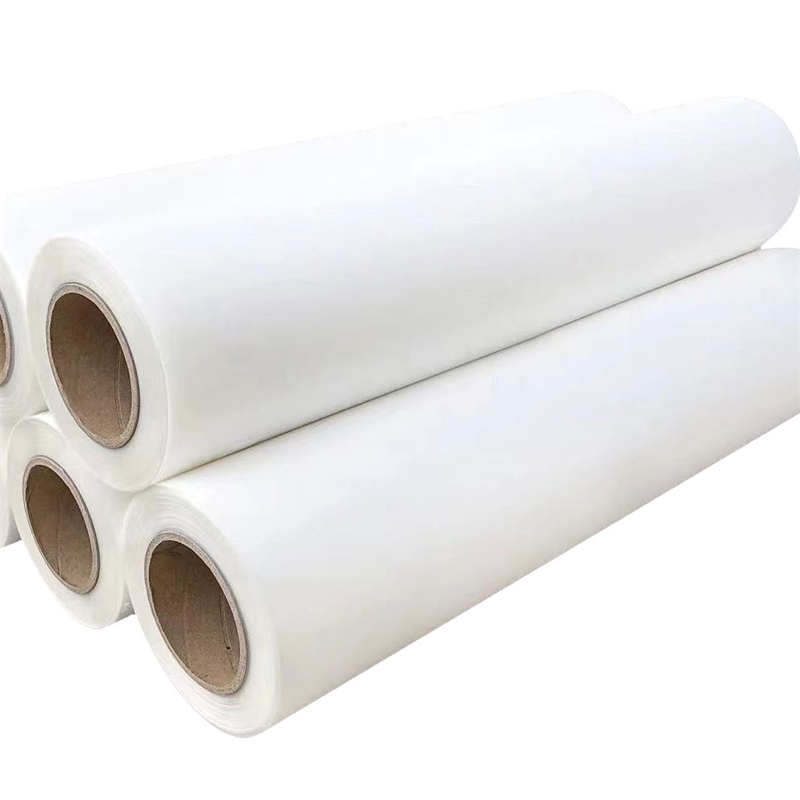
DTF paper is a common search term, but the working medium is normally coated PET film rather than conventional absorbent paper. It is sold as sheets and rolls. Sheets can be practical for compact printers, short tests, and small jobs; rolls make more sense when the printer and workflow are configured for continuous feeding. The right DTF film width is the usable print width of the machine, not just the nominal width printed on a listing.
Before ordering, confirm the supported media path, pinch-roller clearance, take-up arrangement if used, and the width required by your designs. A wider DTF film roll is not automatically more productive if most artwork is narrow or the printer cannot feed it consistently. Conversely, a narrow roll can create unnecessary tiling and setup work on larger graphics.
Film thickness is often discussed as a handling clue, but it should not be treated as an isolated quality score. A practical evaluation looks at flatness through the printer, coating response, static and dust behavior, and release performance as one system. Keep a simple test log with the film lot, ink configuration, powder, cure routine, press setting, fabric, and outcome.
Match the Film to Fabric and Transfer Conditions
A good DTF film selection starts with the garment mix. Cotton, polyester, blends, nylon, and finished garments can respond differently to heat, pressure, and dwell time. Rather than promising one peel type for every textile, test the specific garment before committing to volume. Dark garments deserve particular attention because the white underbase and coating interaction can make imperfections more noticeable.
Use a controlled test sequence: print one design, apply the same powder and cure routine, press on each priority fabric, peel at the intended time, then let the garment rest before checking detail and adhesion. If you change DTF film, change only one variable at a time during the first test. Otherwise, it becomes difficult to identify whether a defect came from media, powder, press settings, or the artwork workflow.
For teams purchasing consumables alongside equipment, the confirmed product page for DTF White Ink Transfer Film Heat Transfer PET Film is a useful starting point for discussing PET-film supply with a technical advisor. Confirm the current film specification and test it against your own printer and garment range before standardizing it.
Storage and Handling Protect DTF Film Before Printing Begins
Even a well-matched DTF film can become unpredictable when stored poorly. Keep unopened rolls or DTF transfer sheets clean, dry, and protected from dust. Avoid leaving media near excessive heat, direct sun, or rapid humidity swings. Once a roll is opened, return unused material to protective packaging when possible and avoid touching the printable surface with oily or dusty hands.
Curl, static, surface contamination, and edge damage can all interrupt feeding or create defects that look like a print-profile issue. This is one of those operational details that feels minor until a rush order arrives. A clean loading area and a routine for labeling opened rolls reduce avoidable variability.
A Practical DTF Film Buying Checklist
- Identify whether you need sheets or rolls and confirm the printer’s usable width.
- Choose a hot-, cold-, or warm-peel process that your team can repeat.
- Verify which side is printable and how the coating should be handled.
- Test the DTF film on your actual garment mix, not only on a sample swatch.
- Record film lot, ink, powder, cure, press, and peel timing for successful jobs.
- Store spare DTF film away from moisture, dust, heat, and direct sunlight.
A suitable DTF film is one that gives your team clean transfers within a documented process. Start with compatibility, make a small test matrix, and standardize only after the film performs consistently on the products your customers order most often.